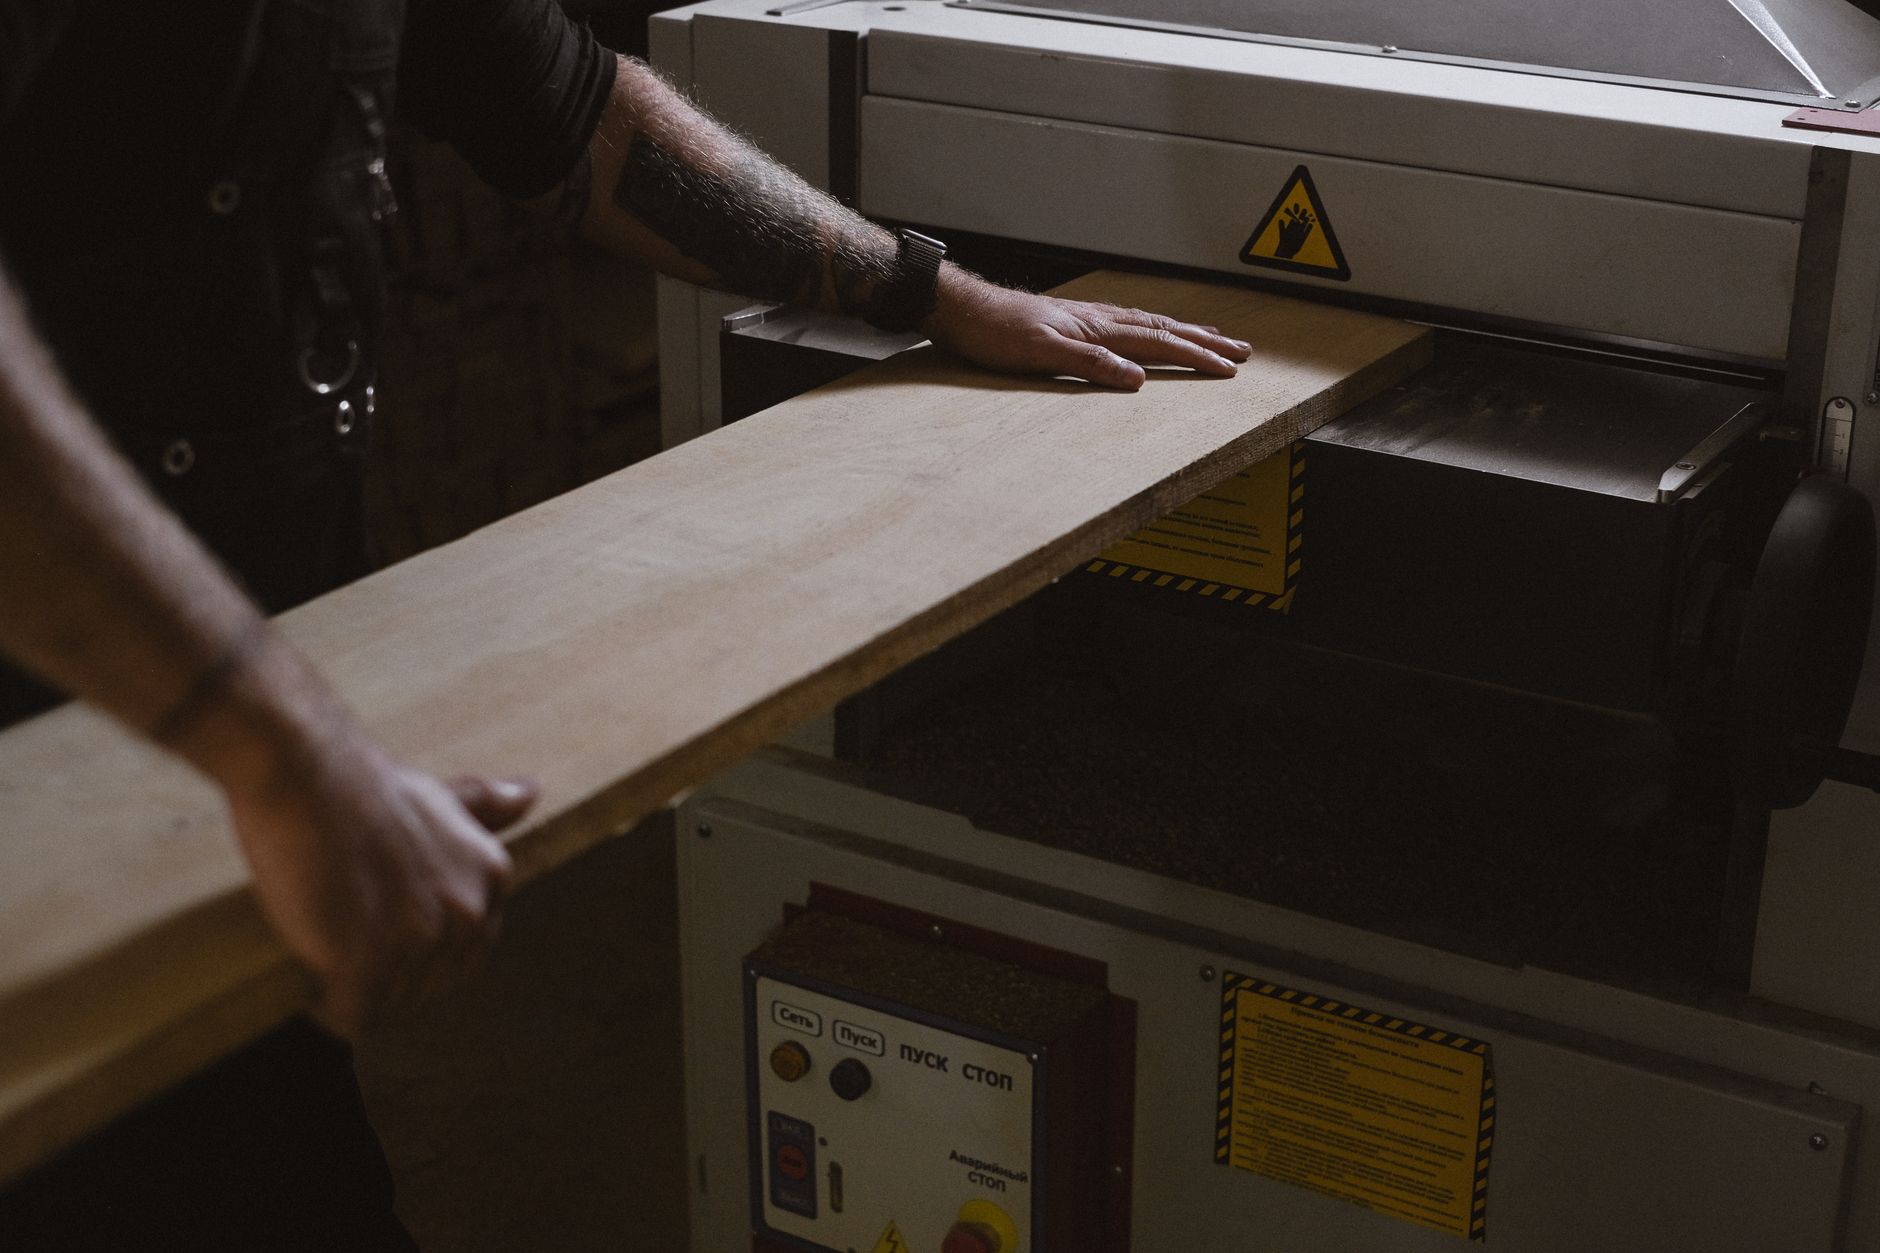

Rough boards come out flat, even, and ready for glue-up or finishing when you focus on one simple setup. The cutterhead removes stock from one face while the rollers move the board through, so setup, grain direction, and support control how clean the result looks.
These thickness planer tips cover rough lumber, snipe, tear-out, and the setup habits that keep problems from repeating in the shop. The focus is on practical adjustments for stock prep, cut depth, and troubleshooting.
Set Up the Machine Before the First Cut
One bad pass can reveal an alignment problem right away. Even a slight table mismatch can throw thickness off from end to end and create defects that show up later.
Level The Beds And Check The Feed Path
The infeed and outfeed tables need to line up with the bed so the board stays steady as it enters the cutterhead. A straightedge and feeler gauge make low corners easy to spot, and a small error can turn into snipe or taper.
Clean both tables, then wax the surfaces with paste wax or a low-friction shop wax. Fine Woodworking and Wood Magazine both note that a slick bed helps stock move without dragging, which keeps feed pressure more consistent across the cut.
Inspect Knives, Inserts, Belts, And Rollers
Sharp knives or fresh cutterhead inserts matter because a dull edge tears fibers instead of slicing them. That raised grain also adds load to the motor, so a rough cut isn’t just ugly, it’s harder on the machine.
Check belt condition, cutterhead cleanliness, and feed roller grime before starting. A resin-coated cutterhead can throw chips poorly, and weak chip ejection leads to clogging on dense stock or damp lumber.
Scan Every Board For Metal And Dirt
Reclaimed oak with a single finishing nail can ruin a knife set in seconds. A metal detector, bright light, and a quick hand sweep across the surface protect the cutter edges and reduce the risk of a sharp fragment coming back at speed.
Run your hand across rough stock before it goes near the planer. Grit, glue lumps, and buried fasteners can all mark the knives and leave a bad streak in the cut.
That setup work matters even more once the lumber itself comes into play, because the planer can only copy the face it’s given.
Once the machine is ready, the rough board determines how well that preparation actually pays off.
Prepare Rough Lumber for Reliable Thicknessing
The machine makes boards parallel, not magically flat. A twisted plank with no reference face still comes out twisted, only thinner.
Flatten One Face Before The Planer
Joint one face first, or use a handplane or sled to create a stable surface. That flat face gives the bed a dependable reference and lets the cutterhead remove material from the opposite side in a predictable way.
Wood Magazine and Fine Woodworking both treat this as the starting point, not an optional step. A planer can telegraph a hollow or hump, so rough stock with a clean reference face wastes less material and stays more accurate.
Use A Sled For Bent Or Short Stock
A planer sled solves warped boards, narrow parts, and pieces that rock under the rollers. Shim the board until it no longer teeters, then lock it down with hot glue, double-sided tape, or stop blocks on the sled.
That method also helps with short drawer parts, thin cherry, and cupped maple that would otherwise lift at the edges. A carrier board gives the machine a flat base even when the lumber itself refuses to sit still.
Know What The Machine Can Not Fix
A thickness planer turns one face parallel to the other, but it doesn’t flatten a badly twisted board by itself. Bow, cup, and twist need a flat reference surface before the passes begin, or the defect gets copied from one face to the other.
That’s why the jointing step exists in the first place. Once the stock rides true, the next decision is how much material to remove on each pass.
With the stock running true, pass depth becomes the lever that balances speed against a cleaner surface.
Choose Depth Of Cut With Finish Quality In Mind
Light passes leave fewer knife marks, less chatter, and less strain on the motor. Heavy cuts can work on soft, straight stock, but they raise the odds of tear-out and surface washboarding.
Start Shallow And Sneak Up On Final Thickness
A shallow cut, often around 1/32 inch or less for final passes, gives the knives a cleaner bite and keeps the board steadier under the rollers. Woodsmith and DeWalt both point toward smaller cuts for better finish and lower load.
You save more time by avoiding a ruined surface than by shaving off a few extra seconds per pass. A final skim cut also helps erase roller marks and small ridges left by earlier passes.
Reduce The Bite On Hard Or Figured Wood
Dense hardwoods, figured walnut, and thin stock need even lighter cuts because the fibers resist the knife edge and can split ahead of it. A helical cutterhead helps here because each insert takes a smaller shearing bite, which cuts noise and tear-out.
Moisture content changes the feel too. Wetter boards compress under the feed rollers, then spring back after the cut, so a board that looks right at the planer can drift once it moves to the bench.
Match Cut Depth To The Stock, Not The Habit
- Wide soft maple: take shallow passes so the board does not chatter across the bed.
- Figured walnut: use the lightest cut that still pulls fibers cleanly.
- Thin cherry: keep the cut small so the board does not bow under pressure.
- Rough oak: remove less near final size, where tear-out shows fastest.
Once that depth is set, the grain itself becomes the next thing to read before the board enters the machine, and that’s where tear-out fixes start to matter.
Even a light cut can fail if the grain fights back, so reading the board comes first.
Read The Grain Before Every Pass
Grain direction acts like a map for the knife edge. Feed the wrong way and the cutterhead lifts fibers ahead of the cut, which leaves a rough, torn surface instead of a clean one.
Feed With The Grain Whenever The Board Allows
Grain lines that slope downhill into the cutterhead give the knives a cleaner path, so feed the board along that direction. Wood Magazine and Fine Woodworking both describe that move as the simplest tear-out fix because the edge cuts fibers instead of prying them up.
On a long board, the direction can change halfway through. A pass that starts clean at one end can go fuzzy at the other, so a quick inspection before every run saves sanding later.
Change Direction On Reversing Or Interlocked Grain
Maple, oak, and many figured species can switch grain direction inside a single board. Interlocked grain and wild figure pull against the knife in different directions, which is why one shallow pass may work where a heavier pass would shred the surface.
That’s also where a helical cutterhead earns its keep. The skewed inserts slice in a staggered pattern, so the cut meets fewer fibers at once and leaves less ragged tear-out on difficult stock.
Watch For Knots And Dense Grain Changes
Knot zones and sudden density changes can act like brake patches under the cutterhead. Keep the cut shallow and support the board well, because the machine can grab a softer section and leave the harder patch standing proud.
The same grain reading also shows when support matters most, and that takes the next step straight to snipe control.
Because grain direction can change how the board exits, the ends deserve the most careful support.
Control Snipe At The Ends Of The Board
Snipe shows up as a deeper cut near the front or back of a board, and it usually starts when support changes as the stock enters or leaves the cutterhead. Better support and steadier pressure cut that problem down fast.
Support Long Stock On Both Ends
Roller stands or helper tables set level with the planer bed keep long boards from tipping as the feed rollers grab them. Popular Woodworking and Woodcraft both point to that support as a direct fix for end-of-board dips.
Shorter stock also benefits from sacrificial leader and trailer boards in repeat work. The planer sees a longer, more stable run, and the actual workpiece stays out of the worst pressure-change zones.
Ease Off The Ends Instead Of Pressing Hard
Heavy hand pressure at the front or rear can force the board to pitch and make snipe worse. Let the rollers pull the stock through, and keep your hands guiding rather than pushing the ends up or down.
A clean bed, well-aligned tables, and a waxed feed path all help the machine hold a steady line. Snipe has machine causes, not just operator causes, so setup matters as much as handling.
Short boards need more support than long ones. The last 6 to 12 inches are where the cut changes, and that’s where the dip shows up first.
Use A Test Board Before Final Stock
A scrap board tells you fast whether the end cut is even. Mark the board with a pencil line across the width, run it through, and see whether the line disappears evenly from end to end.
After snipe is under control, the same support habits carry over to short and thin material, where the safety margin gets tighter. That’s where using a planer sled starts to pay off again.
That extra support also helps when pieces get shorter or thinner, where control and caution matter most.
Handle Difficult Stock And Thin Material Safely
Short parts and thin panels move differently from standard boards. They flex, chatter, and shift faster, so they need a carrier board or sled more often than long rough lumber does.
Use Carrier Boards For Small Or Glued-Up Parts
A carrier board gives the feed rollers something solid to grab when a part is too short or too narrow on its own. That extra length keeps edge-jointed pieces, drawer parts, and narrow strips from tipping into the cutterhead.
Rockler and Woodcraft both treat carrier boards as a practical way to keep awkward stock stable. Double-sided tape, hot glue, and stop blocks each work, as long as the piece can’t skate sideways.
Avoid End Grain And Tiny Pieces
End grain cuts badly in a thickness planer because the knives strike exposed fiber ends instead of running along them. The result is rough blowout, bad chatter, and a real chance of the part slipping free.
Pieces too small to control by hand belong on another tool. A handplane, shooting board, or sanding setup gives more control than forcing a tiny part through a machine built for boards.
Treat Thin Stock As A Special Case
Thin maple, cherry, and veneer-core panels need reduced cut depth, support on both sides, and careful hand placement. Keep your fingers well away from the infeed because the board can dip, bite, and shift quickly once the rollers engage.
A shallow cut and a stable carrier board cut down chatter and help the sheet stay flat. That same care also makes defect spotting easier, which is where good troubleshooting begins.
A steadier setup does more than protect fragile material; it also exposes flaws before they spread.
Solve Surface Defects Before They Become Habits
Each defect points to a specific setup, support, or cutter issue. Once the pattern is clear, the fix stops being guesswork.
Match The Mark To The Cause
- Snipe: check infeed and outfeed support, table height, and roller pressure.
- Tear-out: read grain direction again and lighten the cut.
- Ridges: inspect knives, inserts, and cutterhead cleanliness.
- Uneven thickness: verify table alignment and bed calibration.
- Chatter: reduce cut depth and look for loose support.
Woodworkers Guild of America and Popular Woodworking both tie these marks back to specific causes, which makes troubleshooting far faster than changing settings at random.
Keep Knives Sharp And Chips Moving
Sharp knives or fresh inserts leave a cleaner surface and reduce motor load. Resin buildup on the cutterhead changes the cut, and packed chips under the board can shift the stock just enough to leave a line or taper.
Dust collection matters here, not as an afterthought but as part of cut quality. A planer throws a heavy chip load, and a clogged hood or weak blast path can slow feed and roughen the finish.
Use Routine Cleanup As Part Of Setup
Brush out the bed, clear the chip chute, and wipe down the tables after the session. That small habit keeps feed rollers from dragging debris across the next board and helps the machine stay consistent on the next stack of lumber.
From there, the whole process becomes repeatable: clean setup, stable stock, shallow passes, and steady grain reading. That’s the real shape of thickness planer tips that pay off in the shop.
Those habits add up to consistent results that keep the planer working cleanly from one project to the next.
Wrap Up
A planer gives you uniform thickness, not rescue from bad stock prep. Once one face is flat, the grain is read correctly, and the ends stay supported, the machine starts working for you instead of against you. Sharp knives, light passes, and clean tables do the rest.
FAQ
How do you set up and calibrate a thickness planer?
Start by leveling the infeed and outfeed tables with the bed, then check knife height, cutterhead condition, feed rollers, and bed cleanliness. Run a flat scrap board through a light pass, and measure thickness across the width and length before moving to final stock.
How do you stop snipe on a thickness planer?
Support the board at both ends with stands or tables, keep pressure light at entry and exit, and make sure the beds are aligned and clean. Snipe drops fast when the work stays level through the cutterhead and the rollers do not lift the ends.
What depth of cut should you use on a planer?
Use the shallowest cut that still leaves a clean surface, then sneak up on final size. Dense hardwoods, figured grain, and thin stock need lighter cuts, while a final skim pass helps remove roller marks and fine ridges.
How do you prevent tear-out when planing figured wood?
Feed with the grain, reduce the cut, and use very sharp knives or a helical cutterhead. Figured walnut, maple, and interlocked grain can change direction inside one board, so a test pass on scrap can save the workpiece.
Can you use a planer on short boards or thin stock?
Yes, but only with a carrier board, sled, or other support that keeps the piece stable. Very short parts, end grain, and flexible thin stock can shift or chatter, so use shallow cuts and keep your hands clear of the feed path.
What causes ridges or uneven thickness after planing?
Dull knives, dirty cutterheads, poor table alignment, and debris under the board can all leave ridges or taper. Clean the machine, inspect the cutters, and confirm the stock rides flat before running another board.