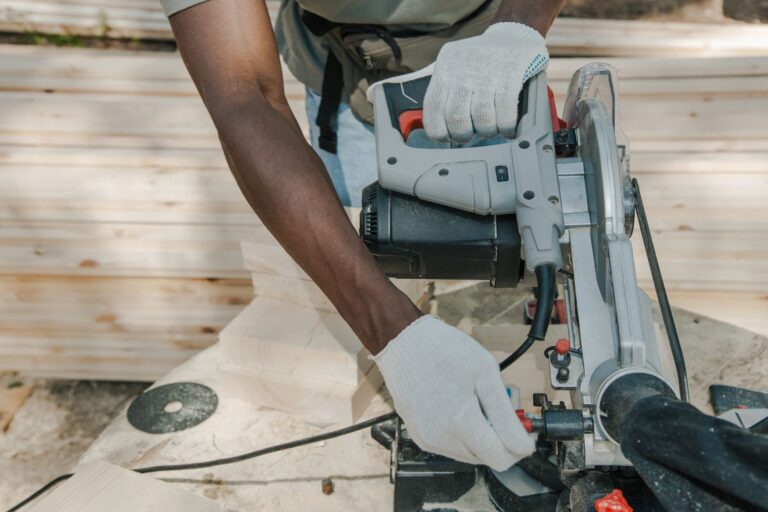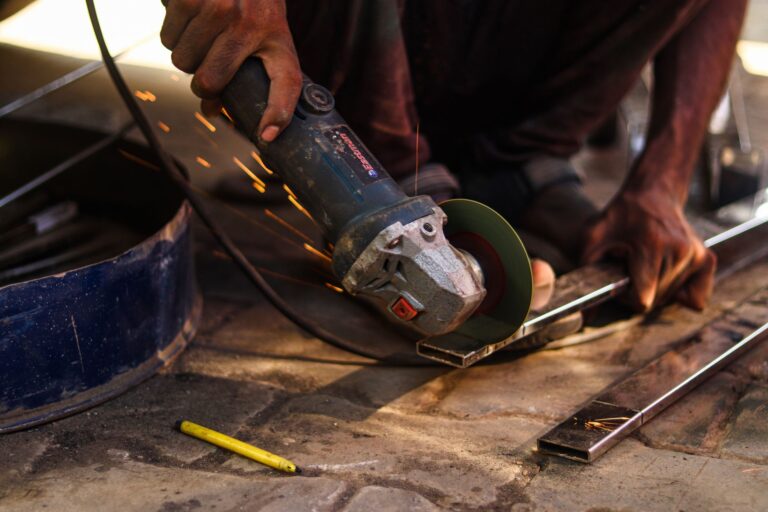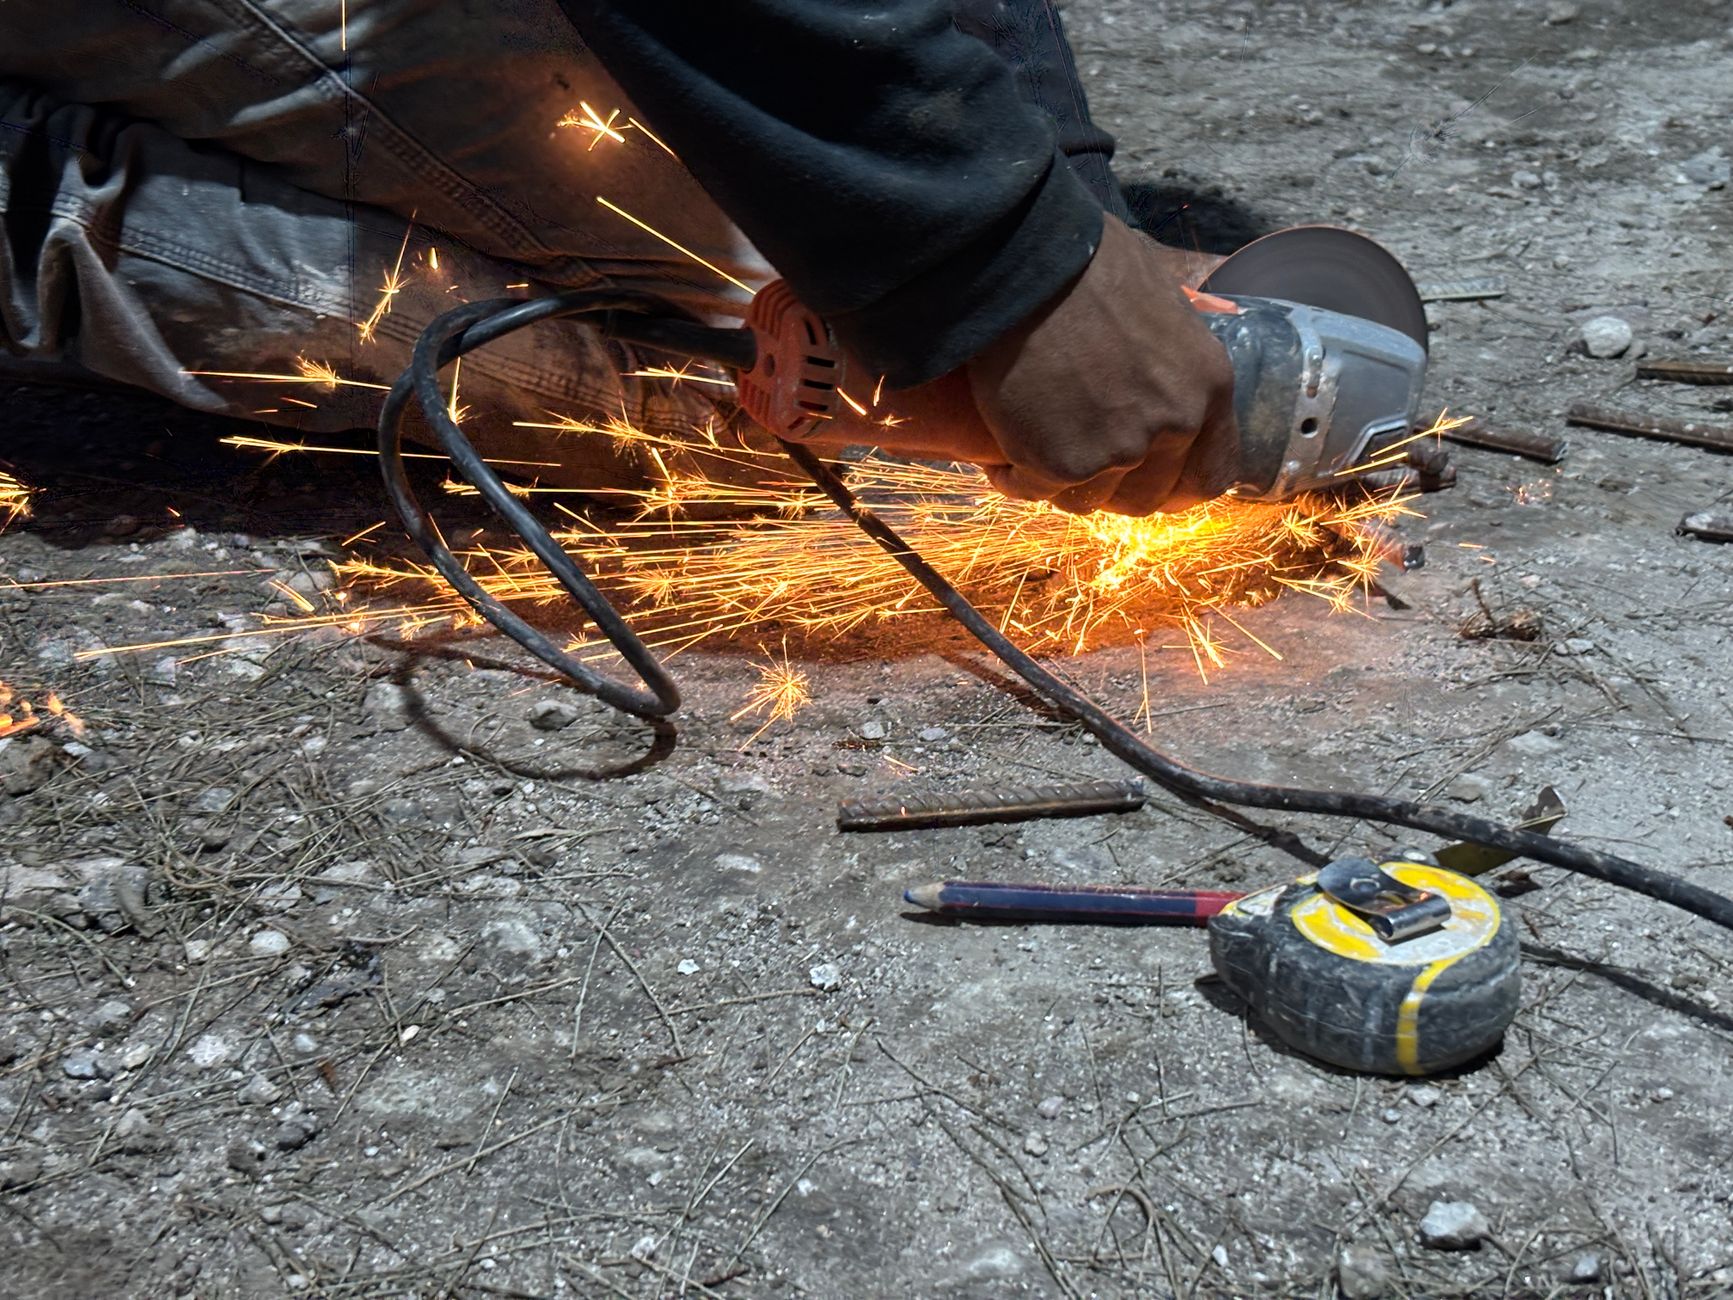

A wheel rated for the RPM, a secured guard, and a firm two-handed grip keep a spinning disc from turning into shrapnel. A cracked accessory, loose flange, or unstable workpiece can throw sparks, fragments, and kickback across the cut line in seconds.
Use these angle grinder safety tips for rebar, rust, tile, and steel. The focus stays on setup, inspection, PPE, and shutdown, with fast fixes that keep the tool under control.
The Hazards Behind Everyday Grinding
A thin wheel can fail before your hand has time to react. Wheel contact, flying fragments, burns, cuts from kickback, and debris in the eyes or face show up most when the setup is weak.
OSHA treats abrasive wheel work as a contact and breakage problem first, not just a spark problem. The disc, the guard, and your body position all matter at once, because the wheel can shatter, bind, or grab the workpiece in a single motion.
Wheel Failure Starts With Side Pressure
Side loading, twisting, and forcing the cut push the disc outside the way it was made to work. A cut-off wheel is built to slice straight through material, not pry, surf, or grind from the edge.
That physics matters. Bonded abrasive wheels store energy as they spin, and a crack or nick can turn that stored energy into a burst of fragments. NIOSH also warns that misuse and overspeeding can make a wheel fail violently, even when it looks fine at a glance.
Hands, Eyes, And Faces Take The Hit
Most injuries land where control is weakest: the hands, eyes, and face. A guardless grinder with no face shield leaves the path wide open for fragments, hot grit, and wire filaments.
A tiny metal sliver can travel farther than expected from a grinding wheel and bury itself in skin under the eye. A face shield, safety glasses, and proper guarding cut that risk fast, and they matter even more during startup and shutoff.
Kickback Feels Sudden Because It Is
Kickback happens when the wheel pinches or binds and the grinder jerks back toward you. The usual trigger is a workpiece that shifts, closes the kerf, or traps the wheel mid-cut.
That is why stable stock setup belongs before the tool ever starts. Once the wheel binds, grip strength alone does not save the cut, so the next step is matching the wheel to the task and the speed to the disc. Angle grinder hazards drop when the cut is controlled before the wheel touches metal.
Choosing the wrong disc can turn a routine cut into a violent failure.
Choosing The Right Wheel, Disc, And Speed Rating
The disc that fits the spindle is not always the right disc. A cutting wheel, grinding wheel, flap disc, wire wheel, and cup wheel each have different side-load limits, thicknesses, and break points.
OSHA, Norton Abrasives, and DEWALT all point to the same rule: the accessory’s maximum RPM must meet or exceed the grinder’s no-load speed. That rating is a hard ceiling, not a suggestion, and it belongs on the wheel label for a reason.
Match The Accessory To The Job
A Type 1 cut-off wheel slices. A bonded grinding wheel removes material from the face. A flap disc blends edges and cleans welds, and a wire cup strips rust or paint.
- Cutting wheels: Use them for slicing metal, not for side grinding or prying.
- Grinding wheels: Use them for shaping and stock removal on the wheel face.
- Flap discs: Use them for light blending and finish work on steel.
- Wire wheels: Use them for rust and coating removal with full eye coverage.
- Diamond wheels: Use them for masonry, tile, and concrete dust control.
That split matters because each accessory fails in a different way. A masonry wheel on steel can wear down fast, while a cut-off wheel used like a grinder can break from side stress.
Check RPM, Arbor Size, And Mounting Hardware
The arbor hole, flange pair, backing pad, and locking nut must fit the accessory cleanly. A poor mount can make a sound wheel wobble, heat up, and fracture from vibration.
ANSI B7.1 is the U.S. abrasive wheel standard worth knowing here, because it addresses wheel selection, mounting, and safe use. EN 12413 appears on many bonded abrasive products too, and both labels tell you the disc was built for a specific speed and application.
A compliant label is only the first clue; the wheel still needs a careful check.
Read the wheel label before the grinder starts. A disc rated below the tool speed can burst without warning, even in the first few seconds.
A Pre-Use Inspection That Catches Trouble Early
A five-minute grinder inspection checklist stops a lot of damage before it starts. Guard, trigger, cord or battery, flange, arbor, side handle, and accessory condition all need a quick look before the first spark.
That check is not paperwork. OSHA and CCOHS both treat damaged wheels, loose parts, and bad mounts as reasons to pull the tool from service, because a small fault can turn into a wheel-failure event under load.
Check The Tool Body And Power Path
Run your hand over the housing, cord, plug, battery pack, and switch before use. Frayed insulation, sticky triggers, and cracked cases can create shock risk or loss of control when the motor surges.
Vibration is another clue. A grinder that chatters, hums, or feels loose may have a bent arbor, worn bearings, or a mounting problem that needs attention before the disc spins up again.
Inspect The Wheel Surface And Edges
Look for cracks, chips, warping, glazing, missing segments, and uneven wear. Any suspicious accessory goes out, no debate, because a wheel can look intact while hiding damage from storage, shipping, or a prior jam.
Bonded wheels also deserve a quick ring test only where the maker allows it. A clear ring can suggest internal soundness, while a dull thud can point to a crack or hidden defect.
Stop On Heat, Looseness, Or New Noise
Heat at the spindle, looseness in the guard, or a new grinding sound means something has changed. A grinder that starts to smell hot or shake harder than before should leave service until the fault is found.
That habit saves hands and eyes, but it also protects the workpiece. Once the tool is stable and sound, the next control is the work area itself. Portable grinder safety starts with a machine that feels solid before the first pull of the trigger.
A solid setup matters, but loose gear and clutter can undo it in seconds.
Control The Work Area Before Sparks Fly
A clamped workpiece is far safer than a part held by hand or balanced on a bench edge. When the stock moves, the wheel can pinch, stall, and kick back toward your torso or wrist.
OSHA and CCOHS both stress the same scene control: clear combustibles, guard nearby surfaces, and keep other bodies out of the spark line. Sparks travel farther than the cut line, and hot grit can smolder in trash, dust, rags, or insulation long after the tool stops.
Clamp The Stock And Clear The Spark Path
Use a vise, clamps, or a fixture so the material cannot shift. Thin steel plate, small angle stock, and pipe sections move fast once the wheel bites, and that movement is the start of kickback.
Keep rags, solvent cans, foam, cardboard, and dust piles away from the throw path. Texas workers’ compensation guidance also flags hidden ignition points, because a spark can drop into a cavity and start trouble out of sight.
Control Noise, Dust, And Bystander Exposure
Hearing protection belongs on before the tool starts. Angle grinders are loud enough to do damage over a long shift, and masonry work can also fill the air with dust that needs collection or respiratory protection.
Set a clear zone around the job, then keep bystanders outside it. A barrier or spark shield helps on garage jobs, stairwells, and shop corners where debris can bounce into another work area.
Even with the area cleared, flying grit still demands protection and shielding.
Hot debris can smolder under benches and inside bins. A quick sweep and a short fire watch after the cut can save a long cleanup later.
PPE And Guarding That Should Never Be Skipped
Eye and face protection come before everything else. Safety glasses with side shields and a face shield give you two layers against grit, wire strands, and wheel fragments.
CCOHS and HSE both stress the guard because it blocks the most likely direction of failure and helps steer debris away from your body. The guard is not a nuisance piece, it is the main barrier between your face and the disc.
Wear Protection That Fits The Task
Pick gloves that fit the material and still let you hold the tool firmly. Loose sleeves, jewelry, and dangling cords can catch on a rotating accessory in a hurry, so keep them clear before startup.
Hearing protection belongs on for nearly any grinding job, and respiratory protection matters for masonry, coated metal, galvanized steel, and paint removal. 3M and similar PPE makers separate face, hearing, hand, and dust protection for a reason, because each hazard hits a different part of the body.
Keep The Guard Installed And Set Close
The guard should cover as much of the wheel as the job allows. A guard set close to the accessory helps direct fragments away from the body and reduces the exposed arc.
Replace a bent or missing guard right away. The tool should not go back into service with a damaged shield, a mismatched wheel, or a setup that leaves the disc half exposed. Angle grinder PPE only works when the guard and the face shield are both in place.
With the right protection in place, the way you run the tool becomes the final safeguard.
Safe Operation From Startup To Shutdown
Stand to the side when the grinder starts. That position keeps you out of the wheel plane if the disc shatters during the first spin-up, which is the moment many failures announce themselves.
Two hands on the tool gives you control over torque, vibration, and rebound. The tool can still kick, but your body is not directly in line with the wheel, and that lowers the hit if something goes wrong.
Let The Wheel Reach Full Speed
Wait for full speed before touching metal, stone, or tile. A disc that is still winding up is less stable and more likely to snag the edge of the workpiece.
That small pause matters because centrifugal force rises fast as the wheel spins. Once the disc is at speed, keep a steady feed and let the abrasive do the work instead of adding body weight to force the cut.
Avoid Twisting, Prying, And Side Loading
Keep the wheel aligned with the cut path and back off the pressure at the first sign of binding. A jammed wheel creates heat, friction, and a sudden snap in the handle.
Angle grinder safety gets much easier when the wheel is treated like a slicer, not a lever. A quick example: cutting rebar goes better when the bar is clamped solidly and the wheel moves straight through without twisting in the kerf. These tips work best when the disc cuts instead of being forced sideways.
Disconnect Before Changing Accessories
Unplug the grinder or remove the battery before you touch the arbor, flange, or disc. A dead tool can still start if the switch is bumped or the battery stays seated during a change.
After the job, let the wheel coast to a complete stop, brush off dust, and store discs dry and flat. That last step keeps the next setup clean, which matters just as much as the first one.
Good shutdown habits prevent the same problems from returning on the next job.
What To Remember
The safest grinder job starts before the motor does. Right disc, right speed, tight setup, solid guard, and full PPE give you the best shot at keeping fragments, kickback, and sparks out of your face and hands. Once those pieces are in place, the tool becomes far more predictable.
FAQ
What are the safety precautions for an angle grinder?
Use the correct wheel for the task, keep the guard in place, wear eye and face protection, and secure the workpiece before startup. Hold the grinder with two hands, stand to the side at spin-up, and disconnect power before changing accessories.
What is the most common injury from an angle grinder?
Eye, hand, and face injuries lead the list because fragments, sparks, and broken wheel pieces travel fast. Kickback and wheel contact also cause deep cuts, especially when the tool is forced or the stock shifts during the cut.
What are the OSHA rules for angle grinders?
OSHA guidance centers on using the correct wheel, keeping guards and proper flanges in place, matching the wheel speed rating to the grinder, and wearing suitable eye and face protection. OSHA also expects safe work practices that keep the tool under control and the work area clear.
What are the hazards of using an angle grinder?
The main hazards are wheel breakage, kickback, contact with the spinning accessory, sparks, dust, noise, and entanglement. Flammable materials nearby raise the fire risk, and a loose or cracked wheel can fail without much warning.
How do you prevent kickback when using an angle grinder?
Clamp the workpiece, keep the wheel aligned, and avoid twisting or side loading the disc. Feed the tool steadily and back off at the first sign of binding, because a pinched wheel is the usual trigger for kickback.
How do you inspect an angle grinder before use?
Check the guard, trigger, cord or battery, flange, arbor, side handle, and wheel condition before each job. Look for cracks, chips, looseness, heat, or vibration, and remove any damaged accessory from service at once.