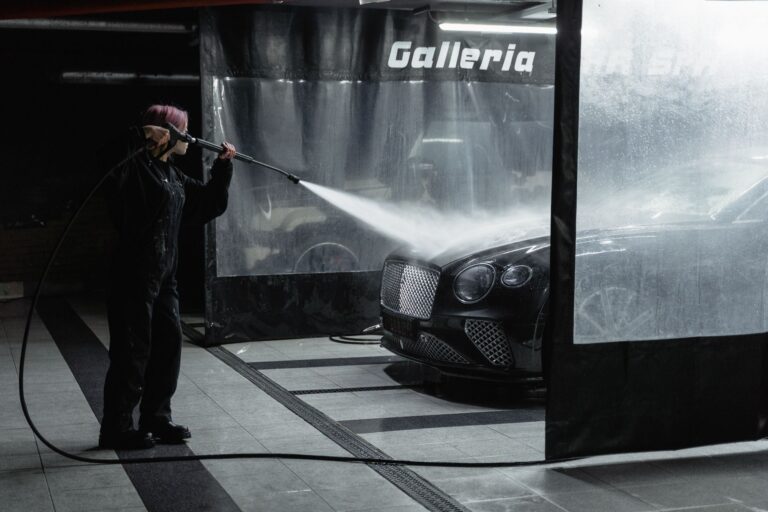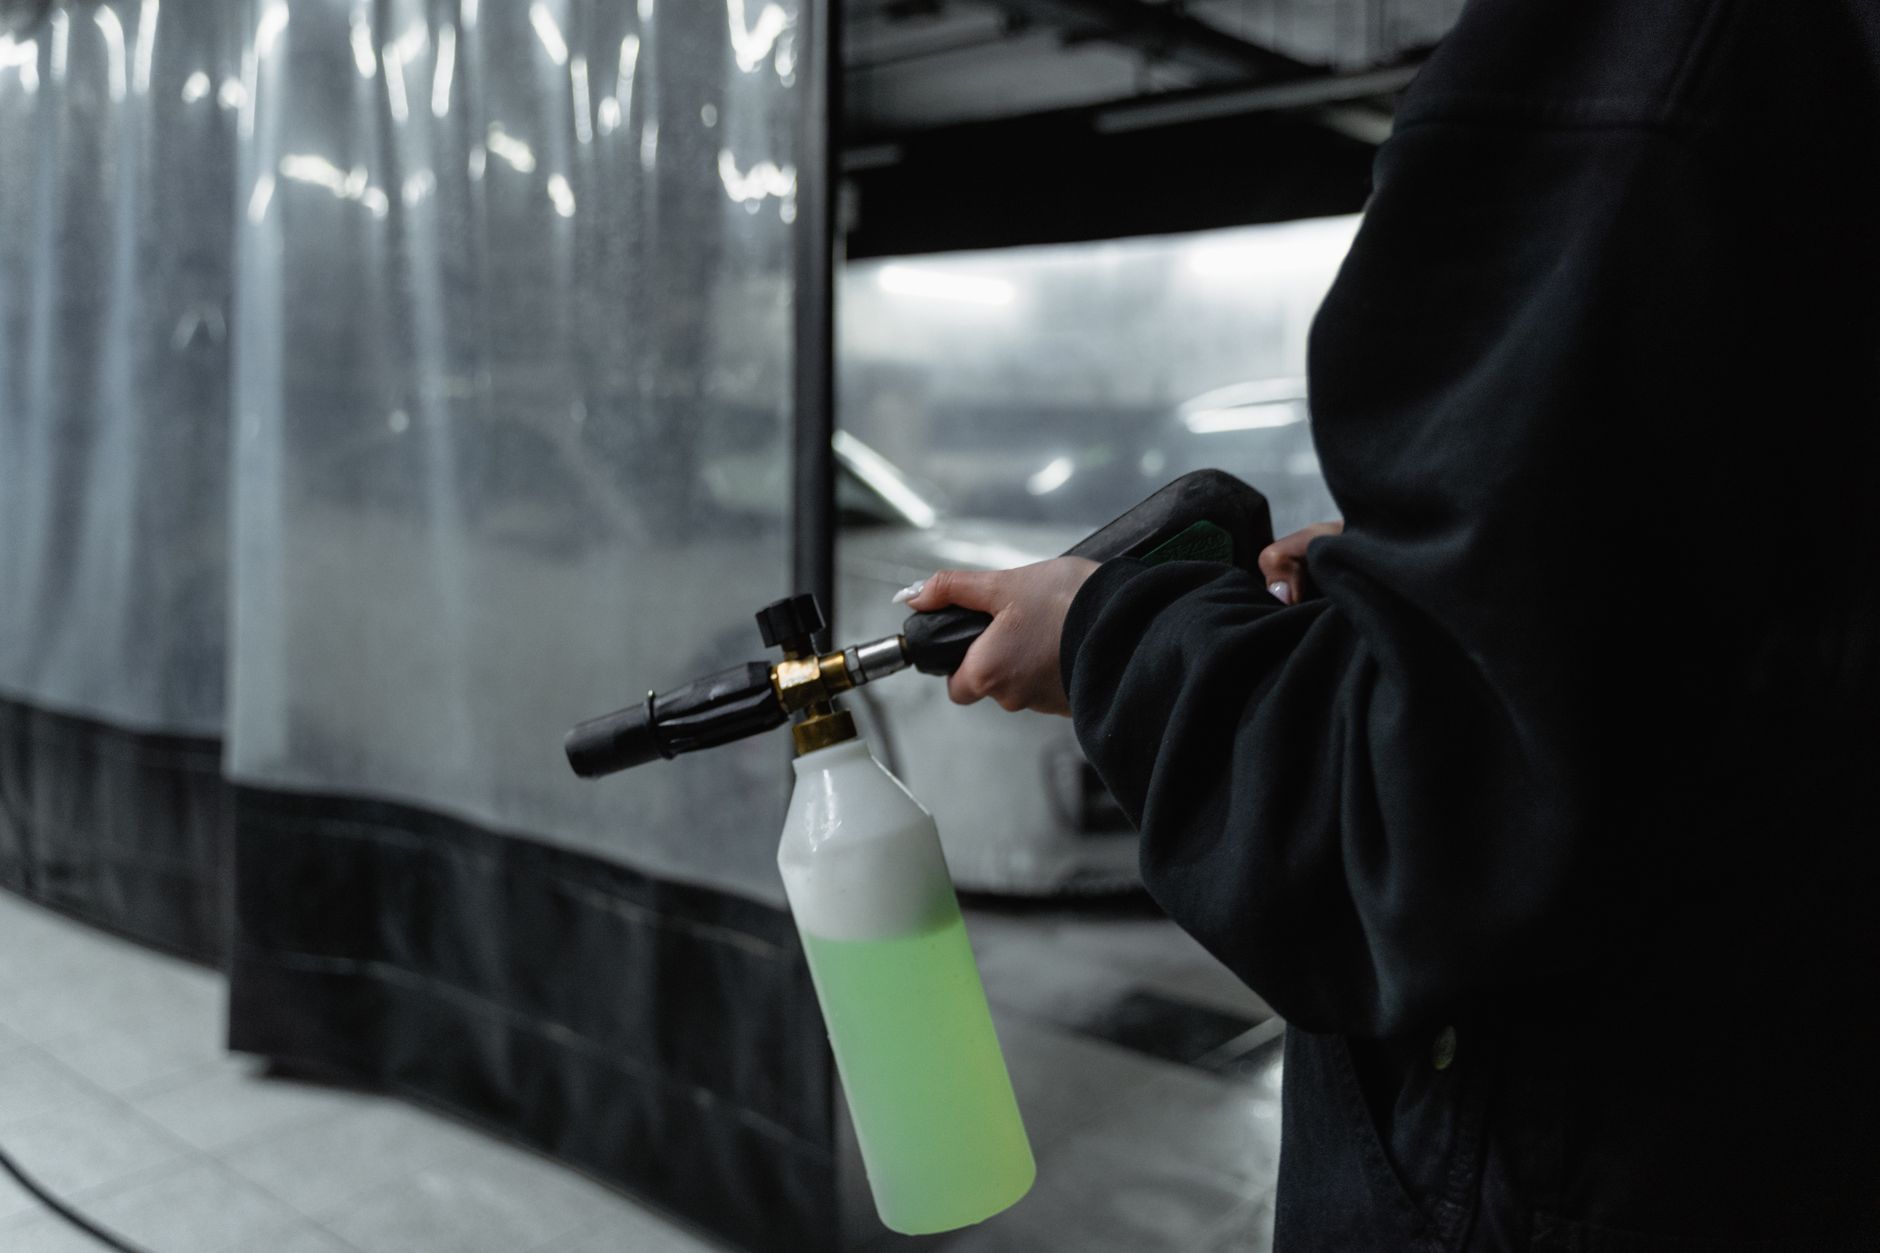

Matching detergent, nozzle choice, and spray pressure is a practical way to help grime lift before the rinse. You use less force, protect the surface, and get cleaner results when the soap actually reaches the work area.
This pressure washer soap guide covers detergent choice, dilution, soap injection, rinse timing, and basic troubleshooting for homeowners, detailers, and anyone cleaning siding, concrete, or vehicles.
What Pressure Washer Soap Does Before The Rinse
Surfactants do the heavy lifting by breaking the bond between dirt and the surface. That lets water carry off oily film, mildew stains, and road grime with less pressure, which matters on finishes that mark easily.
Soap works best as a pre-rinse treatment, not a substitute for rinsing. When you pair detergent with low-pressure mode first and high-pressure mode later, you give the cleaner time to loosen residue before the final blast.
Why low pressure matters
On delicate surfaces, gentle spray keeps detergent on the surface long enough to work. A strong stream can strip it away in seconds, which wastes product and leaves you scrubbing the same spot again.
That sequence is especially useful on paint, vinyl siding, and composite decking, where streaks show fast. Use the soap pass to soften grime, then switch to rinse pressure only after the film has broken down.
- Surfactants lift soil so grime releases with less mechanical force.
- Dwell time helps on oily concrete, bug residue, and traffic film.
- Low pressure protects paint, trim, seals, and softer materials.
- Soap does not replace rinsing because residue still clings without clean water.
A simple rule keeps the job sane: soap should loosen the mess, not do every bit of cleaning alone. Your next decision is the detergent itself, because the wrong formula can leave haze, staining, or a weak clean.
The choice of cleaner matters just as much as the wash itself, because surfaces react differently to the same formula.
Choosing A Detergent That Fits The Surface
Concrete, paint, and wood do not hold grime in the same way. A driveway often needs a degreaser, while car paint and glass do better with an auto-safe detergent that avoids haze on clear coat and trim.
That same logic applies to siding and decks. House wash formulas need to respect vinyl, fiber cement, and caulk joints, while deck cleaners should lift weathering without roughing up the wood fibers.
| Surface | Cleaner Type | Why It Fits |
|---|---|---|
| Concrete driveway | Degreaser or driveway detergent | Lifts oil, tire marks, and dark film from porous cement |
| Vinyl siding | House wash detergent | Targets grime without harsh abrasion on trim and seams |
| Car paint and glass | Auto-safe soap | Helps clean without hazing clear coat or leaving film |
| Wood deck | Deck cleaner | Releases weather stain while staying gentler on fibers |
| Garage floor | Concrete degreaser | Handles oil spots and rubber transfer better than soap alone |
Harsh household cleaners can dull paint, dry out rubber, and leave plant damage near the work area. That risk is why pressure washer safe soap is usually the better choice for seals, coated surfaces, and anything that sits close to landscaping.
Greenworks and Simpson both publish detergent-path guidance because washer design changes what gets drawn and where it goes. Even a good formula fails if your machine cannot move it through the pressure washer soap dispenser.
That compatibility depends on more than chemistry, since the washer’s delivery system controls whether detergent reaches the surface at all.
Soap Systems On Electric And Gas Washers
A built-in detergent tank, a siphon hose, and a downstream injector all feed cleaner in different ways. Some electric models depend on a low-pressure soap nozzle, while many gas units can draw from a separate bottle with more consistent flow.
That difference shows up fast in real use. A stronger pump and better injector path often create steadier pickup, while a weaker setup may need the exact soap setting before detergent reaches the spray pattern.
Common detergent paths
The tank is the simplest setup because the washer stores detergent onboard and meters it internally. A siphon hose pulls cleaner from a separate container, and a downstream injector adds soap after the pump so the pump side stays cleaner.
Check the owner sheet before you fill anything. Pressure washer soap guide advice only helps if the machine actually supports the path you plan to use, and that detail decides whether soap reaches the nozzle at all.
| System | How It Feeds Soap | What You Should Check |
|---|---|---|
| Built-in tank | Stores detergent inside the washer body | Tank cap, fill line, and detergent rating |
| Siphon hose | Pulls cleaner from a separate container | Tube length, filter screen, and priming |
| Downstream injector | Adds soap after the pump at low pressure | Soap tip, injector size, and hose placement |
Ferguson Home and Greenworks both point to the same practical issue: detergent pickup depends on the machine’s soap path, not just the bottle on the floor. Once that path is clear, the next job is mixing the liquid at the right strength.
Flow becomes the real variable here, and getting the mix right keeps the cleaner effective without wasting product.
Mixing Detergent To The Right Strength
The label ratio matters more than foam height or smell. A mix that looks rich in the bucket can still be too weak in the detergent tank, while an over-strong batch can leave streaks and sticky residue after the rinse.
How much soap to use in a pressure washer depends on the formula, the surface, and the machine’s draw rate. A 10:1 mix means 10 parts water to 1 part cleaner, and a 20 oz tank may need only a few ounces of concentrate topped with water.
Fill level examples that stay sane
- Small tank, light soil Use the label ratio and fill only to the marked line.
- Half-gallon bottle Start with the maker ratio, then add water to the fill mark.
- Concentrated formula Pre-dilute only when the label says to do it.
- Garage degreaser Mix weaker for maintenance soil, stronger for old oil spots.
- Vehicle soap Keep the mix gentle so rinse film stays low on paint and glass.
Dilution works like salt in soup, not perfume in a room. Too much can leave a film that grabs dust after drying, and too little acts like plain water that never really enters the cleaning cycle.
Dawn dish soap comes up often, and caution is the right answer. It can foam hard, but it is not always pressure washer safe soap for seals, pumps, or finishes, so a purpose-made detergent is usually the better fit.
Too much concentration can look powerful at first, but proper application matters more than brute force.
Using The Soap Nozzle And Low-Pressure Setting
The black soap tip is the usual choice because it opens the spray pattern and lowers pressure enough for detergent draw. A fan tip nozzle can rinse well, but the soap nozzle for pressure washer use is the tool that lets cleaner stay on the surface long enough to work.
Start with the soap setting, then switch to high-pressure mode only after the detergent has had time to loosen the grime. That sequence keeps the pump under the right load and reduces the chance of blasting cleaner off before it can break down residue.
Keep the wand moving in overlapping passes. A steady coat from bottom to top makes streaks easier to spot, and it keeps soap from running ahead of the spray line.
Application order that stays even
Move across the panel in smooth, narrow bands. Bottom-to-top application sounds backward, but it reduces visible striping because fresh soap does not run over dry spots as quickly.
On siding, leave a small overlap between passes. On a car, stay farther back than you would on concrete, because automotive finishes show uneven coverage almost instantly.
A soap nozzle for pressure washer work is a delivery tool, not the final cleaning step. The rinse nozzle finishes the job after the grime has loosened, and that makes dwell time the next thing that matters.
That low-pressure pass only starts the process, because the cleaner still needs time to loosen what remains stuck.
Letting The Cleaner Dwell Without Drying
Soap needs a short wait to break down grime, and the sweet spot is brief. A driveway may need several minutes, while car panels and sunlit siding often need a faster rinse before the film dries into streaks.
Sun, heat, and wind pull moisture out of the mix fast. A dark garage door on a July afternoon can dry far quicker than a shaded north wall, so the same detergent behaves differently from one side of the house to the other.
Surface timing that helps
Painted metal and glass need the shortest dwell because they show spots quickly. Concrete can sit longer since its pores hold cleaner without the same streaking risk, and deck boards sit in the middle because grain can trap residue.
Auto-detailing products from Meguiar’s and Chemical Guys are built around that kind of timing, because surfactants stay active only while the film remains wet. Once the surface dries, the cleaner loses much of its slip and has to be reapplied.
Reapply lightly if the coating starts drying before the pass is done. A thin second coat is better than trying to scrub dry soap back to life with pressure alone.
Even a good soak has limits, especially when the surface begins to dry and the residue tightens again.
Rinsing, Flushing, And Solving Soap Pickup Problems
Clean water should leave no suds, no haze, and no slick film under your fingers. A thorough rinse matters because leftover detergent can spot glass, attract dust, and make concrete look blotchy after it dries.
Flush the injector, hose, and tank after use so soap residue does not harden in the line. A clogged filter screen or a dried siphon hose can turn the next wash into a weak trickle instead of steady draw.
Troubleshooting weak foam and no-dispense issues
- Wrong nozzle Use the black tip or low-pressure setting before trying to draw soap.
- Empty siphon tube Prime the line and keep the pickup end submerged.
- Clogged filter Rinse the inlet screen and clear grit from the pickup end.
- Too-thick mix Thin the detergent to the label ratio so the injector can move it.
- Blocked injector Flush the system with clean water after every wash session.
Rinse the pump path with clean water before storage. A minute of flushing can stop sticky residue from hardening inside the soap dispenser, which saves you from a stubborn startup problem next time.
The usual causes are simple: the wrong tip, an empty siphon line, a clogged screen, or a detergent mix that is too thick for the injector. Fix those four spots before you blame the pump.
Electric pressure washer units can be pickier than gas models, so the soap setting has to match the machine’s draw design. Once the rinse is done and the lines are clear, the whole pressure washer soap guide comes down to one habit: use the mildest product that still clears the mess.
With the system running cleanly, the simplest rule still stands: choose the gentlest detergent that gets the job done.
Final Thoughts
The safest cleaning result comes from matching detergent to the surface, using low-pressure application, and rinsing before the film dries. That sequence protects paint, siding, and seals, while also keeping the soap system clear enough for the next job.
FAQ
How much soap should I put in my pressure washer?
Use the dilution ratio on the label, then stay near the fill mark on the tank or bottle. A small tank often needs only a few ounces of concentrate topped with water, while a stronger degreaser may call for a much lighter mix on painted surfaces.
Can I run Dawn dish soap through my pressure washer?
Dawn dish soap can foam, but it is not the safest choice for every washer or finish. Specialty detergent made for pressure washers is a better fit because it is built for the pump path, the nozzle flow, and the surface you are cleaning.
What pressure washer tip is for soap?
The black soap tip is the usual choice because it lowers pressure and opens the spray pattern. That low-pressure setting lets detergent draw properly, while the rinse tip brings full force back only after the cleaner has loosened grime.
How do I use the soap option on a pressure washer?
Fill the tank or siphon bottle, switch to the soap nozzle, and spray an even coat from a short distance. Give it a brief dwell, then switch to high pressure and rinse the surface clean before the detergent dries.
Why is my pressure washer not picking up soap?
A wrong nozzle, empty siphon hose, clogged filter, or mix that is too thick can stop pickup. Flush the line with clean water, prime the hose, and check the detergent path before assuming the washer has a pump problem.