
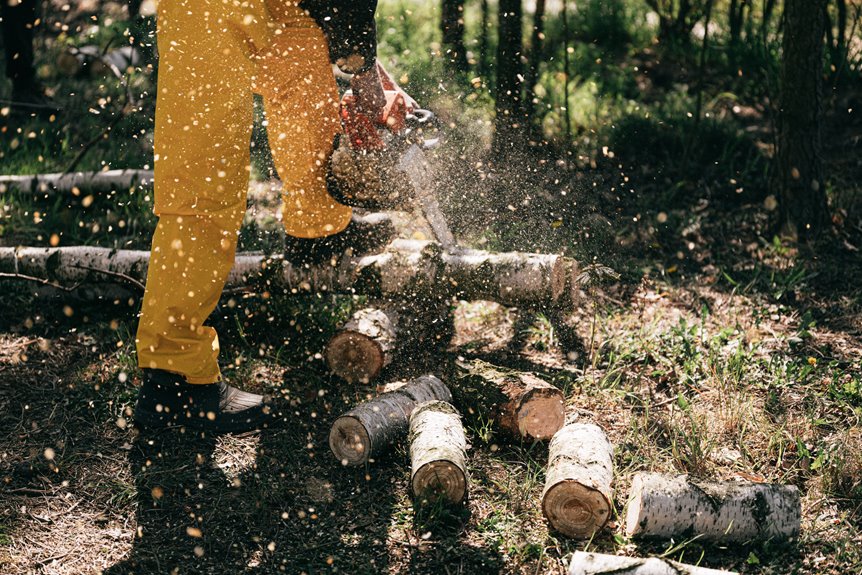

If your chainsaw has started chewing instead of cutting, you can fix it at home with a few careful steps. You will learn how to spot a dull chain, choose the right file, and hold the proper angle so every tooth works the same. Then you will set the depth gauges and check your cut for a smoother finish. A sharp chain saves effort, reduces kickback, and makes the saw feel far less stubborn.
Tell If Your Chainsaw Chain Is Dull
As your chainsaw starts working harder than it should, that’s usually the first clue that the chain is dull.
You may notice reduced cutting speed, so each pass feels slower than it used to. Instead of clean chips, you’ll see excessive sawdust, which tells you the teeth aren’t biting well. You may also have to press harder, and that extra effort can wear you out fast. When the saw starts wandering in the cut or leaving rough edges, that’s another sign it needs attention.
Trust what you see and feel. A sharp chain should move smoothly, cut straight, and let you work with less strain. When those signs fade, you aren’t doing anything wrong. Your chain just needs help.
Choose the Right Sharpening Tools
Whenever your chain starts to cut slowly or feel rough, the right sharpening tool can make the job much easier and more accurate.
For file selection, choose a round file that matches your chain’s pitch, because the wrong size can lead to frustration quickly.
A file guide helps you hold the angle steady, so you stay consistent.
If you’d rather work faster, consider grinder options that suit home use and your chain type.
Choose one with clear angle settings and gentle control, since too much speed can damage the teeth.
When you match the tool to your chain, you get cleaner cuts, less strain, and a setup that feels much more manageable.
Secure the Saw Before Sharpening
Before you touch a file or grinder, give your chainsaw a safe, steady home. Set the saw on a flat bench, then use a vise clamp or chain clamp so it will not shift as you work. If you run a battery saw, remove the battery first, then keep the chain brake on while you secure it. A snug chain makes the job easier and helps you stay accurate, so check that there is no extra slack. Mark one tooth with a crayon so you can keep your place and follow a careful routine.
| Step | Why it matters |
|---|---|
| Remove power | Stops surprise starts |
| Clamp saw | Adds steady control |
| Engage brake | Keeps the chain still |
| Mark a tooth | Tracks your starting point |
Sharpen the Chain by Hand
Hold the file at the chain’s factory angle, usually around 30 degrees, so each cutter keeps its shape and cuts cleanly. Keep the chain snug in the vise and work with the brake set, because a steady chain makes filing much easier.
Then use the same light, even strokes on every tooth so one cutter doesn’t outlast the rest.
File Angle Basics
A correct file angle is the secret to a sharp chainsaw, and it’s easier to manage than it sounds. You can trust the factory angle reference on the chain or file guide to show the path. Hold the round file at about 30 degrees to the cutter, then keep the file angle consistent from tooth to tooth.
That steady hold helps each edge cut the same way, so your saw feels like part of your team again. Keep the file flat and don’t let it rock, because a tilt can round the edge fast. Move forward with light pressure, and let the file do the work.
As soon as you match every cutter to the same angle, you build a chain that bites cleanly and works with you.
Stabilize the Chain
Start by locking the cooled chain saw in a vise or chain clamp on a solid surface. A steady saw is a safer saw. You will feel more in control right away, and that stable setup helps you work with the tool instead of against it. Remove the battery pack if your saw uses one, then set the chain snug, not loose. A firm vise setup keeps the bar from shifting as you file.
| Check | Good sign | Why it matters |
|---|---|---|
| Clamp grip | Tight and steady | Stops wobble |
| Chain position | Snug | Keeps filing accurate |
| Starting tooth | Marked | Helps you track your path |
With the chain brake engaged, your hands stay free to focus on the cutters. Use the chain clamp if your vise will not fit the bar well.
Even Strokes Matter
Once you start filing, keep every stroke steady and match the same motion on each cutter. You’re building rhythm here, and that’s what helps the chain feel balanced.
Hold the file at the same angle, then push with the same pressure every time. Whenever you rush or vary your motion, one tooth gets longer and the cut starts to pull.
So, aim for stroke consistency and equal filing across the whole chain. Work one side initially, then switch and repeat the same count on the other side. If a cutter needs just two strokes, give every cutter two.
A tiny burr will show you’re close. That small line means you have done your part, and the chain is ready for the next step.
Keep the Same Angle on Every Tooth
Because every cutter has to work at the same level, you need to keep the file at the same angle on each tooth as you sharpen the chain.
That angle consistency protects tooth alignment, so the chain bites evenly and feels steady in your hands. If you drift even a little, one cutter will cut harder than the rest, and the saw can wander. Envision this:
- A row of matched teeth shining like tiny hooks.
- A file gliding in the same path on every stroke.
- A chain moving through wood with a smooth, even pull.
Set the Depth Gauges Correctly
After you finish filing the cutters, set the depth gauges to the correct height so the chain can bite wood without grabbing too hard. Use a depth tool to check the gap, then file each raker with a few light strokes. Keep the same height on every tooth, and match the setting to the wood type you are cutting. Soft pine needs a slightly lower raker, while hard maple needs a gentler bite. That small change helps you stay in control and supports kickback prevention.
| Wood type | Raker height | Feel |
|---|---|---|
| Softwood | Lower | Faster bite |
| Hardwood | Higher | Smoother feed |
| Mixed stock | Middle | Balanced cut |
Work slowly. You are tuning the chain to feel like part of your hands.
Test for Even, Clean Cuts
Now you can test the chain with a clean cut and watch how it moves through the wood. You want each tooth to bite the same way, because one weak cutter can leave a rough, wavy slice quickly.
If you spot a tooth that drags, skips, or leaves extra dust, that’s your clue that it needs more filing.
Cutting Smoothness Check
To check whether your chain is truly ready, make a few test cuts in clean wood and pay close attention to how the saw feels and sounds. You want the chain to move through the cut with steady pressure, not struggle or chatter. That easy glide shows good cutting smoothness and supports finished cut quality, so you can trust the work you just did.
- Watch the chips. They should fly out in even, bright curls.
- Feel the pull. The saw should track forward without forcing you to lean in hard.
- Look at the wood face. It should appear flat, tidy, and free of rough tearing.
If the saw hums along and the cut stays straight, you have a chain that feels right in your hands and fits the job well.
Identifying Uneven Teeth
When the saw starts cutting cleanly, use that as your cue to check the teeth more closely. You want each cutter to match because uneven teeth can hide wear and make the chain pull sideways.
Look down the row and compare one tooth to the next. If one tooth is shorter, duller, or shinier, it needs attention. Also watch for mixed file marks, chipped corners, or a rounded edge that no longer bites well.
As soon as one side looks stronger than the other, your cut won’t stay straight. You’ll spot the problem fast if you scan both sides under good light. That quick check helps you stay in control and keeps your saw working properly.
Keep Your Chainsaw Chain Sharp Longer
A sharp chain stays sharp longer when you treat it with care every time you use it. Build routine maintenance habits that fit your day, and your saw will work with you instead of against you. After each cut, brush off sap, check the tension, and let the chain cool before you store it. Use proper storage practices, such as keeping the bar dry and the chain lightly oiled.
- Visualize a clean chain resting in a vise, ready for its next trim.
- Envision a snug chain brake and a dry garage shelf, not a muddy corner.
- See each tooth moving through wood with easy, steady bites.
Also, avoid dirt, stones, and dull wood. Whenever you notice smoke or sawdust instead of chips, sharpen sooner. That way, you stay safe, and your saw stays in good working condition.
Frequently Asked Questions
How Often Should I Replace a Chainsaw Chain Instead of Sharpening It?
You should replace your chainsaw chain whenever sharpening no longer restores its cutting performance, usually after heavy use or visible damage. Watch for replacement signs such as cracks, stretched links, or teeth that will not hold an edge.
Can I Sharpen a Chainsaw Chain Without Removing It From the Saw?
Yes, you can, but you will need in-place sharpening tips and extra safety while filing. Secure the saw, remove the battery, engage the brake, and keep the chain snug for accurate, steady strokes.
What File Size Matches My Specific Chainsaw Chain?
You’ll match file size by checking your chain’s pitch on a chain pitch chart and using the file gauge guide. When you follow both, you’ll sharpen confidently, and your saw will feel right.
Is Electric Sharpening Better Than Hand Filing for Beginners?
Hand filing is usually better for beginners because it gives you more control and supports beginner safety, while electric sharpeners can remove material quickly. If you are careful and patient, you can get consistent results faster.
How Do I Know When a Chain Is Too Damaged to Sharpen?
You’ll know it is beyond sharpening when the chain shows cracked, bent, or missing cutters, stretched links, or uneven wear. Once it reaches the replacement limit, do not force it. Replace the chain and stay ready.


