
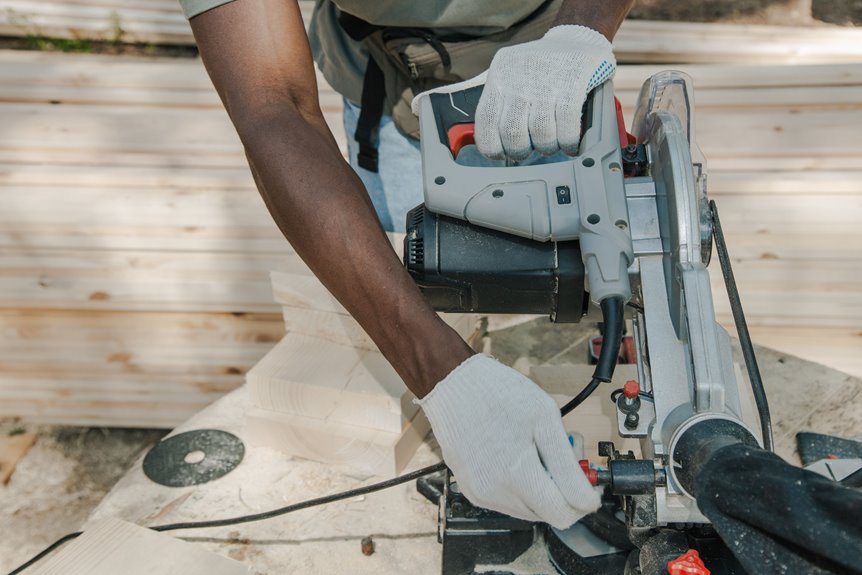

Set up the saw correctly from the start, and your crown molding cuts will be more accurate and consistent. You can stand the trim on a tall fence, lay it flat for compound cuts, or use a double-bevel saw to avoid flipping the stock. Once you choose the setup that fits your room, the process becomes easier, and the corners make much more sense.
Start With the Right Crown Molding Setup
Before you make the initial cut, get the molding set up the right way.
To cut crown molding with confidence, nest it vertically so the bottom decorative edge rests against the saw fence. That keeps the piece in the same position it will have on the wall, and it helps you skip bevel cuts.
Use the saw’s tall sliding fence and crown stops so the molding stays fully supported.
If your saw is a DEWALT, check the capacity first: DW713 fits about 4 1/2 inches, DW715 about 5 1/4 inches, and DW716 or DW718 about 6 5/8 inches.
Then test your setup on scrap stock, because room angles can vary a lot and small mistakes add up fast at corners.
Use Vertical Nesting for Easier Cuts
Slide the crown molding into a vertical nest, and the cut becomes much easier. Place the decorative bottom edge against the tall fence, let the spring angle point up, and skip bevel cuts. That means you only adjust the miter, which is simpler when you are chasing a clean fit with your crew.
| Step | What to do | Why it helps |
|---|---|---|
| 1 | Check fence height | It fits larger crown molding |
| 2 | Clamp crown stops | It keeps each piece steady |
| 3 | Test on scrap | It helps with inside and outside corners |
If you use a DEWALT saw, confirm the fence can handle your profile. Then test scrap pieces before you cut the real trim. With the molding nested the right way, your layout stays clear, and left and right cuts feel more predictable.
Set Up Flat Crown Cuts
Once you’ve got crown molding nested upright, it’s time to lay it flat and set up the saw for clean compound cuts.
Place the broad back on the table and keep the top edge against the fence. Then set the bevel to 33.85 degrees and the miter to 31.62 degrees for common 52/38 profiles, but check your molding first.
When you’re cutting crown molding for inside corners, keep the saved end on the wall side so you waste less stock. For outside corners, reverse the bevel direction and keep the same angle pair.
Before you cut the real piece, test on scrap and mark top, bottom, left, and right. That small step saves money and keeps your cuts steady.
Set Up Double-Bevel Cuts on DW716 and DW718
On your DW716 or DW718, you can set up double bevel cuts so you don’t have to flip the crown molding at every corner.
Set the bevel to 33.85° and the miter to 31.62° for standard 45° crown, then keep the molding flat with the top edge against the tall fence.
For inside and outside corners, switch the bevel direction to match the cut, and test on scrap first so you don’t waste a good piece.
Double-Bevel Setup
Dial in your DW716 or DW718 for double bevel crown work, and you can make clean corner cuts without flipping the molding over and over like a puzzle piece. When you use the double bevel setup, crown work feels steady instead of stressful.
- Set the bevel to 33.85° and the miter to 31.62° for standard 52°/38° crown.
- Keep the crown flat, with the back on the table and the top against the fence.
- Use the saw’s double bevel feature so you can switch directions without changing the molding’s position.
Then test on scrap. Rooms aren’t perfect, and small miter tweaks often help more than bevel changes. A practice cut can save your trim and your mood.
Inside And Outside Cuts
Inside and outside corners can feel tricky at first, however the double bevel setup on your DW716 or DW718 makes them much easier to handle.
Set your crown molding for a 52 degree profile using a 33.85 degree bevel and a 31.62 degree miter.
For inside corners, tilt the bevel left and miter right to save the left end, or switch to bevel right and miter left to save the right end.
For outside corners, reverse that pattern. Bevel right and miter left to save the left end, or bevel left and miter right to save the right end.
Keep the top edge against the fence and the back flat on the table.
Before you cut the good piece, test a scrap, mark your save end, and adjust as needed.
Measure and Mark Crown Molding
A clean crown molding layout starts with careful measuring and marking, because one small mix-up can waste a good piece fast. Measure the wall to wall distance for each run, then transfer that length to the back flat edge of the crown molding. Account for whether you’re measuring along the bottom edge or the top edge, depending on the nesting method. Mark the face as well, so your crew knows the cut side at a glance.
- Inside corners: mark from the finished corner to the nearest cut point.
- Outside corners: mark the stop point, and note whether to save left or save right.
- Before you cut, record the wall angle with an angle finder.
Then match that angle to the correct miter chart, and you’ll be ready instead of rushed when the saw comes alive.
Make Test Cuts and Fix Corner Errors
Once your measurements are marked, make test cuts on scrap crown molding before cutting the real pieces. This is the fastest way to catch a bad setup before it turns into wasted stock. Make at least two cuts, and nest the scrap the same way you’ll cut the real trim.
If you’re standing the molding up, adjust only the miter for out of square corners and use your angle finder to match the wall. If you’re using the flat method, set the bevel to 33.85° and the miter to 31.62° for standard profiles, then check both left and right cuts. Small gaps happen, so cut a little long, scribe the corner, and trim a bit at a time until the joint feels tight and right.
Install and Finish Crown Trim
Now that your corner cuts are ready, measure each wall angle again so you can match the trim to the room, not just the plan.
Then cut a test piece, check the fit, and adjust before you nail the crown in place.
Once it fits cleanly, secure the runs, caulk the seams, and smooth the finish so the molding looks built in from the start.
Measure Wall Angles
How do you make crown molding fit a room that isn’t perfectly square? Start measuring each corner with a digital protractor or angle finder. Record the inside angle to the nearest 0.1° so your crown molding matches the room, not the ideal version of it.
- For inside corners, subtract the wall angle from 180° and divide by 2.
- For outside corners, use the corner angle and your crown profile chart.
- Mark one end as the save end so you keep mirror cuts straight.
Then check both adjoining walls, because a room can surprise you. Keep your numbers close, and don’t trust a guess.
After that, test the setting on scrap molding in the same nesting position you’ll use at the saw. That way, you cut with confidence and stay in the club of builders who get it right.
Cut And Test Fit
Trim the first piece, then test it carefully, because it matters.
Hold your crown molding with the decorative edge facing out, just as it will sit when you’re finished.
Dry fit each piece on the ceiling and wall, and check for gaps at the seams and corners.
Use a level, then tack the trim with short brad or pin nails so you can verify the fit without committing it fully.
If a joint opens up, mark the high spot and trim a little more.
For inside corners, try a coped joint or make small cuts, then test again.
Don’t discard a long piece just because one end is off.
When every fit looks right, you’re ready for the final install.
Nail And Caulk
Fasten the crown in place with finish nails, then seal the seams so the whole run looks built in, not stuck on. Use 16-gauge finish nails, 1 1/4″ to 2″, and drive them into studs and ceiling joists every 12 to 16 inches, plus at each joint. If you miss the framing, add another nail where the wood backs you up.
- Set each nail slightly below the surface with a nailset.
- Fill the holes with paintable wood filler or lightweight spackling.
- Run paintable acrylic latex caulk along the top and bottom seams.
For inside corners, use a thin bead to hide small gaps in crown molding. For larger gaps, pack in shim material first.
Then lightly sand, wipe clean, prime, and paint for a smooth finish your room can wear proudly.
Frequently Asked Questions
What Do I Set My Miter Saw on to Cut Crown Molding?
Set your miter saw to the crown’s spring angle and follow the chart for safe settings; for standard 45/45 crown, use a 31.62° miter and 33.85° bevel. You’ll fit the pieces together with confidence.
Why 31.6 Degrees for Crown Molding?
You use 31.6° because that compound angle splits the crown’s spring angle so both cuts meet cleanly at a perfect corner. It helps you work like the pros faster, and your trim will fit without fighting you.
What Should You Never Cut With a Miter Saw?
You should never cut masonry, concrete, metal, glass, nails, wet lumber, tiny scraps, or oversized stock with your miter saw. Those cuts can damage your saw, throw material, and leave you unsafe and frustrated.
What Is the Trick to Cutting Crown Molding?
You nest the crown vertically, bottom edge against the fence, and cut only the miter. Shadow lines guide the fit, so the piece sits as intended. Test scraps first, then make the final cuts.


