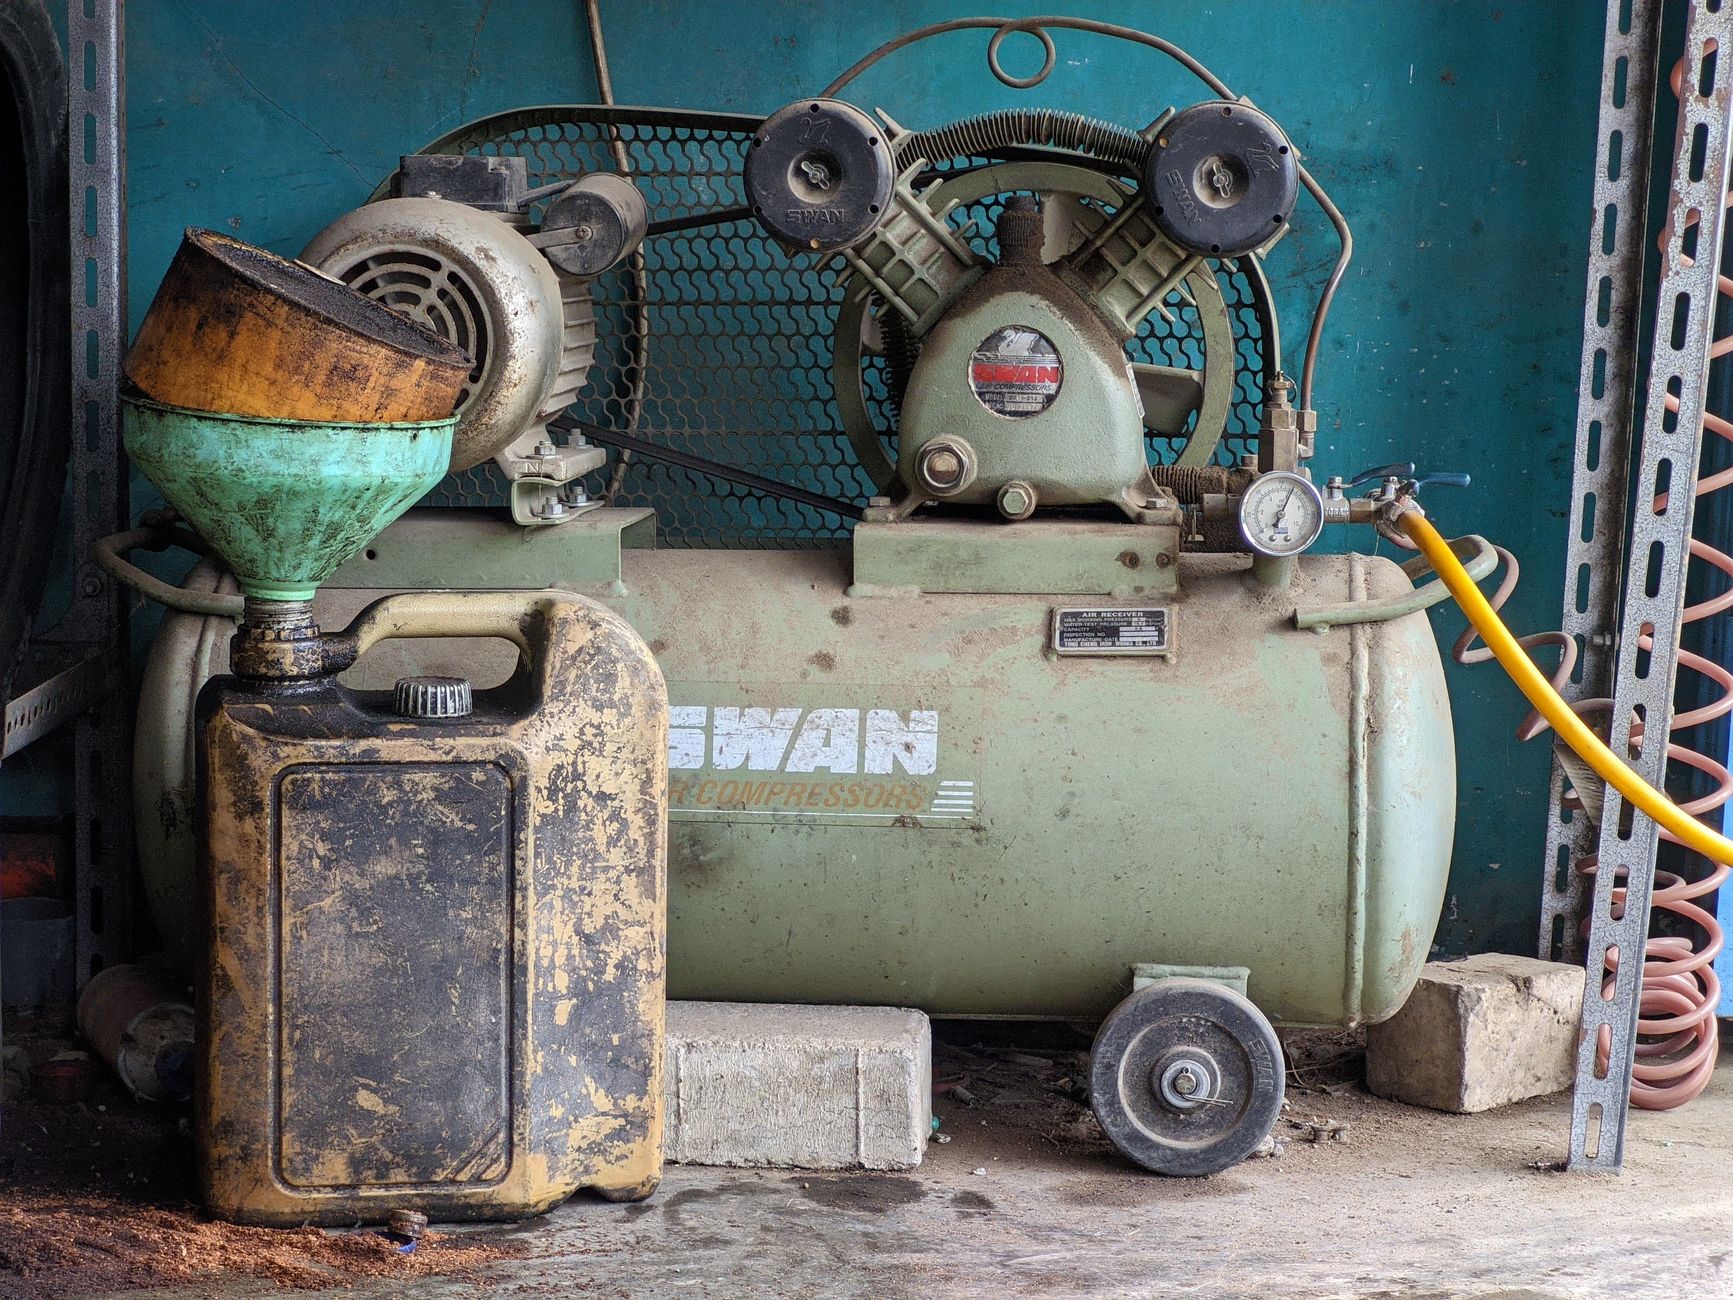

After switching the unit off and bleeding off tank pressure, open the lowest drain valve so trapped condensation can escape before rust starts forming inside the tank. That simple routine protects tools, slows tank corrosion, and keeps wet air out of the line.
This guide covers the practical steps for draining an air compressor tank, along with the safety checks, valve locations, and rust-prevention habits that matter for shop and garage equipment.
Why moisture collects inside the tank
As hot compressed air cools inside the tank, its water vapor condenses into liquid droplets and settles along the bottom. The air compressor tank becomes the low point, so condensation settles there first.
Humidity, runtime, and temperature swings change the load
Warm, damp garages leave more water behind than dry basements. Long run times and repeated starts also add more condensate because the compressor keeps pulling in humid intake air and reheating it during compression.
A nailer running through a humid summer afternoon can leave a tablespoon or more of water in the tank by day’s end. A short inflation job in a cool shop leaves less, but the same tank still collects moisture.
Neglected drainage leads to rust and dirty air
Standing water attacks bare steel from the inside, so tank corrosion starts where you cannot see it. Rust flakes then move through the compressed air system and can gum up valves, stain paint, and shorten tool life.
Moisture buildup also reaches hoses, regulators, and air tools. That is why drainage matters even on a small portable unit, and why the safety sequence comes before the drain valve ever opens.
Before any fitting moves, the tank has to be safe enough to handle without surprise pressure.
The safety checks before you open the drain
Shut off power first, then make sure the compressor cannot restart while your hand is near the tank. A few seconds of prep keep the drain step predictable and far safer.
Release tank pressure to zero
Open the pressure relief valve or bleed the outlet until the gauge drops to zero. A pressurized tank can spray water and sediment hard enough to sting skin or soak clothing.
Keep the outlet pointed away from your face and body while you work. A side stance gives you a clearer view of the fitting and keeps the discharge path away from your hands.
Run a quick pre-drain check
- Power off Unplug the compressor so the motor cannot restart during draining.
- Zero pressure Confirm the tank gauge reads empty before the valve moves.
- Dry footing Stand on a stable surface so a wet floor does not turn into a slip hazard.
- Face away Point the outlet and valve opening away from skin and eyes.
- Clear space Move hoses, rags, and cords out from under the tank.
Once the tank is safe, you can find the drain without guessing. Portable units and larger shop systems place it in slightly different spots, and that matters when the compressor sits low on a cart.
With the tank safe, the challenge becomes locating the right fitting without crawling around blindly.
Finding the drain valve on common compressors
The drain valve usually sits at the bottom of the tank, near the lowest point where water settles. On many portable units, you will see it under one end of the tank near the wheels or feet.
Petcock, ball valve, and larger manual drains
Petcock valves use a small knob or screw and open with a short turn. Ball valves use a lever, and larger manual drain valve setups move more air and water with less finger effort.
Campbell Hausfeld portable units and similar homeowner compressors often use a simple manual drain valve for air compressor maintenance. Fluid Air Dynamics and shop-supply systems may pair that valve with a larger receiver layout, which places the outlet farther back or lower on the frame.
Stationary and industrial tanks hide the outlet better
A stationary compressor can mount the drain behind a shroud, below a cabinet, or near a leg that blocks your view. Some industrial units also use an automatic drain valve for air compressor tanks, so the manual outlet may look smaller or sit off to one side.
AirCompressors.com and shop service teams point to the same practical rule: trace the lowest point on the tank, then look for a threaded fitting, lever, or small hose lead. That habit saves time and keeps you from pulling the wrong plug or cap.
Once you spot the valve type, the draining itself is straightforward. The key is to empty the tank cleanly, not just crack the fitting and walk away.
Once the valve is found, a careful drain matters more than a quick burst of trapped water.
Draining the tank cleanly and completely
Open the drain valve slowly so trapped air leaves in a controlled hiss instead of a hard burst. Water should follow right away, sometimes with a bit of dark sediment at the start.
Use a controlled opening and watch the flow
- Open slowly Turn the valve just enough for air to escape first.
- Let it run Wait until the spray turns into a thin drip or stops.
- Rock gently Tilt or rock the compressor a little only when pooled water stays behind.
- Check the bottom Listen for hissing that signals remaining air pockets.
- Close firmly Shut the valve securely before reconnecting power.
Rocking works because the tank floor has a slight low spot, and water clings there through surface tension. A small shift lets the last bit move toward the outlet, but heavy lifting or tipping is unnecessary and awkward.
Do not force a stuck valve open with pliers. Corrosion can snap the stem or tear the seal, which turns a routine drain into a repair job.
Confirm the tank is empty before restarting
Air should stop hissing before you close the drain. Close it, then give the fitting a quick look for drips around the threads and washer area.
That final check matters because a loose valve can leak pressure during the next run cycle, and a leaking tank never fills or shuts off the way it should. From there, setup details start to matter, especially on larger systems.
A fully emptied tank also protects the rest of the system, which is where drain styles start to matter.
Portable, stationary, and automatic drain setups
Small portable compressors need manual attention more often than big shop systems do. Larger units may use a scheduled automatic drain valve for air compressor tanks, which opens on a timer or with a float mechanism to remove water without daily handling.
Manual drain and automatic drain side by side
| Setup | What You Do | Best Fit |
|---|---|---|
| Portable unit | Open the manual drain valve after use | Garage work, trim carpentry, small jobs |
| Stationary shop unit | Drain by hand or add an automatic drain valve for air compressor tanks | Longer runs, daily shop use |
| Industrial system | Use scheduled drainage, separators, and dryers as part of the compressed air system | Paint lines, fabrication, production work |
An automatic drain helps where water gathers fast or where the tank sits in a hard-to-reach spot. It does not replace inspection, because sediment and corrosion still need a human eye from time to time.
Choose the setup that matches your use
Manual draining fits light use and a tight budget. Automatic drainage fits busier systems, and a water separator or air dryer fits shops that need drier air at the tool end.
That choice leads straight to the next question, because how often you drain changes with weather, load, and storage conditions.
Those setup differences affect maintenance, and maintenance frequency shifts with how the compressor is used.
How often to drain based on use and climate
In damp weather, cold storage, or unheated spaces, moisture builds faster, so the tank should be drained more often after heavy use. A compressor that runs for an hour in July gathers far more condensate than one that runs for ten minutes in a dry basement.
Use and weather set the pace
- After long jobs Empty the tank at the end of extended sanding, painting, or framing sessions.
- Damp garages Drain again before storage in humid rooms or coastal climates.
- Cold sheds Condensation rises as warm air cools quickly in winter storage.
- Daily shop work Drain as part of closing duties, not as an occasional chore.
- Light weekend use A quick drain after the last task of the day is enough.
How often to drain an air compressor depends on use, but regular drainage is part of air compressor moisture control, not a cleanup step you do once in a while. Skipping it lets water sit long enough to stain the tank walls and foul the outlet.
The wetter the air and the longer the run, the sooner the tank needs emptying. Once water returns fast, the system needs more help than a manual drain alone can give.
Frequent moisture means the tank is working harder, and that extra burden can reveal deeper control issues.
When water returns quickly and the system needs help
Repeated puddles inside the tank point to a moisture-control issue upstream. A water separator, aftercooler, or air dryer can cut the load before air reaches the receiver tank.
Tank water versus system moisture
Normal tank water comes from air cooling after compression, so a small amount is expected. Wet air tools, paint spitting, or water at the hose end point to a broader compressed air system problem.
Rust flakes, persistent leaks, and oily grime in the discharge line deserve attention too. Those signs suggest the tank is already shedding material or the intake and delivery path needs a closer look.
Water at the drain is normal. Water at the tool outlet, in a spray gun, or inside a die grinder points to a larger moisture-control fault.
Accessories that cut moisture upstream
An aftercooler cools hot compressed air before it reaches the receiver tank, which lets more water drop out early. A water separator catches droplets that travel farther, and an air dryer removes more moisture before the air reaches sensitive tools.
Those parts matter in paint work, sandblasting, and any shop that runs long cycles. They also give the tank less work to do, which slows corrosion and keeps the drain from becoming a daily rescue step.
Persistent water often points to mechanical trouble, not just a dirty tank, so the drain hardware deserves a close look.
Stuck valves, leaks, and other drain problems
A stiff valve, a clogged outlet, or a leak after closing usually means buildup or wear at the seal. Start with gentle cleaning and inspection, not brute force.
What to do with a stuck or clogged valve
- Use caution Stop and reassess instead of forcing a seized stem.
- Clear debris Wipe rust and grit from the exterior before another attempt.
- Work the handle Move it a small amount back and forth only after pressure is zero.
- Check threads Look for scale, dried tape, or damaged seals around the fitting.
- Replace early Swap the valve when stiffness or leakage keeps returning.
A drain that will not seal can leak slowly enough to empty the tank overnight, and that hidden loss is easy to miss. A corroded valve body or bent stem is usually cheaper to replace than to nurse along.
One more distinction helps here: drain oil and drain water are not the same job. Air compressor maintenance deals with condensate in the tank, while oil changes belong to the pump crankcase on oil-lubricated models.
Replace damaged hardware before it fails again
Swap the valve when the handle feels sloppy, the threads are chewed up, or the seal never closes cleanly. Small brass drain fittings are inexpensive compared with a rusted tank or a stalled workday.
That final check closes the loop. A safe drain keeps the tank healthy, and the right moisture-control setup keeps the problem smaller the next time the compressor runs.
When those small faults are fixed, the whole system settles into a much easier routine.
Final thoughts
The safest way to drain the tank starts with shutdown, zero pressure, and a slow opening at the lowest point of the tank. Do that on a steady schedule, and rust, contamination, and wear stay lower before they build into a bigger repair. When water keeps returning fast, add separators or a dryer and treat the drain as one part of the system, not the whole fix.
FAQ
How do I empty water out of an air compressor?
Shut off power, release all tank pressure with the pressure relief valve or outlet bleed, then open the drain valve at the bottom of the tank. Let the water and sediment escape until only a drip remains, then close the fitting firmly before restarting the compressor.
Do air compressors need to be drained?
Yes. Any compressor that compresses humid air collects condensation inside the tank, and that water can cause rust, dirty air, and shorter tank life if it stays inside.
Where is the drain valve on my air compressor?
The drain valve is usually at the lowest point of the tank, often underneath one end near the wheels, feet, or frame rail. On some stationary or industrial units, it may sit behind a shroud or near an automatic drain assembly.
Should I turn the compressor off and release pressure before draining?
Yes. Turn the compressor off, unplug it if possible, and release tank pressure to zero before opening the drain valve. That sequence reduces the risk of a sudden spray of water or sediment.
How often should I drain my air compressor tank?
Drain after each heavy use and more often in humid weather, cold storage, or daily shop work. Light weekend use may only need a drain at the end of the day, but the tank should not sit full of water.
What happens if I do not drain the tank regularly?
Water stays in the tank, which speeds tank corrosion and can send rust flakes into hoses, regulators, and air tools. A neglected drain can also cause wet air at the tool end and shorten the life of the compressor tank.