
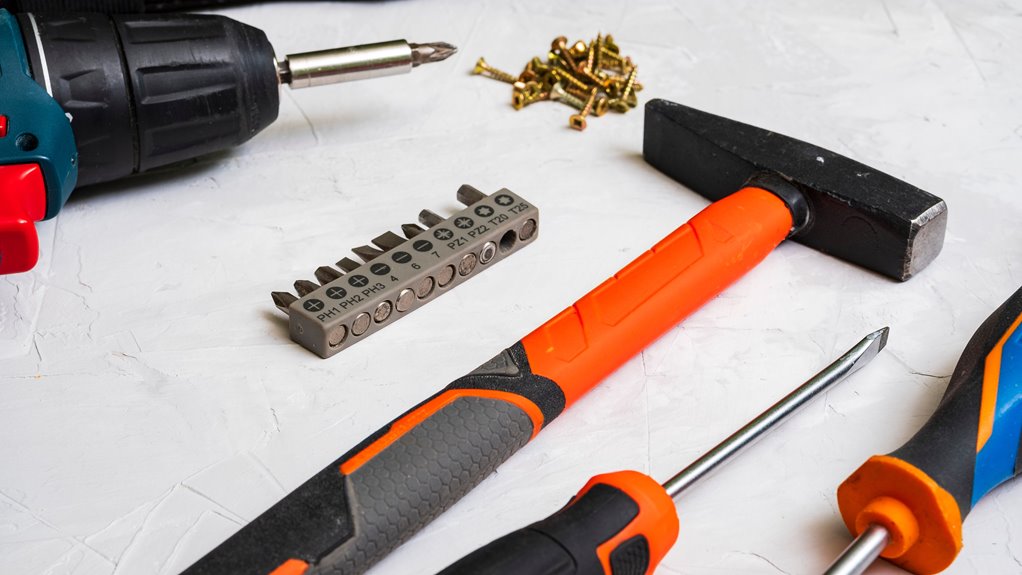

You mark, you measure, you drill, and you breathe a little easier once the hole starts clean. If you want concrete to cooperate instead of fight back, you need the right bit, a steady hand, and a few small checks before the initial spin. The tricky part is knowing what to watch for as the bit wanders, the dust builds, or the hole starts to bind, and that is where things get interesting.
Choose the Right Hammer Drill Bit
Before you start drilling, choose a masonry bit that matches the job because the bit does the real work here. You want a carbide tipped bit made for concrete, not a wood or metal bit. For solid concrete, pick a tough, sharp style that can handle heat and grit.
For brick or block, match the size to the anchor so the fit feels right from the start. This masonry bit selection matters because the wrong bit can wander, wear out fast, or leave you stuck. Next, do a quick bit compatibility check with your hammer drill chuck before you tighten it down.
Once the bit seats well, you work with more control, less stress, and a lot more confidence.
Mark the Spot and Check for Hidden Obstacles
Now that you have the right masonry bit, mark the spot carefully so the drill starts exactly where you want it. Use a pencil, tape, or a center punch, and make a small dent so the bit won’t wander. Then measure twice, because concrete forgives less than drywall ever will.
Next, check the wall for concealed rebar and concealed conduits before you commit. A stud finder with scan mode can help, and old plans or a quick visual check might save you a problem. If anything feels uncertain, shift the hole slightly and choose a safer path.
You aren’t being fussy here. You’re protecting your project, your tools, and the people around you. That’s smart teamwork, and it keeps the job moving with confidence.
Clear and Secure the Drilling Area
Before you start drilling, clear away loose tools, dust, and anything that could trip you or snag the cord.
Then mark a safe work zone so you have room to hold the drill steady and move without bumping walls, pipes, or nearby objects.
A clean space helps you stay focused, and that makes the job less stressful.
Clear Surface Obstacles
Around the drill point, clear away anything that can throw off your aim or make the tool slip. You want a clean patch of concrete, not a cluttered one, so brush off surface debris and check for concealed protrusions that can snag the bit or your hand. This small prep helps you feel steady, and it keeps you in the same safe rhythm as everyone who drills with care.
- Move loose grit aside.
- Pull away cords and rags.
- Feel for bumps or chips.
- Keep the space open and calm.
Then wipe the area so the bit meets solid concrete first. Once you do this, you aren’t just protecting the hole. You’re joining the crew of people who take control before the initial spin.
Mark Safe Drilling Zone
With the area cleared, set up a visible safe zone so you can drill with confidence and less guesswork. Mark a safety perimeter with tape or chalk, then keep cords, buckets, and loose tools outside it. This helps you stay focused and spot nearby hazards before the drill starts.
| Mark | Why it helps |
|---|---|
| Tape lines | Shows the work zone fast |
| Cone or bucket | Warns others to stay back |
| Cords tucked away | Cuts trip risks |
| Clear floor | Gives you steady footing |
You will feel calmer once the space looks organized, and that matters. Check the wall for concealed pipes, wires, or nearby hazards, then keep your hands and stance inside the safe zone. A small setup step like this makes the whole job feel more controlled and easier to manage.
Switch Your Drill to Hammer Mode
Switch your drill to hammer mode so it can chip through concrete instead of just spinning against it. On many drills, you’ll see a hammer mode or impact setting that turns on quick pounding action. That extra force helps the masonry bit bite into the surface and keeps you moving with your crew.
- Check the selector before you squeeze the trigger.
- Set the drill to forward, not reverse.
- Match the masonry bit to the chuck and tighten it well.
- Use low speed at the outset so the bit starts cleanly.
When you hear that sharper thump, you’re set up right. It feels good to know you’re using the tool the way your DIY circle does. If the drill stays in plain rotation, concrete can fight back hard and waste your effort.
Start Drilling With Light Pressure
Now that your hammer drill is set to pound through concrete, ease into the cut so the bit can bite cleanly. You aren’t trying to muscle it in; you’re helping it start strong.
Use a gentle startup with your hands steady and the drill held straight. Let the tip spin and tap the surface before you lean in. With controlled pressure, guide the bit instead of pushing it hard, and keep the hole from skating away.
When the drill shudders a little, stay calm and keep the same light touch. Once the bit digs a small groove, you can add a bit more pressure. That slow, confident start helps you work like the rest of the crew, and it saves the bit from a rough initial dance.
Clear Dust as You Drill
As you drill, dust can clog the hole quickly, so clear it often to keep the bit cutting well. Whenever you pause, back the bit out and let the debris fall free. That simple habit helps you stay in control and makes the job feel less gritty and frustrating. Try these dust removal methods:
- Tap the bit lightly.
- Vacuum the hole clean.
- Blow out loose dust.
- Brush the opening.
These hole cooling techniques also help prevent the bit from getting too hot, so your work stays smooth. When you’re drilling with others, this rhythm helps you stay in step with the crew and gives you the solid, capable feeling every good DIYer wants.
Stop at the Right Depth
Before you start drilling, set a depth stop on the bit so you don’t go too far.
If your drill doesn’t have one, wrap tape around the bit as a clear marker you can spot quickly.
That small step helps you reach the right depth without guesswork, and it can prevent an anchor from sitting properly.
Set Depth Stop
Set the depth stop, or wrap a piece of tape around the bit before you drill, and you’ll save yourself a lot of guesswork later. Once you set the depth stop, you protect the hole from going too deep and keep your anchor seated just right. First, measure the hole depth against the fastener, then lock the stop in place. That small step may seem minor, but it keeps you in control and saves you from that sinking “oops” moment.
- Measure the anchor.
- Set the stop.
- Check the bit.
- Drill with confidence.
Once the bit reaches the marker, you can relax because the work matches the plan. You aren’t alone here. Careful prep is how the best crews keep concrete jobs clean, safe, and on target.
Mark Drill Bit
Mark the drill bit with a strip of tape or a clear pen line, and you’ll know exactly when to stop. This simple depth marker keeps you in control, so your hole lands where it should and your anchor fits cleanly.
Slide the tape to the depth you measured, then press it tight so it won’t shift while you drill. If you prefer, use a fine pen line for a cleaner look. Check the bit before you start, because a loose marker can throw off the whole job.
As you drill, watch that line and pause once it reaches the surface. That small habit saves time, reduces stress, and helps you feel like part of the crew, even on your first concrete project.
Install Anchors in the Concrete Hole
Once the hole is clean and the dust is gone, you can install the anchor with more confidence. Choose the anchor first, because the right size and style help ensure a solid hold and a better fastener fit.
Then press or tap the anchor in until it sits flush. You should feel it grab, not wobble.
- Match the anchor to the screw.
- Guide it straight into the hole.
- Tap gently until it seats.
- Test the fit before you hang anything.
If it slides too easily, you may need a larger anchor. If it won’t start, don’t force it. You’re building something sturdy, and that matters. With a clean hole and a snug anchor, you’re set up for a solid result.
Solve Bit Wandering, Dust, and Binding
A clean hole and a snug anchor are a good finish, but the drilling part can still get messy when the bit wanders, packs up with dust, or starts to bind.
You can improve bit control by marking the spot clearly, holding the drill straight, and starting with light pressure. If the bit slips, pause and reset before you push again. For dust management, pull the bit out often so the flutes can clear, then vacuum the hole and the area around it. That keeps the cut open and helps the drill breathe.
If the bit starts to stick, ease off, wiggle slightly, and let the hammer action work. You aren’t fighting concrete alone here. With patience, you can keep the hole neat and the job on track.
Keep Your Drill Bits Sharp and Ready
Sharp bits make concrete drilling feel far less like a battle, so it pays to check them before you start. When your bit stays keen, you finish holes cleanly and with less effort. Good bit maintenance saves energy and reduces wobble. Try this sharpening routine:
- Inspect the tip for chips.
- Clean dust from the flutes.
- Hone dull edges with the right stone.
- Replace badly worn bits quickly.
After each job, wipe the bit dry and store it where it won’t knock around. If you drill often, do a quick check before every project. That habit keeps your hammer drill ready, your holes steadier, and your frustration lower.
Then you can focus on the concrete, not a tired bit.
Frequently Asked Questions
How Do I Know if the Concrete Is Reinforced?
You can tell through surface clues and visual inspection. Rust stains, cracks, patch lines, or exposed rebar can indicate reinforcement. If you are unsure, use a stud finder or a concrete scan tool.
Can I Drill Concrete Without a Hammer Drill?
Yes, you can, but you will need masonry drill bits and plenty of patience with other power tools, like a regular drill. Drill slowly, use steady pressure, and clear dust often.
What Should I Do if I Hit Rebar?
You should stop drilling, confirm the rebar detection, and reposition if possible. If you must continue, switch to a rebar-rated replacement bit, then drill carefully. You are not stuck alone, many DIYers hit steel in concrete.
How Do I Prevent Cracking Near an Edge?
Measure edge distance during planning, because prevention is easier than repair. You will reduce cracking if you mark farther from the edge, drill slowly, use low-vibration drilling, and support the concrete properly.
Which Anchor Type Works Best for My Project?
Choose the anchor that matches your load requirements and project capacity. Use expansion anchors for light-duty applications, sleeve anchors for medium loads, and wedge anchors for heavier holds. You will feel confident once your fastener fits the job.


