
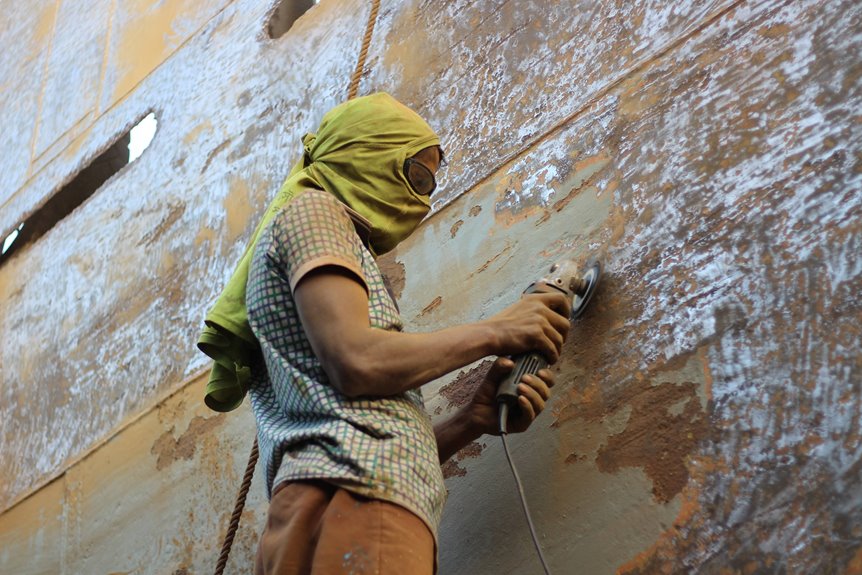

Removing rust with an angle grinder can feel a little intimidating at the outset, but you can handle it with the right setup and a steady hand. You will start by choosing the proper attachment, since each one works best on a different type of rust and metal shape. Then you will move into the grinding steps, where control matters more than speed. If you want clean metal without ugly gouges, the next few details are the ones that make all the difference.
Tools and Safety Gear You’ll Need
Before you start the grinder, gather the right gear so the job feels safer and less stressful.
You’ll need the basic angle grinder setup: a solid grinder, the correct attachment, and a guard in place.
Add your safety gear essentials, including eye protection, gloves, a dust mask, and long sleeves. If you have a face shield, use it too.
Next, clamp the metal so it doesn’t move while you work. A bench vice or sturdy support at waist height helps you stay steady and in control.
Before you begin, make sure the metal is clean and dry, since dirt and oil can slow you down.
With these tools ready, you can focus on the task without feeling overwhelmed.
Choose the Right Grinder Attachment
The right grinder attachment can make rust removal much easier and far less frustrating. You don’t need every tool in the shop, just the right wheel for the job. For flash rust and tight corners, a wire wheel gives you reach and control.
For wider flat areas, a wire cup brush covers more metal quickly. When the rust is heavier, a flap disc works harder and can leave a smoother finish.
Check attachment compatibility before you start, because the wrong fit wastes time. Also match grit to your goal. Lower grit cuts more aggressively, while higher grit leaves the surface cleaner. When you choose well, you work with confidence and stay on task.
How to Remove Rust With an Angle Grinder
You can clean rust quickly with the right grinder attachment, but the best results come from matching the tool to the job and working carefully.
Start with a safe setup, then use steady, controlled passes so you remove rust without gouging the metal. After that, clean the surface thoroughly and seal it soon to help prevent rust from coming back.
Choosing Grinder Attachments
As you choose grinder attachments for rust removal, the right disc can save time, protect the metal, and make the job less frustrating.
Start with wire brush selection. A wire wheel works well for flash rust, edges, corners, and tight spots, while a wire cup brush covers larger flat areas with less effort.
Then compare attachments for the task at hand. Use a flap disc when rust is heavier or when you want a smoother finish after the rough work. Pick a lower grit for faster cutting and a higher grit for a cleaner surface. If paint is attached to the rust, a strip disc can lift both with less gouging.
Matching the attachment to the surface helps you stay prepared, confident, and in control.
Safe Rust Removal
Once you have picked the right attachment, safe rust removal starts with setup, not sparks. Put on protective clothing, eye protection, gloves, and a dust mask so you can work with confidence. Clamp the metal firmly, keep the guard in place, and hold the grinder with both hands for kickback prevention.
Let the tool reach full speed before it touches the rust. Then move in short, overlapping passes at a gentle angle, around 15° to 30°, so the disc bites cleanly instead of grabbing. Work one small section at a time, and don’t rush the pressure.
- Stand balanced and steady
- Keep cords clear
- Use dry, clean metal
- Watch bristles closely
- Pause when the tool chatters
Surface Prep Afterward
After the grinder stops biting into the rust, your next task is to clear away the mess it leaves behind. Wipe down the residue with a clean, dry cloth, then brush off any dust hiding in seams and edges. If the metal feels oily or gritty, use a mild degreaser so the finish can bond properly.
Check the surface in good light, because missed flakes can spread quickly. Then smooth any rough spots with fine abrasive paper as needed. Once the metal looks clean and dry, don’t wait. Apply a protective coating soon, whether that’s primer, paint, or a rust inhibitor. This step helps preserve the work you just did and keeps the part protected.
Avoid Gouging the Metal
To avoid gouging the metal, let the grinder do the work instead of forcing it into the surface. You’ll keep more control when you use light pressure and a steady angle, usually around 15 to 30 degrees. This helps the disc skim the rust instead of biting into the base metal. Stay with the grain of the surface when you can, and move in smooth, overlapping passes. If the grinder starts to chatter, back off a little. You’re part of the crew here, so take your time and trust the tool.
- Hold both hands steady
- Let the wheel reach full speed
- Work in small sections
- Keep the guard in place
- Choose the right disc for the job
Inspect, Touch Up, and Finish the Surface
Once you finish grinding, inspect the metal closely for missed rust, rough spots, and uneven edges.
If you find stubborn areas, touch them up with a wire wheel, flap disc, or sandpaper until the surface feels smooth and even.
Then wipe the part clean so you can move on to paint, primer, or another protective finish with confidence.
Surface Inspection
Inspect the metal closely before you move on, because a quick check now can save you a lot of rework later.
You aren’t looking for perfection, just a clean, even result that feels solid under your hand.
Use rust depth assessment to spot any pits that still need attention, then do surface damage mapping so you can see scratches, grooves, or thin edges in one clear pass.
- Wipe off dust so flaws show up.
- Run your fingers over the metal gently.
- Look at seams, corners, and flat spots.
- Mark rough areas with chalk or tape.
- Check for dull patches that hide rust.
If you find a few stubborn spots, keep your work small and focused.
That way, you stay in control and the metal starts looking like it belongs in your shop again.
Final Touch-Up
Now that the rough rust is gone, give the metal a careful final look so you can catch any small spots before they turn into bigger problems. Run your fingers over the edge, then use a bright light to spot dull patches, tiny pits, or missed rust.
These final touch up methods help you stay in control and keep the piece looking clean. If you find rough spots, use a flap disc, sandpaper, or a wire wheel for fine surface smoothing. Work in short passes, and don’t press hard.
Wipe away dust and loose metal, then check again. Once the surface feels even, apply primer, paint, or rust inhibitor soon. That final step helps your hard work last and keeps your metal in good shape for longer.
Clean the Metal Before Painting
Before you paint, clean the metal so the new finish has a fair chance to stick and last. You have done the hard part, and now this step helps your effort pay off.
- Brush off loose dust.
- Degrease before priming with a clean rag.
- Wipe down after sanding so grit won’t hide.
- Check corners, seams, and edges for residue.
- Let the metal dry fully before coating.
If you skip this cleanup, paint can fish-eye, peel, or trap tiny rust bits. Give the surface one more honest look. Wipe until the cloth stays mostly clean, then move quickly to primer or paint. That quick handoff keeps moisture out and helps you feel confident about the finish.
Frequently Asked Questions
Can I Remove Rust Without Stripping the Surrounding Paint?
Yes, you can remove rust without stripping the surrounding paint by using spot treatment and protecting the painted areas carefully. Use a wire wheel or strip disc with light pressure and small passes so you target the rust only.
How Do I Prevent Rust From Returning After Grinding?
You’ll prevent rust from returning by cleaning the metal, drying it completely, and applying rust prevention with protective coatings such as primer, paint, or inhibitor. Keep it dry, sealed, and inspected so it stays protected.
When Should I Use a Chemical Rust Remover Afterward?
Use a chemical rust remover after you finish grinding if deep pitted rust or trapped residue remains. It can help with post-grinding neutralization and leave you with a cleaner, longer-lasting surface.
Can an Angle Grinder Remove Rust From Curved or Tight Areas?
Yes, you can. Even if the area feels awkward, a wire wheel works best on curved surfaces and tight corners. Use light passes and keep your work clean and controlled.
How Soon Should I Paint Metal After Rust Removal?
You should paint metal as soon as possible after rust removal, ideally within hours, to protect paint adhesion. If you cannot paint right away, apply a primer first and keep the surface clean and dry.


