
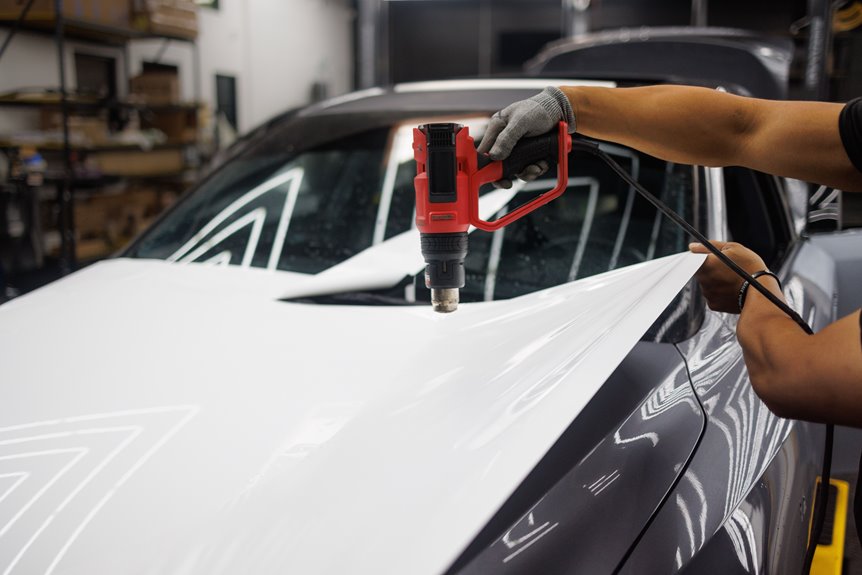

Using a heat gun for paint removal can feel a little tricky at the outset, but if you work slowly, you can do it safely and neatly. You will want the right gear, a clear workspace, and a steady hand before the first puff of heat touches the paint. Once you know how to prep the surface, soften the old layers, and scrape without scarring the wood, the job gets much easier. The real difference often comes down to a few small choices that can save you from bubbles, burns, and a bigger mess.
Heat Gun Tools and Safety Gear
A safe paint-stripping job starts with the right gear and a clear work zone. Wear gloves, eye protection, and a protective respirator, because hot paint can release fumes and dust you shouldn’t breathe. Choose a heat gun nozzle that matches the job, especially if you’re working near trim or glass. Keep flammable items out of the area, then open windows so fresh air can circulate.
A drop cloth helps catch loose flakes and keeps cleanup simple. Before you plug in the tool, read the manual and check the controls. That preparation helps make the work safer and more manageable.
Prepare the Surface for Paint Removal
Before you heat anything, clear away loose dust, chips, and clutter so you have a clean, safe start.
Then protect nearby glass, trim, and other surfaces with drop cloths or tape, and take a quick look at the paint and base material to make sure they can handle heat.
This simple check can save you a lot of stress later, and it helps you work more smoothly from the first pass.
Clear Loose Debris
Start by clearing away every bit of loose debris from the surface, because a clean work area makes paint removal safer and easier. Brush off dust, dirt, and flaky paint, then remove anything that could catch the gun or scraper. Use a stiff brush or dry cloth, and pay extra attention to corners so hidden debris doesn’t cause problems later.
If loose scrapings are already on the floor, collect them right away and place them in proper debris containment, such as a tray or nearby bag. This keeps the area organized and makes the job easier to manage. Once the surface is clear, you can continue with more control and confidence.
Protect Adjacent Areas
Now that the loose debris is out of the way, give the nearby surfaces the same careful attention so you don’t trade one mess for another. Lay a drop cloth along the floor and stretch it a little wider than the work zone so stray flakes land where you expect.
Next, cover nearby fixtures with painter’s tape and paper, then shield surrounding trim with a neat mask that keeps heat from sneaking where it doesn’t belong. When outlets, knobs, or hardware sit close, wrap them too.
You aren’t being fussy here. You’re protecting the parts you don’t want to fix later, and that’s smart teamwork with your space.
Keep flammable items far from the area, and open a window so the room feels safer and easier to work in while you get ready for the next step.
Test Surface Condition
When paint looks old or tired, inspect the surface first so you know what you’re working with. Check for cracks, soft spots, water damage, and loose edges before you apply heat.
Lightly press a putty knife against the coating to test paint adhesion and see how easily it lifts. If it flakes quickly, you have a weak layer that should respond well. If it clings tightly, plan for slower testing and shorter heat passes.
Also, feel for rough patches or hidden repairs, because those areas can react differently. This quick check helps you choose the right approach and keeps you from rushing the work. That way, you can start with confidence and fewer surprises.
How to Remove Paint With a Heat Gun
Removing paint with a heat gun can feel intimidating at first, but the process becomes much easier if you work slowly and stay in control.
Clear the area, open windows, and wear gloves and a mask so you can work safely. Set the gun to the lowest heat, then warm small sections at a 45 degree angle while keeping it moving. As the paint softens, lift it away with a scraper, then move on to the next spot.
If your surface feels too delicate, check heat gun alternatives before you begin. Also, keep paint disposal safety in mind by catching scrapings on a drop cloth and disposing of them properly.
Scrape Paint as It Softens
As soon as the paint starts to bubble or lift, scrape it right away while it’s still warm and soft. You’ll get cleaner softened paint removal by working in small sections and staying close to the edge you just heated.
Hold your paint scraper at a low angle, then push with steady pressure so the paint peels off instead of digging into the surface. Whenever a strip cools too fast, warm it again and keep going.
This efficient scraping technique helps you move faster, and it also reduces stubborn patches that make the job feel endless. Each pass builds momentum, and that steady rhythm makes the whole task feel easier and more manageable.
Clean Up and Smooth the Surface
After the last strip comes off, take a moment to clean up the surface so your work pays off. Let the area cool, then lift loose flakes into a dust sheet or tray.
Use a vacuum or damp cloth for dust cleanup, because tiny bits can hide in corners and affect the finish. Next, check for rough spots, gouges, or sticky residue.
Light sanding with fine-grit paper helps blend those edges without damaging the material. Keep your touch gentle and move in small circles. Wipe the area again so you don’t trap dust under paint or stain.
If you’re working with trim or panels, slow down at the edges and take extra care. That attention makes the surface feel ready, smooth, and complete.
Prevent Burn Marks and Surface Damage
To keep a heat gun from leaving burn marks, use a light touch and steady motion. Start with low heat settings, then move the gun in short passes over small sections.
- Keep the nozzle a few inches away from the paint.
- Never stop in one spot, even for a second.
- Watch for bubbling, not scorching, before you scrape.
- Let each area cool briefly before you touch it again.
On wood, trim, and corners, slow down and use less heat. If the paint resists, reheat it gently instead of applying more pressure.
That helps protect the surface and keep the finish clean.
Frequently Asked Questions
How Do I Know if My Heat Gun Is Safe for Lead Paint?
You cannot know from guesswork; check the manual for any lead-safe testing claims and electrical safety ratings. If it is not explicitly approved for lead paint, do not use it. That will help protect you and everyone nearby.
Which Heat Gun Nozzle Works Best for Detailed Trim?
A narrow nozzle works best for detailed trim. It gives you precise heat control and helps you direct heat exactly where you need it. It also lets you reach grooves without scorching nearby surfaces. Measure twice, heat once, and you’ll join the careful crafts crowd.
Can I Use a Heat Gun on Painted Metal Surfaces?
Yes, you can use a heat gun on painted metal surfaces, provided you check paint adhesion and metal compatibility beforehand. Use low heat, keep the gun moving steadily, and scrape carefully to avoid warping the metal or damaging the finish.
What Signs Show the Paint Is Too Hot and About to Scorch?
You’ll see surface color changes, darkening, or bubbling paint edges before scorching starts. If the paint smells burnt, turns glossy, or the surface feels too hot, move the gun away and keep it moving.
How Do I Remove Paint From Corners and Tight Grooves?
You’ll use a narrow nozzle, short bursts, and a small scraper for corner detailing and groove cleanup. Work gently, moving heat and the metal side by side, so tight spaces loosen without damage and you can work with confidence.


