
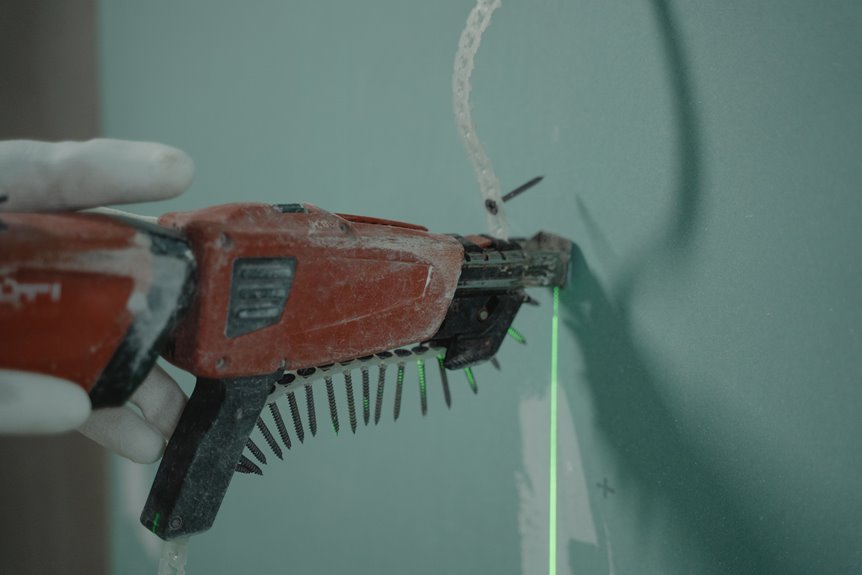

Nearly 37,000 nail gun injuries happen each year in the U.S., so you cannot afford to treat this tool like a toy. When you choose the right gun, load it correctly, and adjust the depth on scrap wood first, you reduce risk quickly and work with more control. The real difference starts before the first shot, because a few small habits can keep you safe, protect your wood, and prevent a jam from turning your project into a headache.
Choose the Right Nail Gun
Before you pull the trigger, choose a nail gun that fits the job and gives you real control.
In a tool type comparison, you’ll see that some guns suit trim work, while others handle heavy framing. For framing nailer selection, match the nail size, magazine angle, and trigger style to your task so the tool feels natural in your hands.
When you pick the right model, you work with less strain and more confidence. Also check the weight and balance, because a tool that feels steady helps you stay accurate on long jobs.
If you’re unsure, ask your crew or supplier for a quick fit check.
That way, you arrive on the job ready, not guessing, and your work stays smooth, safe, and solid.
What Nail Gun Safety Gear Do You Need?
You need the proper safety gear before using a nail gun, starting with eye protection and hearing protection.
Gloves can help you maintain a firmer grip, while sturdy footwear protects your feet from dropped tools or stray nails. When you’re properly equipped, you reduce risk and work with greater confidence.
Eye and Ear Protection
Because nail guns fire fast and hard, eye and ear protection are not optional extras. They are the gear that helps keep a normal workday from turning into a painful one. You belong on the job with clear vision and steady hearing, so start with safety glasses that fit snugly and add side shields whenever the site calls for them. That extra wrap helps catch flying chips and stray nails.
| Gear | Why it helps |
|---|---|
| Safety glasses | Blocks dust and debris |
| Side shields | Adds side protection |
| Hearing protection | Cuts loud tool noise |
Whenever you wear hearing protection, you lower the chance of ringing ears after the shift. Keep both items on before you load the tool, and check that they stay in place while you work. Small habits like these help you stay confident, calm, and part of the crew.
Gloves and Sturdy Footwear
Now that your eyes and ears are covered, it makes sense to protect your hands and feet too.
You work better when your gear fits right and lets you move with confidence. Choose gloves with good grip so you can hold the nail gun and materials without slipping, especially when your hands sweat or the wood feels rough. Pick gloves that stay snug, not bulky, so you can still feel the trigger and keep control.
Then wear sturdy footwear for foot protection, with thick soles and toe coverage that can handle dropped nails, boards, and tools. On a busy site, this simple gear helps you stay steady and work as part of a crew that looks out for each other. Small upgrades can save your day, and maybe your toes.
Follow Nail Gun Worksite Safety Rules
You need to wear the right PPE every time you use a nail gun because one missed step can put your eyes, hands, or feet at risk.
Keep the work area clear so you can move safely and avoid tripping, slipping, or firing near other people.
Before you load or fire, check the tool for damage, make sure it works properly, and never use it when something seems off.
Wear Required PPE
Protect your eyes, ears, head, and feet before the nail gun ever leaves the bench, and check that the right gear is on site and ready to use.
Wear snug eye protection with side shields, because one stray nail can ruin your day fast. Add hearing protection on every active job, since the noise adds up. For hard hat use, make sure it fits well and stays level so falling bumps don’t catch you off guard.
Your safety shoes should provide strong toe protection and solid grip, which helps you stay steady and part of the crew. Keep every item on before you fire, and replace damaged gear right away.
When you suit up fully, you protect yourself and the people working beside you.
Keep Work Area Clear
When the work area stays clear, the nail gun stays easier to control, and everyone around you stays safer. You help the whole crew whenever you clear the debris path, stack materials neatly, and keep cords or hoses out of walkways.
Next, watch for scraps, loose boards, and dropped fasteners so you can manage trip hazards before they turn into a sudden stumble. A tidy space also gives you room to plant your feet, aim straight, and move with confidence.
Should you need to shift a board or tool, pause beforehand and reset your space. That small habit keeps you part of a safe, calm team where people can work close together without extra stress. Whenever the area feels open, you can focus on the shot, not on what’s under your boots.
Follow Tool Inspection Rules
Before you pull the trigger, take a close look at the tool itself and the surface you’re about to nail.
You’re safer whenever you make this pre-use inspection a habit. Check the nose, trigger, magazine, air hose, and safety features for wear, cracks, or loose parts. If you spot damage, stop right away and replace or repair the tool before anyone gets hurt.
Then inspect the wood or material for knots, concealed nails, split edges, and other bounce-back risks. This simple damage detection step helps you and your crew stay in control and feel confident on the job.
Keep the tool loaded only with the right nails, and never use a nailer that feels off. Your team counts on that steady, careful look.
How to Load a Nail Gun Correctly
Loading a nail gun correctly starts with a calm, careful setup, because a rushed step can turn a useful tool into a dangerous one quickly. Start by disconnecting the power, then open the magazine and check the nails. Use proper magazine loading and match the fastener strip orientation to the tool guide so the strip feeds cleanly.
| Check | What to do | Why it helps |
|---|---|---|
| Power | Remove air or battery | Stops surprise firing |
| Nails | Use the right size | Prevents jams |
| Feed | Slide the strip straight | Keeps loading smooth |
| Close | Latch the magazine | Locks everything in place |
After that, test the latch and keep your fingers clear. If anything feels forced, stop and reset it.
Adjust the Power for the Task
Match the nail gun’s power to the material, because soft wood and dense lumber won’t take the same setting. Start with a scrap piece first so you can see how the nail seats without risking the real work. Then fine-tune the depth setting until the nail drives cleanly, sits flush, and stays under control.
Match Power To Material
Matching the power to the material matters just as much as holding the nail gun steady, because too much force can drive a nail too deep, split the wood, or make the tool jump. You want a material density match, so soft pine needs less power than hardwood or engineered boards.
Watch your fastener penetration depth closely, because the nail should sit snug without punching through the surface. If you’re working with thin trim, lower the setting to protect the finish and keep the piece from cracking. For thicker stock, raise power in small steps until the nail seats cleanly.
Also, keep the tool flat against the work so the shot stays straight. When the setting fits the job, you work with more confidence, less waste, and a smoother result every time.
Test On Scrap First
Before you drive a single nail into the real project, test the setting on scrap first so you can see how the gun behaves in the exact material you are using. When you practice on scrap, you protect your good boards and avoid that “why did it do that?” moment. Try a few nails, then check nail depth and watch for splintering, bending, or proud heads.
| Scrap result | What to do |
|---|---|
| Too shallow | Add power |
| Too deep | Reduce power |
| Bent nails | Check angle |
| Splintering | Shift support |
| Clean finish | Keep setting |
This quick check helps you feel confident with the tool and stay in control. You are not guessing. You are building skill with each shot, and that belongs on any solid job.
Fine-Tune Depth Settings
Depth control is where a nail gun starts to feel like a tool you can trust, not one that surprises you. Set the depth calibration so each nail lands where you need it, then check the result on a scrap piece. If the nail sits proud, turn the power up a little. If the nail sinks too deep, back it off.
You want flush fastening, where the head meets the surface without tearing it. That small adjustment matters because different boards, moisture levels, and nail sizes all behave differently. Keep making small changes until the gun feels right in your hands. Once you tune it well, you save time, reduce rework, and fit right into a crew that values clean, steady work.
How to Hold and Aim a Nail Gun
When you hold a nail gun the right way, you gain better control and lower the chance of a painful mistake. Use a proper grip technique: wrap your dominant hand around the handle, keep your other hand clear, and plant your feet shoulder width apart. That stable base supports a safe aiming posture. It also helps you stay steady and focused. Keep the tool flush with the surface, then point it away from your body and anyone nearby.
| Hold | Aim | Check |
|---|---|---|
| Firm grip | Nose flat | Clear line |
| Stable stance | Straight target | No bystanders |
| Two hands apart | Controlled angle | Surface ready |
| Eyes forward | Short reach | Good balance |
Set the Trigger Mode Safely
Setting the trigger mode the right way gives you more control, especially after you have already lined up a steady hold and a clear aim.
Before you fire, choose the full sequential trigger option if your tool offers it, since it helps prevent surprise shots and keeps your work calmer. Then check the trigger mode lockout safety and make sure it’s set exactly as the maker intended.
Keep your finger off the trigger while you move, and only squeeze when the nose is flat on the surface. If the tool feels wrong, pause and reset it.
You’re part of a crew that values safe habits, so treat every mode switch with care. A few steady seconds now can save a lot of stress later.
How to Nail Wood Without Splitting It
Nailing wood without splitting it starts with choosing the right nail, because a good match between the fastener and the wood can save you from a cracked board and a lot of frustration. Choose a nail that fits the board’s thickness so the wood fibers can move instead of tearing apart.
Next, pre drill pilot holes in hardwoods and in any spot near an edge or knot. That small step gives the nail a safer path and helps you work with confidence. Also, choose appropriate nail spacing so each fastener has room to hold without crowding the grain.
Then place the nose steady, fire cleanly, and let the wood stay intact. You’ll build better, and your project will look like it belongs there.
Avoid Misfires and Jams
Now that you know how to keep wood from splitting, you also need to keep the nailer from acting up at the worst moment. You can avoid most trouble by using the right nails, keeping the magazine clean, and seating each strip fully. If a nail hangs up or a shot doesn’t fire, stop right away and follow jam clearing procedures after you disconnect the tool. Then check the nose, driver, and fasteners for bent pieces or debris. For misfire troubleshooting, make sure the air supply or battery is strong, the nose is pressed flat, and your trigger choice matches the task. Stay calm, because a stubborn nailer is annoying, not personal. With a steady hand and a little patience, you’ll keep the tool running smoothly and your crew on track.
How to Maintain a Nail Gun Properly
Keeping a nail gun in good shape starts with a simple habit, treat every service step like the tool could fire at any moment. You belong to a crew that stays ready, so unplug it, wipe dust from the nose and magazine, and check for loose screws. Use the right air source lubrication so seals stay smooth and the tool keeps a steady rhythm. Then follow maintenance schedule planning to set cleaning, inspection, and part checks before trouble shows up.
| Task | Whenever | Why |
|---|---|---|
| Wipe exterior | Daily | Clears grit |
| Add lubricant | Per maker | Protects seals |
| Check hose | Weekly | Keeps airflow steady |
| Inspect nails | Before use | Prevents bind |
| Store dry | After work | Limits rust |
If a part feels off, swap it fast and keep your team covered.
Common Nail Gun Mistakes and Fixes
Even a well-kept nail gun can cause trouble when it’s used the wrong way, so let’s look at the mistakes that trip people up most often and how to fix them quickly.
First, watch for trigger misuse. Keep your finger off the trigger until the nosepiece is pressed flat and you’re ready to fire. Next, avoid an awkward stance, because shaky footing makes the tool jump and your aim drift. Stand balanced, keep the hose clear, and work with both hands when you can.
Also, don’t hold small pieces near the nailing point. Clamp them instead.
Finally, wear eye protection and use the right nails, since the wrong fastener can jam the tool and spoil the job.
Frequently Asked Questions
How Do I Choose the Right Nails for Different Materials?
Match nails to your tool’s fastener compatibility and the thickness of the material you are joining. Use shorter nails for thin stock and longer nails for thicker pieces. Follow the manufacturer’s charts so your results stay strong.
When Should I Use Clamps Instead of Holding Wood by Hand?
Use clamps whenever you cannot keep the workpiece stable with one-handed control, especially on small pieces near the firing point. Clamps protect your hands, improve accuracy, and support safe, confident teamwork.
How Far Should Coworkers Stay From the Nailing Area?
Keep coworkers well outside the nailing area, at least 12 inches from the point of fire. Keeping everyone beyond the safe distance perimeter helps protect people on site.
What Should I Inspect Before Firing Into Lumber?
Inspect the lumber for board defects, concealed obstructions, knots, nails, hangers, weak spots, and potential ricochet points before you fire. This helps protect you and your crew, and it gives you more confidence on the job.
When Should a Nail Gun Be Removed From Service?
Remove it from service immediately if it misfires, jams repeatedly, leaks, or shows damage. Check the service life indicators and perform a damage assessment before reuse.


