
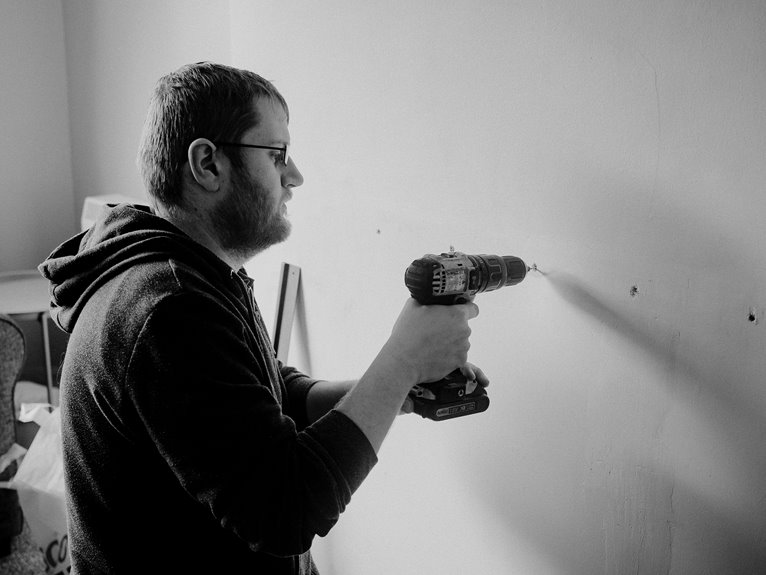

Before you drill, use the stud finder as a reliable guide, not a guessing tool. Choose a dependable model, check the battery, and calibrate it on a clear section of wall so it starts accurately. Then scan slowly, mark both edges, and locate the center carefully. After that, stay alert for wires or pipes, because the wall may hide hazards that can turn a simple job into a problem.
Choose the Right Stud Finder
A good stud finder can save you from a lot of guesswork, crooked holes, and that sinking feeling whenever a drill bit hits empty drywall.
You deserve one that fits your wall and your project, so start by looking at the sensor type. Simple magnetic models work for light jobs, while electronic ones often give you clearer display results and a cleaner read. Next, check battery life, because a weak tool can leave you second guessing right when you need reliability. If you plan to hang shelves, a wider grip and easy to use buttons can help. Also, choose a model that feels steady in your hand, since that makes every scan calmer and more accurate. Once the tool feels familiar, you can move with confidence and feel ready to mark the wall.
What Your Stud Finder Can Detect
Your stud finder can do more than spot stud locations, so it’s important to know what each signal really means before you drill. It may also pick up metal pipes, screws, and even live wires, which can help you avoid a nasty surprise inside the wall. By reading those alerts correctly, you can move from guesswork to a much safer, cleaner drill point.
Stud Locations
When you start scanning a wall, the stud finder is really looking for changes behind the surface, not the wood itself. You help it by keeping the tool flat and moving slowly so it can spot the concealed edge where density shifts. That edge tells you where a stud is for safer wall placement and smarter installation planning.
Unless you mark the initial beep and then scan back the other way, you can find the opposite side and estimate the center. Most studs sit about 16 inches apart, though some walls vary, so a second pass builds confidence. You aren’t guessing alone here; you’re reading the wall like a teammate would. Once you see the pattern, drilling feels less risky and much more like hitting the right tone.
Metal And Wires
Even before you drill, it helps to know that stud finders can detect more than wood, and that’s where metal and wires matter. You aren’t alone if that feels nerve-racking.
Basic metal detection can help you spot pipes, screws, nails, and corner beads inside the wall. Wire warning signs matter even more, because live cables can hide behind drywall and make a simple job risky.
To stay alert, look for these signals:
- sudden metal alerts
- repeating beeps near outlets
- unusual readings around switches
- changes when you scan slowly
When you notice any of them, pause and check the area again. Then move a few inches away and scan once more. That extra minute can help keep your project safe, steady, and under control.
Calibrate Your Stud Finder
Before you start scanning, take a minute to calibrate the stud finder so it can read the wall correctly. You will feel more confident once it settles into a clean baseline. Check battery troubleshooting first because weak power can make the tool act jumpy. Then place it flat on a hollow spot and hold the button until it beeps or lights up. Good calibration timing matters, so keep your hand steady while it resets.
| Step | What you do |
|---|---|
| 1 | Clear weak batteries |
| 2 | Hold it flat on drywall |
| 3 | Wait for the signal |
If the display stays odd, repeat the setup in a nearby empty area. That small reset helps you and the tool work like a team, which makes the next step feel a lot easier.
Scan the Wall for Stud Edges
Slide the stud finder slowly across the wall until it signals an edge. Rushing can make you miss the exact spot.
Once you find that initial edge, mark it right away with a pencil or painter’s tape so you don’t lose it.
Then move back the other way to confirm the edge and set up the next step with confidence.
Identify Stud Edge
As you scan the wall, the stud finder should begin to indicate the stud’s edge, and that initial alert is your cue to slow down and pay close attention. You aren’t guessing. You’re confirming the edge, and that helps you stay steady throughout the job. If the tone jumps or the light flickers, stay calm and check the spot again from a nearby point to rule out a false signal.
- Mark the first alert lightly.
- Continue until the signal changes.
- Note where it drops off.
- Recheck the same line for the opposite edge.
When both edges appear, you can trust your marks more confidently, and the next step becomes much easier.
Move Finder Slowly
Move the stud finder slowly across the wall so it can read the surface with less guesswork. As you move slowly, the sensor has time to settle and give you a cleaner signal. Keep the tool flat and let steady scanning guide your hand in one smooth line.
If you rush, the reading can jump around and leave you unsure, which no one needs on a busy afternoon. Move at a calm pace, then pause only when the device reacts. This helps you notice the stud edge without chasing noise from the wall.
Stay relaxed and trust the process. With each slow pass, you build confidence and keep the job manageable. That’s how you and your wall work together like pros.
Mark Edge Location
After you’ve found a likely stud, the next smart step is to mark the edge right away so you don’t lose it. Use a pencil marking that stays clear but is easy to erase later. These edge marking tips help you keep your place and build confidence before drilling.
- Mark the initial beep or light.
- Scan back from the other direction.
- Mark the second edge too.
- Measure the middle if you need the center.
Whenever you use painter’s tape, add the marks on the tape so the wall stays neat. You aren’t guessing anymore, and that feels good. Keep your hand steady, and make each mark small. As soon as you can see both edges, you and your wall are on the same team.
Mark the Stud Center
Once you’ve found both stud edges, mark the center carefully so your drill lands where the wood is strongest. Use a sharp pencil or a thin strip of painter’s tape to mark the center point, then measure the midpoint accurately between the two edge marks.
If the edges feel uneven, trust your tape line and check the spacing again before you commit. A clear center mark helps you stay steady, and it gives you a spot that’s easy to return to later.
You aren’t guessing here; you’re creating a simple target you can trust. Keep your line neat and visible, because a clean mark saves stress when you hold the drill. If you’re working with a helper, let them call out the midpoint while you mark it.
Check for Wires and Pipes Before Drilling
Before you put the drill to the wall, take a quick breath and check what could be behind that spot. You’re protecting your home and your crew too. Use your stud finder’s AC scan if it has one, then slow down near outlets, switches, sinks, and vents. If the reading seems odd, stop and confirm the area with a small tester or a nearby access point.
- Turn off power at the breaker if you’re unsure.
- Trace plumbing lines before drilling near bathrooms or kitchens.
- Mark safe zones with tape so you don’t rush.
- Call a pro if you suspect pipe rerouting or concealed services.
That extra minute keeps the wall quiet, the repair bill smaller, and your confidence high.
Frequently Asked Questions
Can a Stud Finder Work on Plaster Walls?
Yes, you can use a stud finder on plaster walls, but the wall’s density and material thickness can affect accuracy. You will get better results if you scan slowly, calibrate carefully, and verify each mark twice.
How Do I Know if My Batteries Are Weak?
You can tell your batteries are weak when your stud finder gives weak signal indicators, acts erratically, or will not calibrate. You should also check the battery voltage and replace low batteries before you scan.
Should I Scan Near Corners or Outlets First?
Yes, start near outlets and corners, but do not trust them initially. Use outlet safety checks and corner scanning tips to learn the wall pattern, then verify with a slow pass before you mark anything.
What if the Stud Finder Keeps Giving False Alarms?
You’ll want to recalibrate, replace weak batteries, and scan again slowly. Wall material anomalies can trigger false alarms. Keep sensing from a hollow spot, then recheck from another direction until you feel sure.
How Far Apart Are Studs Usually Spaced?
You’ll usually find studs 16 inches apart, center to center, in most wall framing. In some homes, stud spacing can be 24 inches. They help guide you to a solid anchor.


