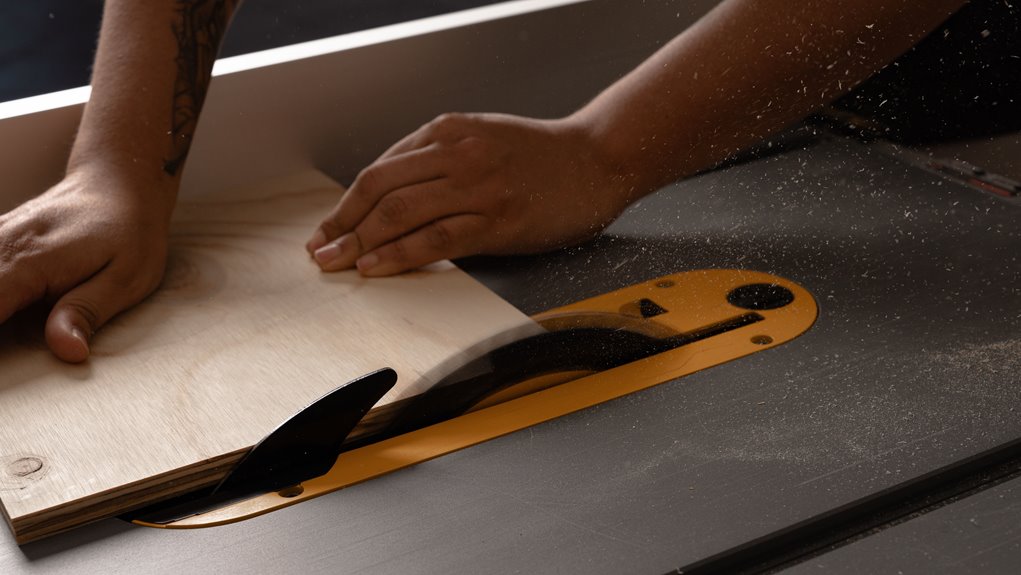

Nearly 30,000 table saw injuries happen each year, so you cannot treat this tool casually. Once you set up your saw, check the blade, fence, guard, and riving knife before you begin, because one small slip can turn a clean cut into a dangerous one. Then measure twice, mark clearly, and use the right support for rips and crosscuts. The safest cuts start before the blade ever spins, and the next step matters more than you may think.
Set Up Your Table Saw Safely
Before you start any cut, set the saw up with safety and accuracy in mind, because a small mistake can turn into a big problem fast. Put on eye and ear protection, then check that the correct blade is installed and matches the task.
This setup should include a clean, sharp blade, a riving knife or splitter, and the guard whenever possible. Set the blade height just above the stock, not higher.
Next, calibrate the saw carefully by squaring the fence and miter gauge, then confirm the scale with a test cut. Remove nails and screws from the wood, and make sure the saw runs smoothly. Following these steps helps you cut with confidence and control.
Check the Blade, Fence, and Guards
A careful blade and a well-aligned saw do most of the heavy lifting for you, so give them a close look every time you cut. Start with blade inspection: check for dull teeth, chips, rust, or sticky buildup that can grab the wood. Then verify guard alignment so the guard rises and drops freely without rubbing the blade. Next, make sure the fence sits straight and locks firmly, because a wandering fence can pull your cut off track fast.
- Spin the blade by hand after unplugging the saw.
- Watch for wobble or noise.
- Clean resin from the teeth.
- Test the guard and fence together.
When these parts work as one, your cuts stay smoother and safer.
Mark and Measure Accurate Cuts
When you mark and measure carefully, the whole cut becomes easier because the saw can only follow the plan you give it. Start by measuring the stock for layout consistency, then mark each line with a sharp pencil or knife edge. Use a square, rule, or tape measure that you trust, and read from the same edge every time.
That habit keeps your parts matching and saves you frustration later. Next, darken the cut lines so you can see them from your working stance, not while leaning over the blade. Double check each dimension before you move on, because a few seconds now can prevent a messy redo.
If you’re working with a partner, compare marks together so you both stay confident and on the same page.
Make Safe Rips on a Table Saw
Rip cuts can feel a little nerve-wracking at the beginning, but you can make them safely and with real control once you set the saw up the right way. You aren’t alone here. Every careful woodworker starts by checking blade alignment and choosing the right blade for the job. Keep the fence straight, the riving knife in place, and the blade just high enough to work well. Then focus on kickback prevention with calm, steady feeding.
- Stand a bit to the side.
- Hold the board tight to the fence.
- Use a push stick on narrow stock.
- Keep your eyes on the cut until the wood clears.
Whenever you move with care, the saw feels less scary and more like a teammate.
Crosscut Boards Without Kickback
Crosscuts stay safe and accurate when you guide the board the right way and keep kickback under control. Use a miter gauge or a sled, not the rip fence, so the board moves where you expect. Keep firm support at the outfeed end, especially with long stock, because a level board stays calmer and cuts cleaner.
Before you start, make sure the board has a flat face and a straight edge, then hold it snug against the gauge through the cut. Keep your hands clear and stay focused until the blade clears the wood. That steady habit helps prevent kickback and gives you the control that makes every crosscut feel precise and professional.
Use Push Sticks and Featherboards
A pair of simple helpers can make a table saw feel much safer: push sticks and featherboards. They keep your hands away from the blade while helping you stay in control. With push sticks, you guide narrow stock smoothly past the cut. With featherboards, you keep the board pressed against the fence and table so it tracks straight.
- Choose a push stick that fits the cut.
- Place the featherboard before the blade.
- Keep steady pressure as you feed the board.
- Stay relaxed and watch the stock all the way through.
These tools work like a reliable shop partner because they help you feel confident and included at the saw.
Avoid Common Table Saw Mistakes
Even with push sticks and featherboards doing a lot of the hard work, table saw mistakes can still happen fast when you lose focus or skip a setup step.
You can avoid most trouble by checking the blade, fence, and miter gauge before you start.
Wear eye protection and ear protection, and clear away any nails or screws hidden in the wood.
Keep the riving knife in place, set the blade only as high as needed, and use the right guide for each cut.
For rip cuts, stay tight to the fence and stand to the side.
For crosscuts, use the miter gauge or a sled, not the fence.
Good dust collection and bright workshop lighting also help you stay calm, see clearly, and work more safely.
Frequently Asked Questions
How Do I Choose the Right Saw Blade for Plywood Versus Hardwood?
You do not need one blade for everything. Choose a high tooth count blade for plywood to reduce veneer tearout, and choose a blade with the right tooth count for hardwood based on the cut type and finish you want.
When Should I Use a Zero-Clearance Insert on a Table Saw?
Use a zero-clearance insert whenever you want better kickback reduction and chipout control, especially on plywood, thin stock, or finish cuts. You will get cleaner edges, tighter support, and safer, more accurate results.
How Do I Calibrate the Rip Fence for Repeatable Cuts?
Set your rip fence so it is parallel to the blade and matches the scale. Check fence alignment with a square. Cut test strips, measure them, and adjust again until repeatability testing shows consistent results.
What Is the Best Way to Support Long Stock During Crosscuts?
Use outfeed support and roller stands to keep long stock level during crosscuts. You will guide the board smoothly, reduce tipping, and cut more safely and accurately.
How Can I Tell if a Blade Is Dull or Damaged?
You can tell by examining the blade. Look for chipped teeth, cracks, resin buildup, or missing carbide. If cutting performance drops, such as burns, rough edges, or extra force needed, the blade is likely dull or damaged.