
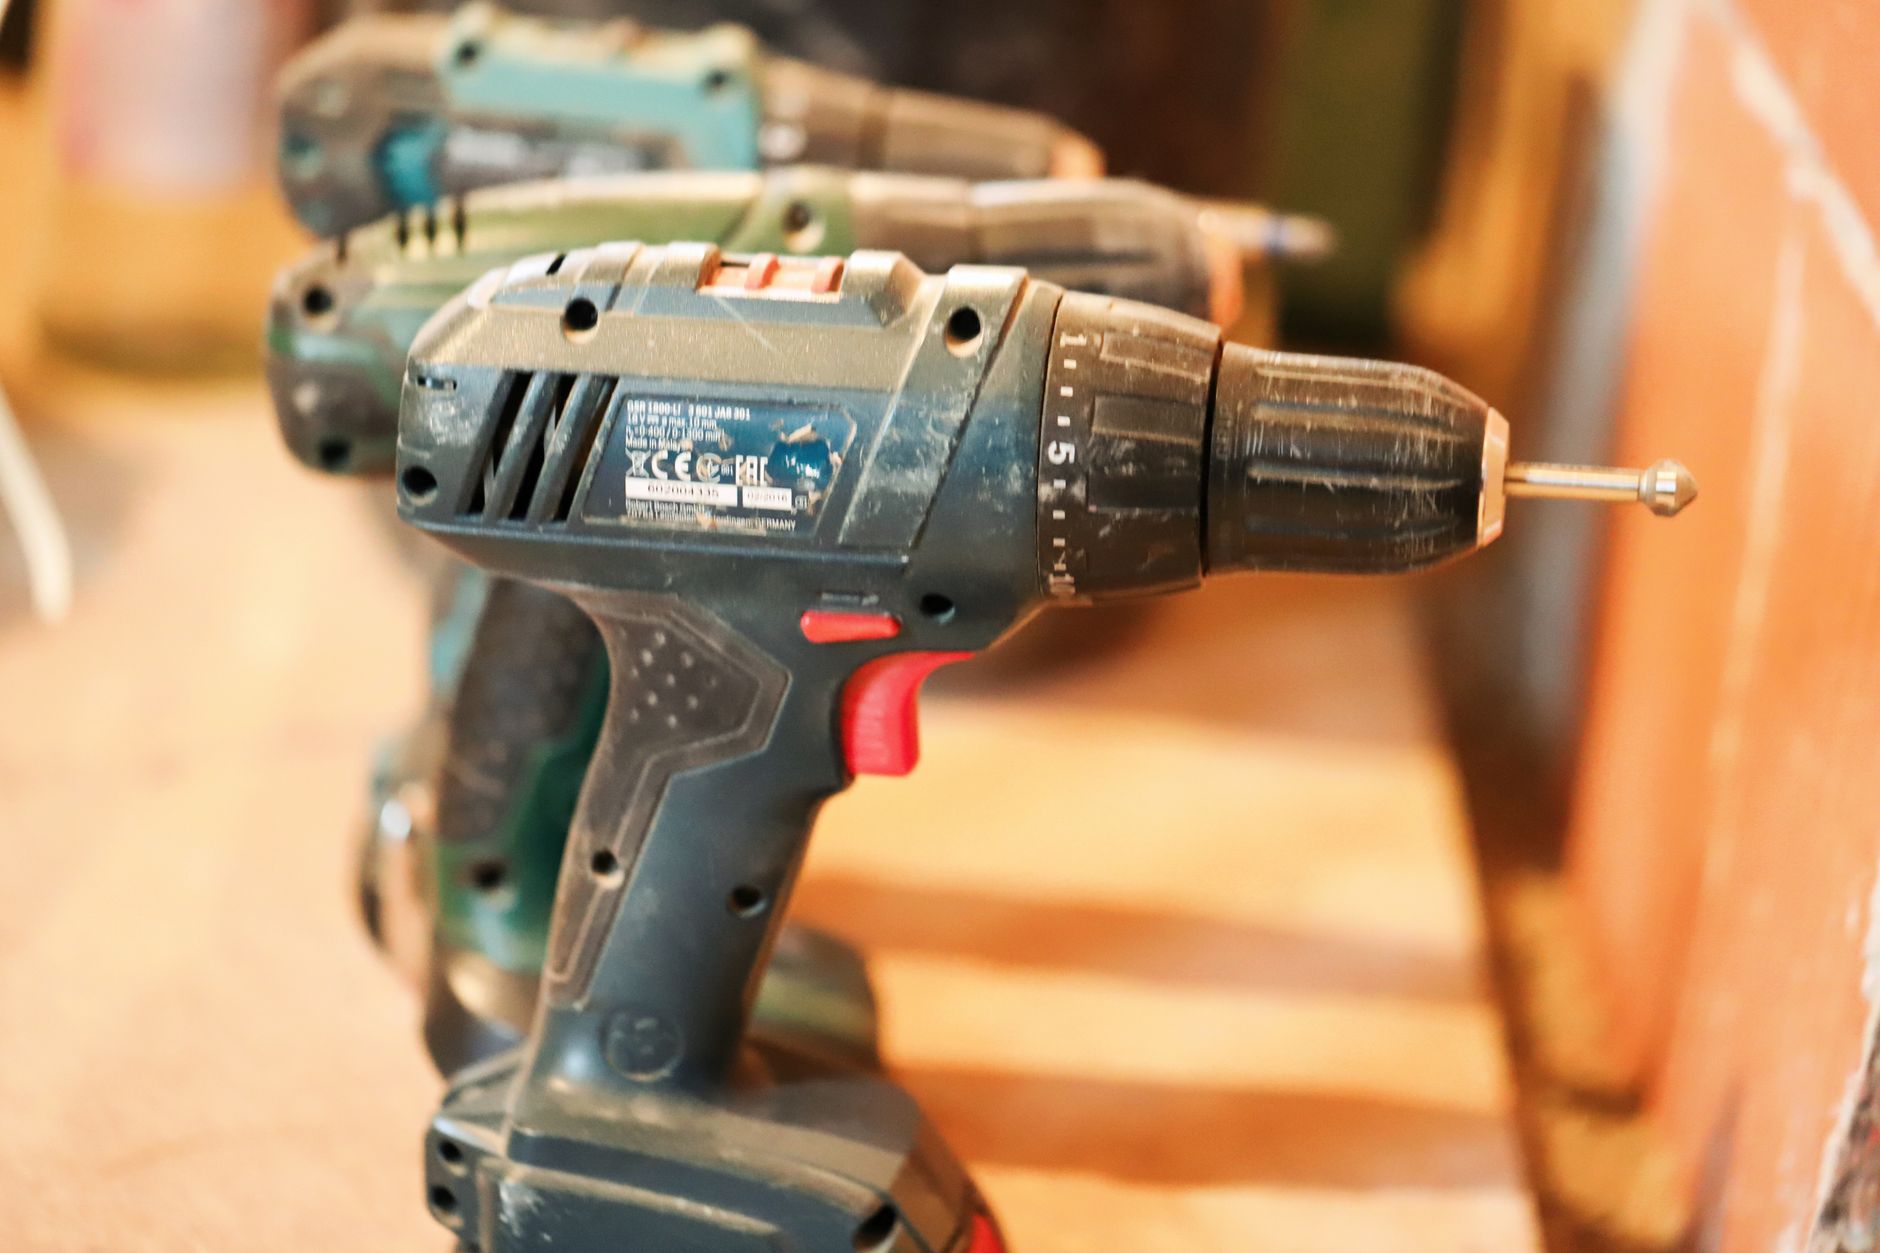

Numbered slip points on a cordless drill/driver control how much twisting force reaches a screw before the chuck slips. Low numbers release sooner for delicate work, while higher numbers hold longer; the drill icon bypasses that limit for drilling and pilot holes.
This guide helps anyone driving screws, hanging shelves, or assembling furniture choose a clutch setting with more confidence, then match the number to the material, fastener size, and drill brand.
The Clutch Ring And What It Really Controls
The ring does not measure torque in a universal way. It sets a relative limit, so the same printed number can feel different on different tools.
Inside most cordless drill drivers, a spring and clutch plate slip once resistance rises past the chosen point. That slip protects screw heads, thin trim, and soft materials from extra force, which is why the setting matters more than the label.
- Low numbers slip early. Use them for tiny screws, softwood, and anything that crushes easily.
- High numbers allow more force. Use them for larger screws and denser stock.
- The drill icon bypasses slip. Use it for holes, not careful screwdriving.
- The ring is relative. A 6 on one cordless drill may act like a 4 or 8 on another.
The clutch is a mechanical limit, not a promise of exact power. That is why the same printed number can feel different across DeWalt, Milwaukee, and Bosch tools.
That difference matters more than the label. Once you stop treating the ring like a torque chart, you can choose drill clutch settings by screw behavior instead of guessing from the number alone.
That simple shift makes the drill icon feel less like a mystery and more like a practical branch.
Low Numbers, High Numbers, And The Drill Icon
Setting 1 or 2 gives you the softest slip point. That helps with shelf pins, hinge screws, and other small fasteners that twist out before they bite.
Higher numbers hold off slip longer, so the bit keeps turning through harder material and larger screws. That extra force helps in framing lumber, hardwood, and hardware that needs a firmer pull into the surface.
| Setting Range | What You Feel | Best Fit |
|---|---|---|
| 1 to 2 | Very early slip, light push | Small screws, softwood, drywall anchors, furniture assembly |
| 3 to 6 | Moderate hold, steady seat | Cabinet screws, door hardware, general home fastening |
| 7 and up | Late slip, stronger drive | Large wood screws, hardwood, dense stock |
| Drill icon | No clutch limit | Holes, pilot holes, light drilling with the right bit |
Drill mode sends maximum available torque to the bit, so it belongs in hole-making work rather than controlled screwdriving. On many drill/driver models, that mode feels abrupt, like a wrench with no stop point.
Door hardware shows the difference clearly. A hinge screw into a predrilled jamb may seat cleanly at a mid setting, while the same tool in drill mode can bury the screw head before your hand reacts. That is where drill mode vs clutch mode stops being a theory and becomes a real choice on the job.
With that distinction clear, a few reliable starting settings can save a lot of stripped heads.
A Simple Starting Point For Common Screw Jobs
A low starting point saves more work than a high setting ever will. You can step upward in small moves, but stripping a screw head or crushing soft wood takes time to fix.
- Start at 1 or 2. Small screws and softwood give the clearest signal at low slip.
- Drive a test screw. Stop once the head is nearly flush and watch for early slip.
- Raise one step at a time. Move upward only until the screw seats cleanly.
- Use scrap stock. A pine cutoff or leftover drywall sheet shows the setting before the real piece does.
- End at flush. The screw should seat even with the surface, not bury deep enough to chew the material.
Softwood, drywall, and flat-pack furniture all reward a light touch. Dense lumber and larger fasteners need more bite, so a medium or high setting makes sense once the screw has a solid path. That is the practical core of how to set drill clutch for screws.
Test on scrap before the real piece. A single practice screw tells you more about the clutch than any printed number on the ring.
That habit also shows you how your bit, battery charge, and screw type are affecting the result. From there, material choice becomes the next filter, and clutch settings for different materials start to make sense in the hand.
Once a baseline works, the material itself becomes the bigger clue for dialing things in.
Matching Settings To Wood, Drywall, And Metal
Material hardness changes the amount of force needed before the clutch slips. Soft surfaces give way fast, while dense or slick stock keeps the screw turning longer.
| Material | Start Here | What To Watch |
|---|---|---|
| Softwood | Low setting | Quick seating, easy strip risk |
| Drywall | Very low setting | Paper face tears fast, screw head can break through |
| Hardwood | Mid to higher setting | More resistance before the screw pulls in |
| Light-gauge metal | Mid setting with proper bit | Heat, cam-out, and head wear show up fast |
Wood fibers compress before they split, so screw force changes as the threads bite deeper. That mechanical shift is why a setting that feels fine in pine can overdrive a softer sheet material in one quick burst. It also helps explain what drill clutch numbers mean when you move from framing lumber to drywall or thin panel stock.
Drill mode belongs with pilot holes and light drilling in wood, metal, or masonry, provided you use the right bit and speed. A masonry bit in a hammer drill handles brittle material by chipping, not by spinning harder, and that extra impact is a different tool behavior than the clutch altogether. That same difference matters when you compare cordless drill clutch settings guide advice to actual drilling work.
Those material differences also explain why two tools with similar markings can feel completely different.
Brand Scales That Look Similar But Behave Differently
Milwaukee, DeWalt, Bosch, and similar brands print numbers that look familiar, yet those scales are not standardized. A 5 on one tool can feel closer to an 8 on another.
The reason is simple: the internal spring tension, gearbox, and clutch geometry vary by model. Even within one brand, a compact drill driver and a larger hammer drill can deliver different slip points at the same printed number.
Trust the screw, not the ring. A cleanly seated head tells you more than any brand label on the housing.
That is why calibration belongs on real material. Set the tool for the result you want, then mark that number for the screws and stock you use most. When you are moving between DeWalt, Milwaukee, Bosch, or a compact Makita-style driver, the printed scale only gives you a starting point.
A familiar number means little when the clutch slips, jerks, or quits before the screw seats.
Reading The Tool When The Clutch Feels Off
A clutch that slips too soon leaves the screw proud of the surface. A setting that runs too hard buries the head, strips the drive recess, or crushes the wood around it.
- Raise the setting. Early slip means the clutch is cutting power too soon.
- Lower the setting. Deep sinking or shredded heads point to too much force.
- Watch cam-out. The bit jumping out of the recess signals poor fit or excess torque.
- Check for spinning. A fastener that turns without seating often needs a different pilot hole or a firmer setting.
- Listen for sudden release. A sharp slip sound tells you the clutch hit its limit.
Bit fit matters here too. A worn Phillips bit cams out faster than a square or Torx driver, and that can make the clutch seem wrong even though the real problem is the bit shape.
Battery charge changes the feel as well. A fresh pack holds voltage better under load, so the same clutch number can drive a screw more assertively than a tired pack with sagging output. That is another reason the numbers on a cordless drill clutch settings guide never tell the full story by themselves.
Even then, battery condition can blur the result and make a good setting seem wrong.
Drill Mode, Trigger Feathering, And The Limits Of Each
Drill mode gives you full output, while clutch mode caps twist at a set slip point. That makes drill mode ideal for holes and clutch mode better for screwdriving where over-tightening hurts the work.
| Method | Control Source | Best Use |
|---|---|---|
| Clutch mode | Mechanical slip point | Consistent screw seating |
| Trigger feathering | Your finger pressure | Short bursts, careful start, hole alignment |
| Drill mode | No torque cap | Pilot holes, full drilling, faster bit rotation |
Trigger feathering gives you a manual throttle, but it still depends on steady hand pressure and practice. The clutch adds a mechanical stop, which is why it stays more consistent across a long row of screws in cabinet work or trim.
That difference matters with repeated fastening. Feathering works for a single delicate screw, while the clutch keeps the ninth and tenth screw from getting deeper than the first. It is the clearest place to see drill mode vs clutch mode in daily use.
That contrast becomes obvious when a repetitive screw run starts to reveal small setting mistakes.
A Beginner-Friendly Routine That Prevents Damage
A predictable routine matters more than a perfect number. Start low, drive one test screw, and move up only until the head seats cleanly without tearing the surface.
- Check the bit. A snug bit reduces cam-out and false slipping.
- Match the screw. Use the right head type and length for the job.
- Set a low clutch value. Begin where stripping risk stays low.
- Test on scrap. Confirm the feel before moving to the finished piece.
- Clean the ring. Dust around the clutch ring can make the setting feel vague.
- Watch the chuck. A loose chuck can mimic clutch slip and waste your time.
A dirty ring or dusty chuck changes how the tool feels in your hand. Wipe the housing and keep the adjustment area clear so the setting responds the same way every time.
That routine also helps you separate clutch issues from material issues. A soft board, a dull bit, or a weak battery can all mimic the wrong setting, so you want to rule those out before turning the ring again. It also saves you from chasing the wrong setting when the real problem is bit wear, pilot-hole size, or a tired battery pack.
Once you have that habit, drill clutch settings stop feeling mysterious. Start low, read the screw, adjust in small steps, and switch to drill mode only when the task calls for real drilling force.
A simple habit keeps those mistakes from turning into damaged fasteners or split wood.
What To Remember
The number on the ring is a slip cue, not a universal torque value. Use low settings for small screws and fragile stock, move up for larger fasteners and dense wood, and save drill mode for holes, pilot work, and light drilling.
Those guidelines make the whole process easier to trust on the next project.
Final Thoughts
When you treat the clutch as a controlled slip system, the tool becomes easier to trust. You get cleaner screw heads, less crushed material, and faster setup on the next job because you already know where your drill clutch settings land on real screws and real stock.
FAQ
What do the clutch numbers on a drill mean?
The numbers mark relative clutch slip points. Low numbers let the chuck stop sooner, while higher numbers allow more twist before release, so you can match driving force to the screw and material.
What is the 1 or 2 setting on a drill?
That is the lightest clutch range on many drill driver models. You use it for small fasteners, softwood, drywall, and furniture work where early slip helps stop overdriving.
What clutch setting should I use to drive screws?
Start low, then step upward until the screw seats flush without stripping the head or burying itself. Small screws usually stay near the low end, while larger wood screws need a higher setting.
When should I use drill mode instead of clutch mode?
Use drill mode for holes, pilot holes, and light drilling in wood, metal, or masonry with the proper bit. Clutch mode belongs in screwdriving, where controlled slip protects the workpiece.
Do clutch settings differ by brand or model?
Yes. DeWalt, Milwaukee, Bosch, and other brands use separate scales, so the same printed number can feel stronger or weaker from one tool to another. Calibrate by how the screw seats, not by the label alone.



