
On a typical jobsite, basic items help crews measure, cut, fasten, level, and move material safely. A hammer, tape measure, level, drill, wrench, pliers, saw, utility knife, shovel, and ladder cover most beginner tasks, from framing a wall to trimming a board.
This guide covers the essential construction tool names every beginner should recognize, along with practical examples of where each one fits in the first days on a jobsite or during a home project.
Construction Tools At A Glance
A jobsite toolbox starts with names you can spot in a single glance. The common pieces below handle measuring, cutting, fastening, digging, lifting, and access, and that split matters more than brand or shine.
Hand tools need your muscle, power tools run on electricity, batteries, or fuel, and safety gear protects your body while you work. That simple division helps you sort the pile fast instead of guessing under pressure.
| Tool | Type | Plain-English use |
|---|---|---|
| Claw hammer | Hand tool | Drives nails and pulls them back out. |
| Tape measure | Measuring tool | Checks lengths before you cut or install anything. |
| Level | Measuring tool | Shows whether a surface sits flat, level, or plumb. |
| Power drill | Power tool | Makes holes and drives screws with the right bit. |
| Wrench | Hand tool | Tightens or loosens nuts and bolts. |
| Pliers | Hand tool | Grips, bends, twists, and holds small hardware. |
| Saw | Cutting tool | Cuts wood, metal, drywall, or plastic, depending on the blade. |
| Utility knife | Hand tool | Trims drywall, cardboard, rope, insulation, and packaging. |
| Shovel | Digging tool | Moves soil, gravel, sand, and loose debris. |
| Ladder | Access gear | Lifts you to a safe working height. |
That table gives you a quick reference, but real jobsite skill comes from matching the tool to the task. A framing crew, a drywall crew, and a masonry crew all reach for different gear, yet the same naming logic still applies.
The first decisions are about accuracy, since a clean mark determines how every cut and fit will turn out.
Measuring And Marking Before The First Cut
Accurate layout saves more material than any later fix can recover. A tape measure sets the size of the job before a saw ever touches material, and an eighth-inch mistake on a trim board can throw off a whole run.
Tape Measures Set Dimensional Control
The metal blade inside a tape measure stays stiff enough to span short gaps and mark longer runs. Retractable tapes come in common lengths such as 16 feet, 25 feet, and 35 feet, and each one serves a different jobsite need.
For framing, you often reach for a 25-foot tape because walls, studs, and room dimensions add up fast. For trim or cabinet work, a shorter tape can feel easier to control in tight spaces.
Levels Show Straight, Flat, And True
A level checks whether a surface is horizontal, vertical, or flush with what sits beside it. Bubble levels use a vial and liquid to show the line, and laser levels project a reference line across a room for longer layouts.
That visual check matters because gravity does not forgive sloppy setup. A crooked shelf, a leaning post, or a sloped backsplash may look small at installation time, then stand out every day after the room is finished.
Squares, Chalk Lines, And Markers Carry The Layout
Carpenter squares and speed squares help you mark right angles and repeatable cuts. Chalk lines snap a straight reference over a long span, while markers and pencils carry that plan onto wood, drywall, or concrete.
Drywall installers rely on a clear mark before cutting openings for outlets and switches, and framers use the same habit for stud layout. Accuracy at this stage saves material, reduces rework, and keeps the next tool from fixing a mistake you could have avoided.
Keep the measuring blade clean and the hook tight. A bent hook or a smudged scale can throw off the reading by enough to ruin a tight fit.
That layout work leads straight into cutting and fastening, because every marked line still needs the right tool to turn it into a finished piece.
Once the layout is set, the real work begins with tools that turn those marks into usable parts.
Cutting, Drilling, And Fastening In Daily Work
A circular saw, a drill, and a hammer solve most common tasks on a busy site. Each one has a narrow job, and the wrong choice can chip lumber, strip hardware, or slow the work more than you expect.
Saws Match The Material And Cut Style
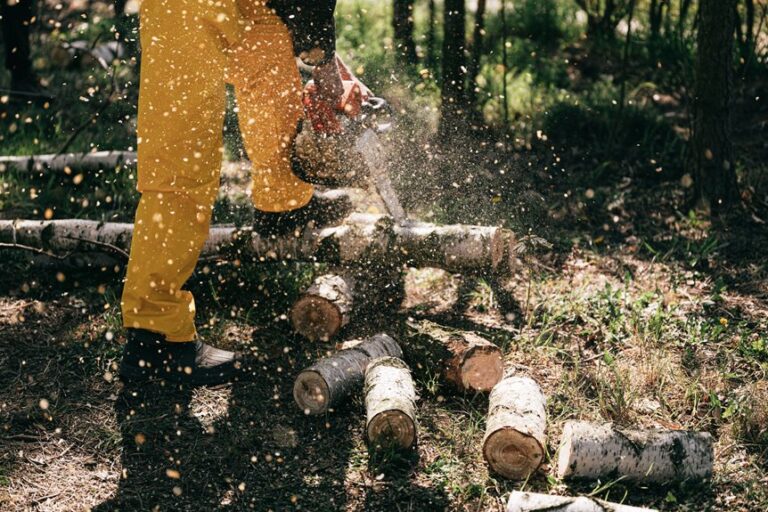
A circular saw cuts framing lumber, plywood, and subfloor panels fast, which makes it a staple in rough carpentry. A hand saw handles quieter detail work, while a miter saw helps with angle cuts for trim and molding.
The blade choice matters as much as the tool body. Wood blades have tooth shapes that clear chips, metal blades use finer teeth, and drywall or PVC calls for a different edge again.
Drills Do More Than Make Holes
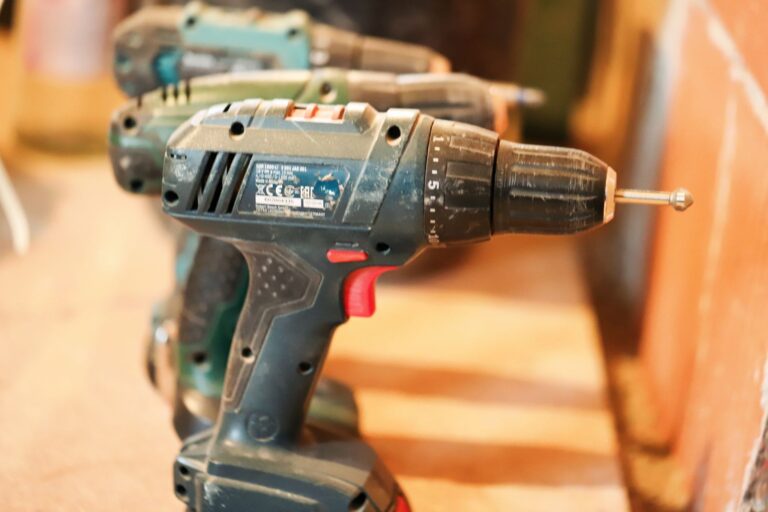
A power drill bores pilot holes, drives screws, and mixes light materials with the right attachment. A cordless drill gives you movement around a room, while a corded model keeps steady power for longer tasks near an outlet.
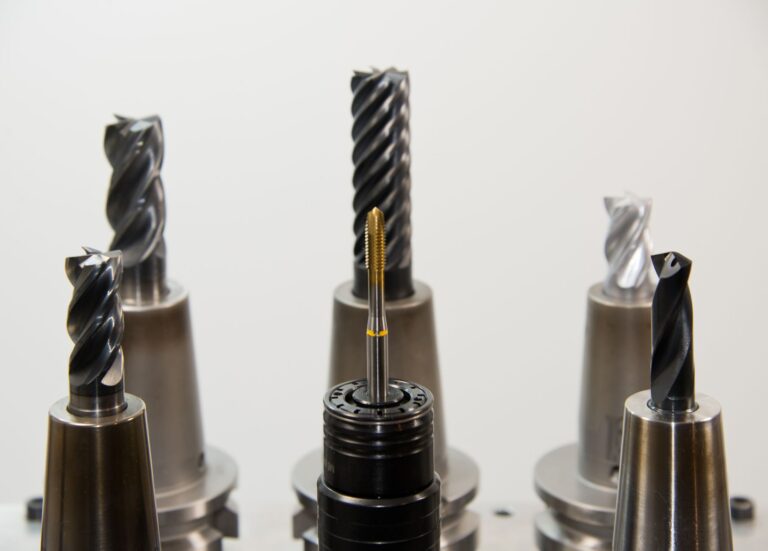
Bit selection changes the result. A bit that fits the screw head keeps the driver from camming out and chewing the slot, while a proper drill bit cuts a cleaner hole through wood, steel, or masonry.
Fasteners Need The Right Grip And Finish
Hammers drive nails and pull them with the claw side, so a claw hammer belongs in almost every starter kit. Nail sets sink nail heads below the surface, and screwdrivers turn threaded fasteners without the chatter a drill can leave behind.
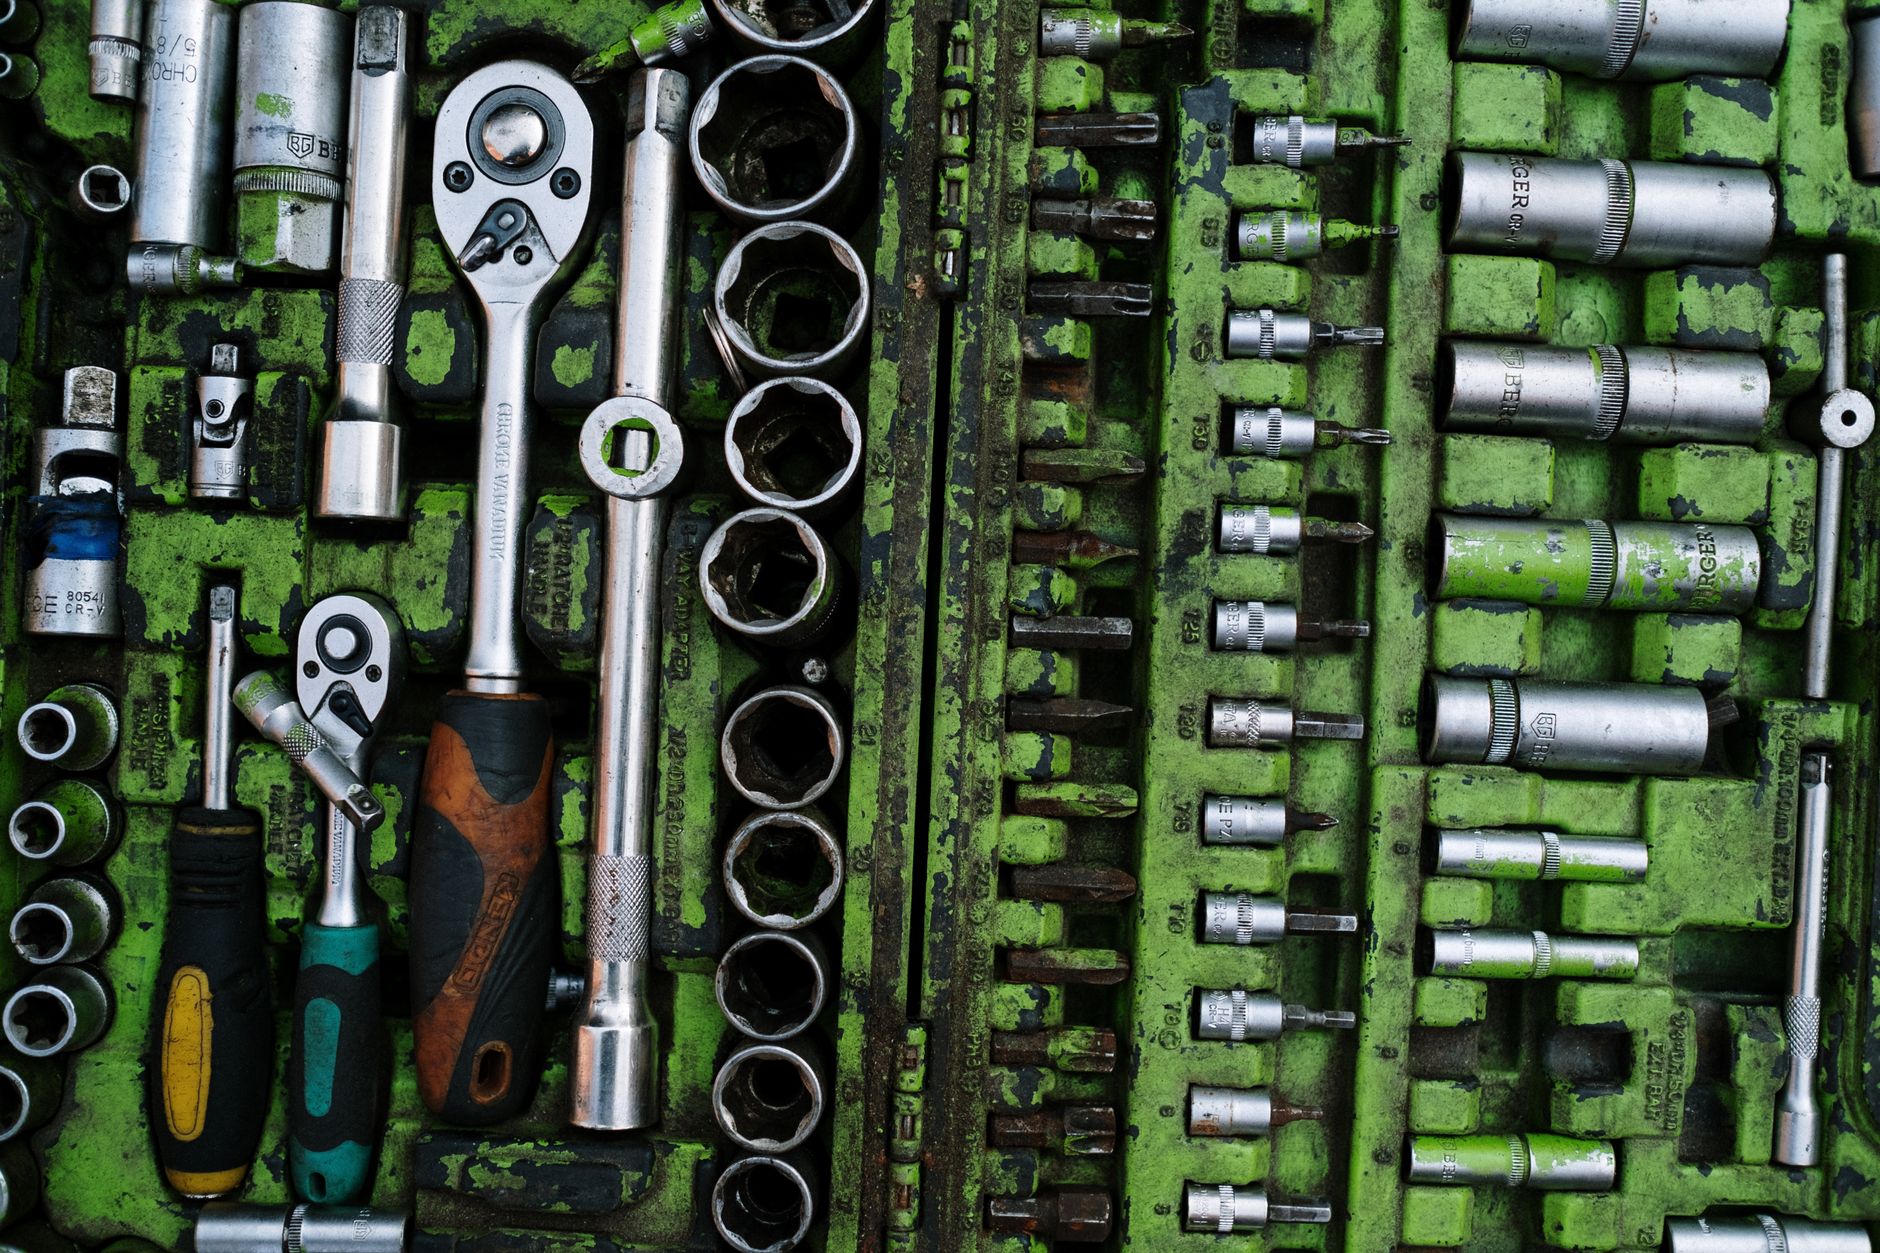
Wrenches and pliers tighten, loosen, and grip hardware where a hand alone slips. On plumbing mounts, appliance brackets, and steel framing connectors, that grip keeps parts from twisting out of alignment before the final snug-down.
Choose the bit or blade before you start the cut. A matched edge leaves cleaner work, and the tool fights less against the material.
A small case makes the point clearly, because one job can touch several tool families in under ten minutes. A worker might mark a stud with a square, cut it with a circular saw, drill a pilot hole, then drive the screw that locks the assembly in place.
That sequence often raises a practical question: which jobs call for hand effort, and which need extra power?
Hand Tools Versus Power Tools On Site
That speed-versus-control tradeoff shows up on nearly every job. Hand tools run on your arm, and power tools run on electricity, batteries, or fuel, so the choice changes noise, accuracy, and pace.
| Tool type | Best use | Beginner examples |
|---|---|---|
| Hand tools | Careful detail work, small fixes, quiet tasks | Claw hammer, screwdriver set, pliers, wrench, utility knife |
| Power tools | Fast repeat cuts, drilling, heavy fastening | Power drill, circular saw, jigsaw, impact driver, sander |
| Support gear | Layout, access, and protection | Level, tape measure, ladder, eye protection, gloves |
Hand tools give you finer feedback. You feel resistance through the handle, which helps with delicate tasks like setting a screw in soft wood or tightening a small fitting without crushing it.
Power tools save time on repetitive work. A circular saw can rip several sheets of plywood in minutes, while a cordless drill can set dozens of screws before your wrist starts to complain, so the job stays moving.
Where Each Type Fits Best
Finish carpentry leans hard on hand tools because trim, casing, and hardware need close control. Framing leans hard on power tools because dozens of cuts and fasteners pile up quickly.
That split also explains why an air compressor still matters on some jobs. Pneumatic nailers, staplers, and some spray tools depend on compressed air, so the compressor becomes the power source behind the handpiece.
Construction equipment adds another layer once material gets heavy. A shovel, ladder, wheelbarrow, and saw all appear in a basic job, but lifts, mixers, and other larger machines enter the picture as the site scales up.
Because small projects and big sites demand different levels of output, the right starter set has to cover the essentials first.
The Starter Kit Every Beginner Should Build First
A sound starter kit trims the noise and leaves you with tools that solve real tasks on day one. Tape measure, hammer, level, screwdriver set, utility knife, pliers, adjustable wrench, and a basic drill cover a surprising amount of work.
Essentials Come Before Nice To Haves
- Tape measure sets dimensions before any cut or layout.
- Claw hammer drives and removes nails in framing or repair work.
- Level keeps shelves, frames, and trim from drifting out of line.
- Screwdriver set handles slotted, Phillips, and square drive screws.
- Utility knife trims drywall, boxes, and insulation cleanly.
- Pliers grip wire, small parts, and stubborn fasteners.
- Adjustable wrench fits several bolt sizes with one tool.
- Basic drill covers holes and screw driving with the right bit.
Notice what stays out of that list at the start. A miter saw, impact driver, oscillating tool, or air compressor can help later, but they do not belong at the front of the line for a new setup.
Order The Kit By Job, Not By Shine
Put measuring tools together in one pouch, then fastening tools, then cutting tools, then access and protection gear. That order saves time because your hand learns where each item lives before the project gets busy.
A simple bag setup also reduces loss. The tape measure, square, pencil, and level stay with layout work, while drill bits, screw bits, and the wrench set stay with fastening, which keeps the right tool near the job that needs it.
Start with the tools you touch on nearly every task. Fancy gear looks useful, but the basics earn their keep on framing, drywall patching, furniture assembly, and small repairs.
That starter list helps you buy with purpose, and the next step is choosing tools that fit the material, the fastener, and the room you are working in.
With the basics chosen, attention shifts to keeping each tool effective, safe, and matched to the job at hand.
Choosing Tools Safely, Caring For Them Well
The right tool does not matter much if the blade is dull, the cord is frayed, or the wrench slips off the nut. Fit, inspection, and upkeep shape both accuracy and safety on a jobsite.
Match The Tool To The Material
A wood blade cuts lumber cleanly, a metal blade handles steel, and a masonry bit belongs in concrete or block. The same logic applies to wrenches and sockets, because the correct size grips the hardware and keeps the corners from rounding off.
That fit is a mechanical issue, not a style choice. A snug wrench spreads force across more of the fastener head, and that wider contact lowers the chance of slipping under torque.
Inspect Before Use And Protect Yourself
Eye protection belongs near cutting, grinding, drilling, and overhead work because chips and dust move fast. Secure your grip, check the blade, check the cord, and check the battery housing before the tool reaches the material.
One split second matters here. A circular saw tooth that catches on a knot can kick back, and a utility knife blade that retracts poorly can slip into a cut line, so the inspection habit pays off every time.
Keep Edges Sharp And Storage Dry
Clean blades cut cooler and straighter, while dull blades press harder and leave rough edges. Batteries last better in dry storage, cords stay safer when coiled loosely, and metal tools stay easier to trust when rust has no place to start.
Autodesk and Mister Worker both catalog broad tool inventories online, but the practical lesson stays the same on any site: the label matters less than fit, condition, and correct use. A tool in good shape works faster and gives cleaner results.
Construction tools names and uses become much easier to remember once you sort them by function, not by brand or shape. Measure, mark, cut, fasten, lift, and protect, and the whole toolbox starts to make sense.
Taken together, those habits show that a well-built kit depends on use, care, and clear purpose.
Final Look
The simplest way to handle construction tools names and uses is to pair each tool with the job it solves. Tape measure, level, saw, drill, hammer, wrench, pliers, utility knife, shovel, and ladder cover the basics because each one fills a clear place in the work order. Once that connection clicks, your choices get faster, safer, and far less confusing.
FAQ
What are the basic tools for construction?
The basics include a tape measure, claw hammer, level, screwdriver set, utility knife, pliers, adjustable wrench, and a power drill. Those tools cover measuring, fastening, cutting, and light repair work across framing, drywall, and small jobsite tasks.
What are the names of all the tools used in construction?
No single list covers every trade, since masonry, carpentry, electrical, and finishing work use different gear. The common names you hear most are hammer, tape measure, level, drill, wrench, pliers, saw, utility knife, shovel, ladder, chisel, caulk gun, and air compressor.
What are the 10 essential construction tools?
A practical set includes a claw hammer, tape measure, level, screwdriver set, utility knife, pliers, adjustable wrench, power drill, saw, and ladder. That group covers the tasks most beginners meet on day one, from layout to fastening and access.
What are the most common measuring tools in construction?
A tape measure, level, square, chalk line, and marker or pencil cover the most common measuring tasks in construction. A tape measure sets length, while a level checks alignment, plumb, and flatness before installation.
What is the difference between hand tools and power tools?
Manual force powers hand tools, while electricity, batteries, or fuel drive power tools. Hand tools give finer control for detail work, and power tools save time on repetitive tasks like drilling, cutting, and screw driving.