
To drill into concrete, use a hammer drill or rotary hammer, a carbide-tipped masonry bit, and steady pressure so the bit cuts instead of skates. A standard drill often stalls in dense slab or block, and the right hole size plus clean dust removal helps the anchor hold.
This guide covers the practical steps for boring into concrete, from choosing the right tool and bit to handling dust, heat, and the common mistakes that trip up DIY wall anchors.
Choose the Right Drill for the Job
A hammer drill handles most home projects because its pulsing action chips away at the cement paste while the bit turns. A rotary hammer goes harder, so it suits larger holes, older slabs, and repeated work where a smaller drill starts to drag.
The tool matters because concrete resists steady twist force far more than wood or drywall. The cement matrix and aggregate spread the load, while embedded stone and sand grit turn heat into the main enemy. That means your best tool depends on hole size, hole count, and how dense the surface feels under the bit.
Hammer Drill for Most Home Tasks
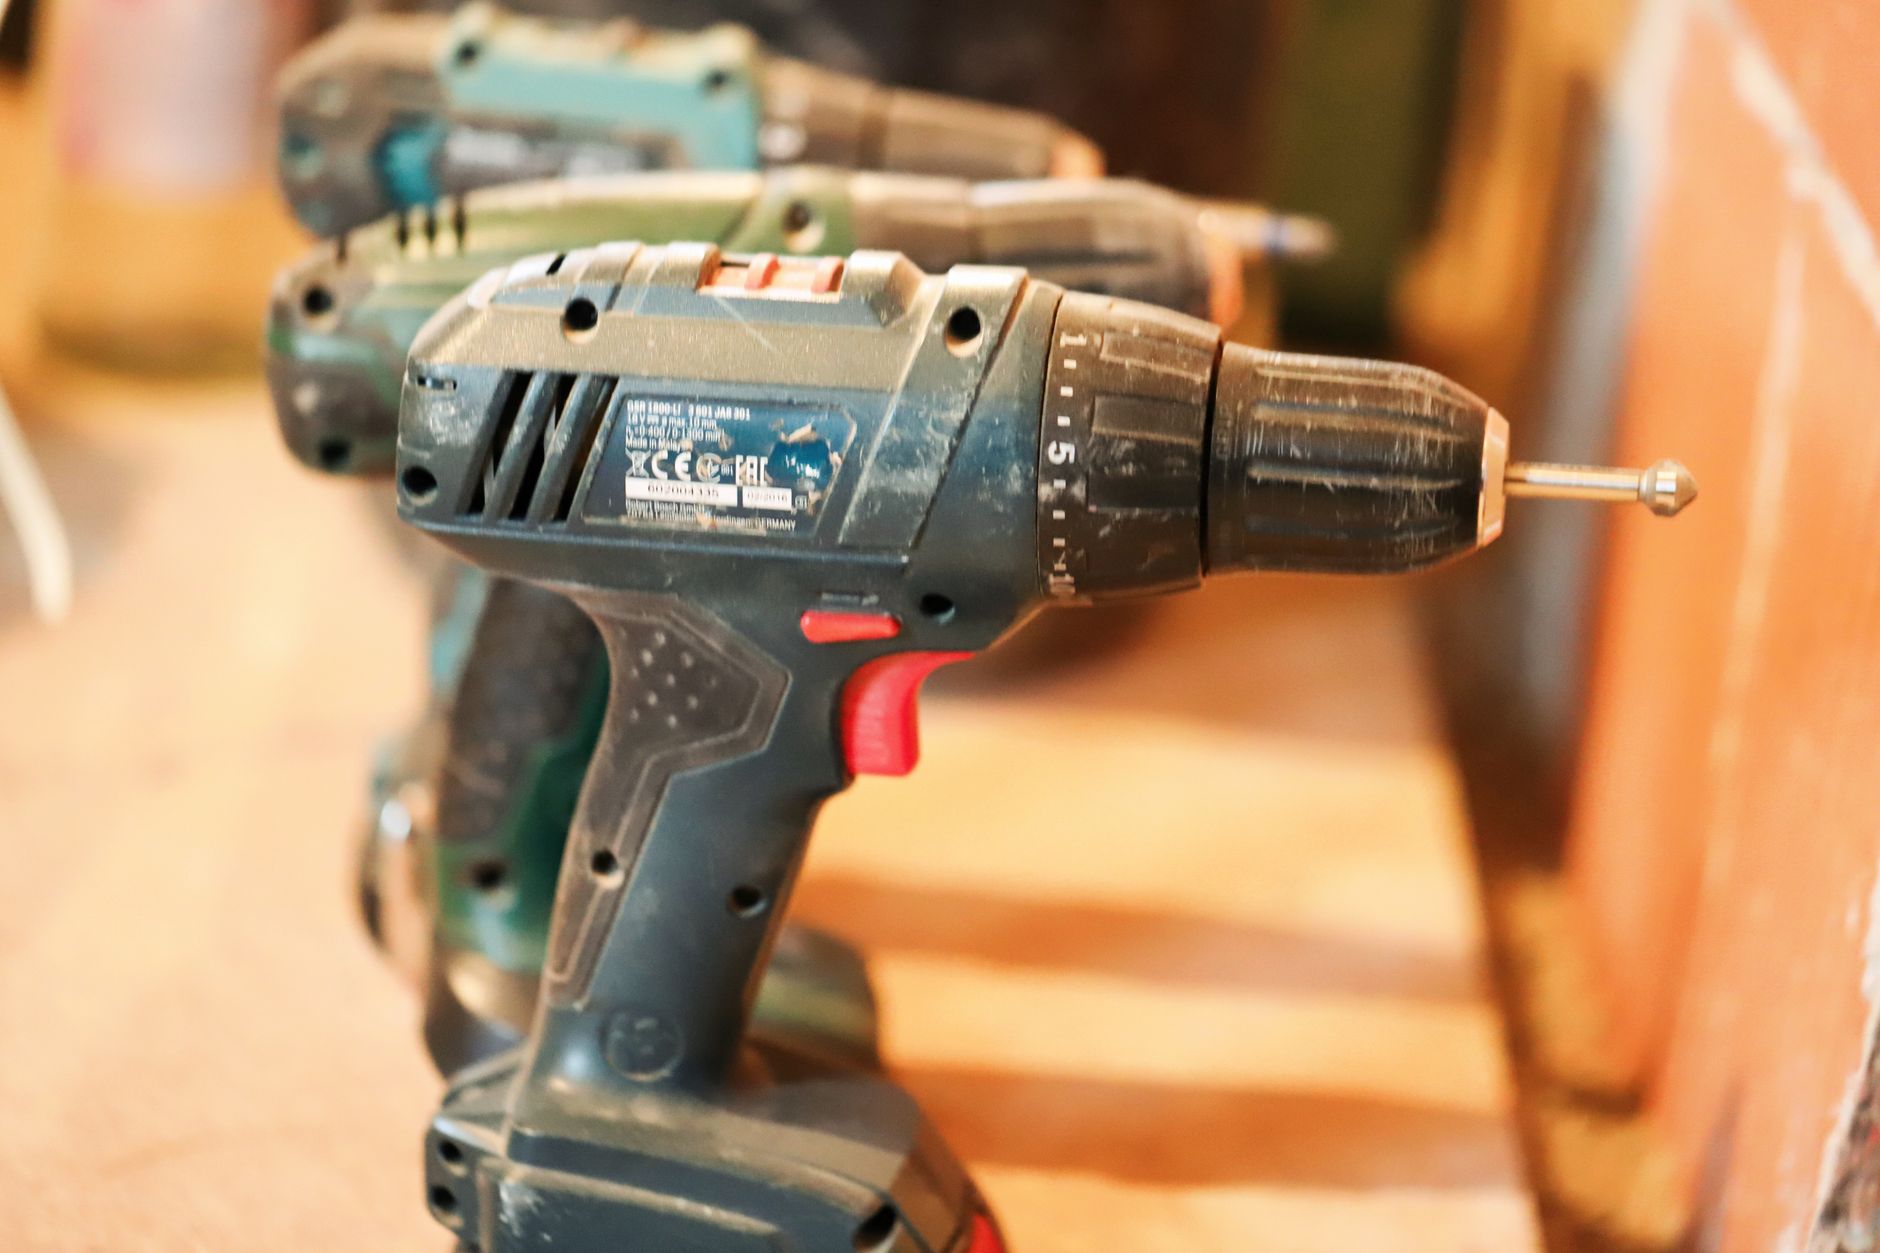
A hammer drill fits shelves, handrails, curtain hardware, and light anchors well. The impact action helps the bit cut instead of rub, which keeps progress steady in block, poured walls, and many garage slabs. That setup also covers most jobs people mean when they ask how to drill into concrete without buying heavy demolition gear.
Rotary Hammer for Harder Work
A rotary hammer uses a piston-style strike that sends more force into the masonry bit. That extra impact matters on thick concrete, deep anchor holes, and larger diameters where a compact drill bogs down fast. If you are comparing drilling into concrete with a hammer drill against a rotary hammer, the difference shows up in speed, fatigue, and bit wear.
Regular Drill as a Narrow Fallback
A standard drill can handle a tiny, shallow pilot hole in soft concrete, but the setup is a compromise. On dense slab, it spins without enough bite, so the bit heats up, the hole wanders, and your hand does more work than the tool. That is why drill into concrete without a hammer drill only makes sense for very light, shallow work.
| Tool | Best Use | Why It Matters |
|---|---|---|
| Regular drill | Very small, shallow holes in soft concrete | Low cost, but weak impact makes progress slow |
| Hammer drill | Most homeowner holes for anchors and screws | Good balance of price, speed, and control |
| Rotary hammer | Large holes, tough slab, repeated drilling | Higher strike force cuts dense material faster |
The Home Depot and Cobra Southeast both point to the same practical reality: a hammer drill solves most drilling jobs, while a rotary hammer belongs to heavier work. Your budget still matters, so match the tool to the slab, not to the biggest label on the shelf. That decision sets up the next step, because the bit has to fit the fastener just as closely.
That fit matters as much as the tool itself, because a mismatched bit can ruin an otherwise careful layout.
Pick a Masonry Bit That Matches the Fastener
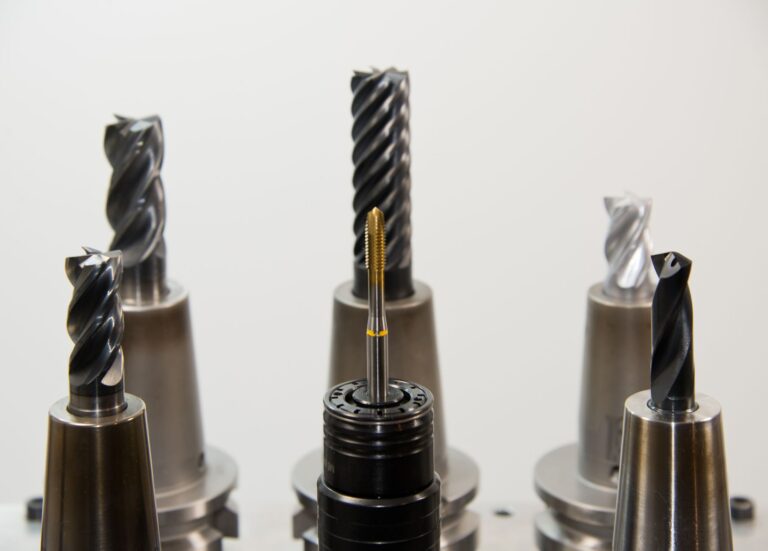
A carbide-tipped masonry bit is the right starting point for concrete because carbide stays harder than the surrounding cement and aggregate. The bit size needs to match the anchor or screw specification, or the fastener will grip poorly and spin in the hole.
Bit length matters just as much as diameter. A short bit can leave you short on depth, while a bit with the wrong shank can slip in the chuck or fail to sit straight under hammer action.
Match Diameter to the Anchor
Concrete anchors hold best when the hole diameter fits the hardware exactly. Everbilt anchors, Quikrete repair hardware, and similar fasteners all list a required bit size, and that number beats guesswork every time. If you are checking the best drill bit for concrete, start with the anchor label before you look at the package color or brand name.
Check Shank and Length Before You Start
SDS bits lock into a rotary hammer differently than round shank bits fit a standard chuck. That connection matters because a loose shank wastes impact energy and can chip the hole edge as you drill. A bit that sits straight gives you better control, especially when you are learning how to drill holes for concrete anchors in a tight layout.
Replace Worn Carbide Early
A dull bit turns cutting into rubbing, and rubbing makes the hole hot and slow. You can spot wear when the tip looks rounded, the dust turns extra fine, or the drill needs heavy arm pressure for a hole that used to open fast.
Keep one sharp masonry bit for the size you use most. A worn tip drags in a way that feels like hard concrete, but the real problem is the edge, not the slab.
The best drill bit for concrete is the one that matches the fastener, the chuck, and the material density all at once. That choice sets up the rest of the job, because a perfect layout still fails if the slab hides a weak spot or steel bar.
Even a flawless mark can fail if hidden concrete flaws or metal catch the bit later.
Read the Surface Before You Start
A pencil mark means little until you know what sits beneath it. Utility lines, rebar, patch material, and cracked zones can all change how the bit behaves, and they can send a hole off line before you notice the shift.
Mark the exact spot with tape or pencil, then measure spacing for the anchor layout before the drill ever starts. Concrete does not forgive sloppy spacing, especially on shelves, brackets, or rail mounts where a hole that lands 1/4 inch off throws the whole pattern out.
Check for Embedded Hazards
Look for electrical boxes, plumbing runs, surface patching, and visible crack lines before you set the point. A sound surface gives a cleaner cut, while patched material can crumble or close up behind the bit. That matters even more when you plan how to drill into a concrete slab, because older slabs often hide repairs and reinforcement close to the surface.
Set Depth with a Visible Stop
Depth should reach slightly deeper than the anchor length so dust does not block insertion. Masking tape on the bit works well as a quick depth mark, and a depth stop on the drill gives you a cleaner limit on repeat holes.
Clear the Area Around the Mark
A dust-free starting spot helps the point bite without skating across the surface. Brush away grit, then place the tip exactly on the mark so the first few seconds cut straight instead of scuffing a crescent.
A concrete slab behaves like layered rock in miniature, with hard aggregate pieces suspended in a cement paste matrix. That is why a hole can feel smooth for an inch, then stop dead against a pebble or steel mesh, and that same behavior explains why the next step needs patience more than force.
A stubborn bit often signals what lies beneath, and patience will matter more than muscle here.
Drill Cleanly with Steady Pressure
The bit should start slow, then let the hammer action do the cutting while your hand keeps the drill straight. A square angle matters because even a small tilt widens the hole, chews the edge, and leaves the anchor loose.
Steady pressure works better than a hard shove. Push too hard and the bit chatters across the face; push too soft and the hammer action just rattles without advancing the cut.
Start the Cut Slowly
The point needs a few turns to seat itself before full impact makes sense. A shallow starter groove keeps the bit from wandering, especially on painted block or polished slab.
Keep the Drill Square
Watch the body of the tool, not just the bit tip. A straight stance transfers force into the hole, while a leaning angle turns the side of the bit into a scraper.
Pause to Clear Dust
Concrete dust packs into the flutes and slows the cut, so stop every short stretch to pull the bit out and empty the hole. A quick vacuum pass or a burst of compressed air keeps the bit cooler and the depth more exact.
- Mark the spot. Place tape or pencil at the exact center so the bit has a clear target.
- Seat the tip. Start slow until the point makes a shallow groove.
- Hold square. Keep the drill straight so the hole stays true.
- Apply even pressure. Let the hammer action cut while your hand steadies the tool.
- Clear the dust. Pull out the bit often enough to keep the flutes open.
Drilling cleanly with a hammer drill comes down to rhythm, not muscle. Start, steady, clear, and repeat, and the hole stays cleaner than it does under a rushed push. The same pace also makes the next problem easier to manage: dust, heat, and chatter.
That slower rhythm keeps the hole cleaner and reduces the heat and vibration that follow.
Keep Dust, Heat, and Chatter Under Control
Silica dust is the health concern that gets ignored most often, even though concrete work creates it fast. Safety glasses protect your eyes from grit, and a dust mask cuts exposure while you clean or vacuum the hole.
Heat and chatter tell you the cut is slipping out of control. Smoke, a sharp burning smell, or a buzzing vibration means the bit is rubbing too hard, and that is the point to stop and let it cool.
Wear Eye and Breathing Protection
Small chips fly farther than they look, especially from overhead work. A snug dust mask and wraparound glasses keep the grit off your face and out of your eyes while you work near a slab or ceiling.
Vacuum During and After Drilling
A vacuum hose near the hole captures dust before it spreads across the floor or settles back inside the cut. Vacuum or compressed air after the hole is finished, then again right before anchor insertion, so the hardware has clean contact with the concrete walls.
Stop for Heat and Vibration
Overheating shortens bit life and roughens the hole wall. A cooler bit cuts straighter, which matters more than speed when you are setting anchors that need a tight, even grip. If the surface starts to sing under the bit, pause before the carbide edge loses its bite.
Silica dust is the part that can linger in the air and on surfaces after the bit stops. A small cleanup routine around the hole is quicker than wiping dust off every tool in the room.
That same dust control also makes the next problem easier to spot, because a clear hole shows you right away whether the bit has met steel, stone, or something much harder.
A clear bore makes obstacles obvious, especially when steel or harder aggregate interrupts the cut.
Work Through Rebar and Other Hard Spots
When the bit suddenly stops advancing, rebar or very hard aggregate is a strong possibility. A gritty screech, a sharper vibration, and a stall after steady progress all point to a tougher layer than plain concrete paste.
Stopping at that point saves the carbide edge. Forcing the cut can round the tip, widen the hole, and turn a small problem into a larger one that needs a bigger repair later.
Rebar Demands a Change in Plan
Steel reinforcement can sit close to the surface in slabs, driveways, and old ceiling work. If the bit hits steel, reposition the hole a short distance away, or switch to a tool and bit set made for reinforced material.
Very Hard Aggregate Slows the Cut
Some slabs contain dense stone that resists the bit more than the surrounding paste does. A rotary hammer with a sharper carbide tip can cut that kind of mix more comfortably than a light drill can.
Older Slabs Need More Patience
Old concrete can become harder as moisture leaves the surface and the paste densifies over time. A driveway or basement slab that has sat for decades may need slower drilling, more dust removal, and a better bit than a newer wall panel.
In many cases, the answer is steel, dense aggregate, or a dull tip that has run out of bite. The fix starts with stopping, not forcing, and that choice protects both the slab and the tool. From there, you can finish the hole and set the fastener without wasting the work you already did.
Handling those tough patches carefully protects the slab and preserves the effort already spent.
Set Anchors and Fasteners in a Clean Hole
A clean hole gives an anchor the grip it was designed to have. Dust left behind acts like ball bearings, so even a well-sized anchor can spin or pull loose under load.
Match the bit size to the anchor spec before you insert anything. That fit matters because a hole that is too wide weakens holding power, while a hole that is too tight can crack the edge as the fastener goes in.
| Hole Condition | What To Do | Result |
|---|---|---|
| Dust inside the hole | Vacuum or blow it out before setting hardware | Better anchor grip |
| Hole too shallow | Drill slightly deeper than anchor length | Dust has room to collect |
| Bit size mismatch | Use the anchor specification for sizing | Stronger hold with less cracking risk |
| Fastener resistance | Stop before over-tightening | Less chance of splitting concrete |
Clean Before Inserting the Anchor
Vacuum the hole until the bottom looks clean, then check it again after a second pass. Dust collects in the deepest part of the hole, and that last layer is the one that steals thread bite and expansion grip.
Drive Hardware Without Over-Tightening
Insert the anchor fully, then set the screw or bolt until it seats snugly. Excess torque can crack the edge of the hole or strip the anchor, especially near an edge or in weaker patch material.
Use the Right Anchor for the Load
Light hanging hardware and structural mounts need different anchors, even in the same slab. A picture frame hook can use a small sleeve anchor, while a handrail or wall bracket may need a heavier concrete anchor with deeper embedment.
Yes, as long as the hole is sized right, cleaned well, and matched to the anchor you plan to use. A secure fastener starts with the hole, not with the screw head.
Everything works only when the hole is sized, cleaned, and matched to the anchor from the start.
Wrap Up
The cleanest holes come from matching the tool, the bit, and the slab before you start. A sharp carbide masonry bit, a hammer drill or rotary hammer, and steady cleanup give you a hole that fits the anchor and holds under load.
FAQ
What is the easiest way to drill into concrete?
A hammer drill with a carbide-tipped masonry bit is the easiest setup for most home jobs. Mark the spot, start slowly, keep the drill square, and clear dust as you go so the bit keeps cutting instead of rubbing.
Can you drill directly into concrete?
Yes, concrete takes drilled holes well as long as the tool and bit match the material. The key is control, since a straight hole with the right depth gives an anchor much better grip than a rushed cut.
Why won’t my drill bit go through concrete?
The usual causes are a dull bit, too little impact, rebar, or very hard aggregate. Stop the cut, clear dust, check the bit edge, and reposition the hole or switch tools before heat ruins the carbide tip.
What type of drill bit is best for concrete?
A carbide-tipped masonry bit is the standard choice for concrete. Match the diameter to the anchor or screw spec, and use the right shank for your drill so the bit transfers impact cleanly.
Can you drill into concrete without a hammer drill?
You can make a tiny, shallow hole in soft concrete with a regular drill, but progress is slow and the bit wears fast. For most anchors, a hammer drill or rotary hammer is the better tool.