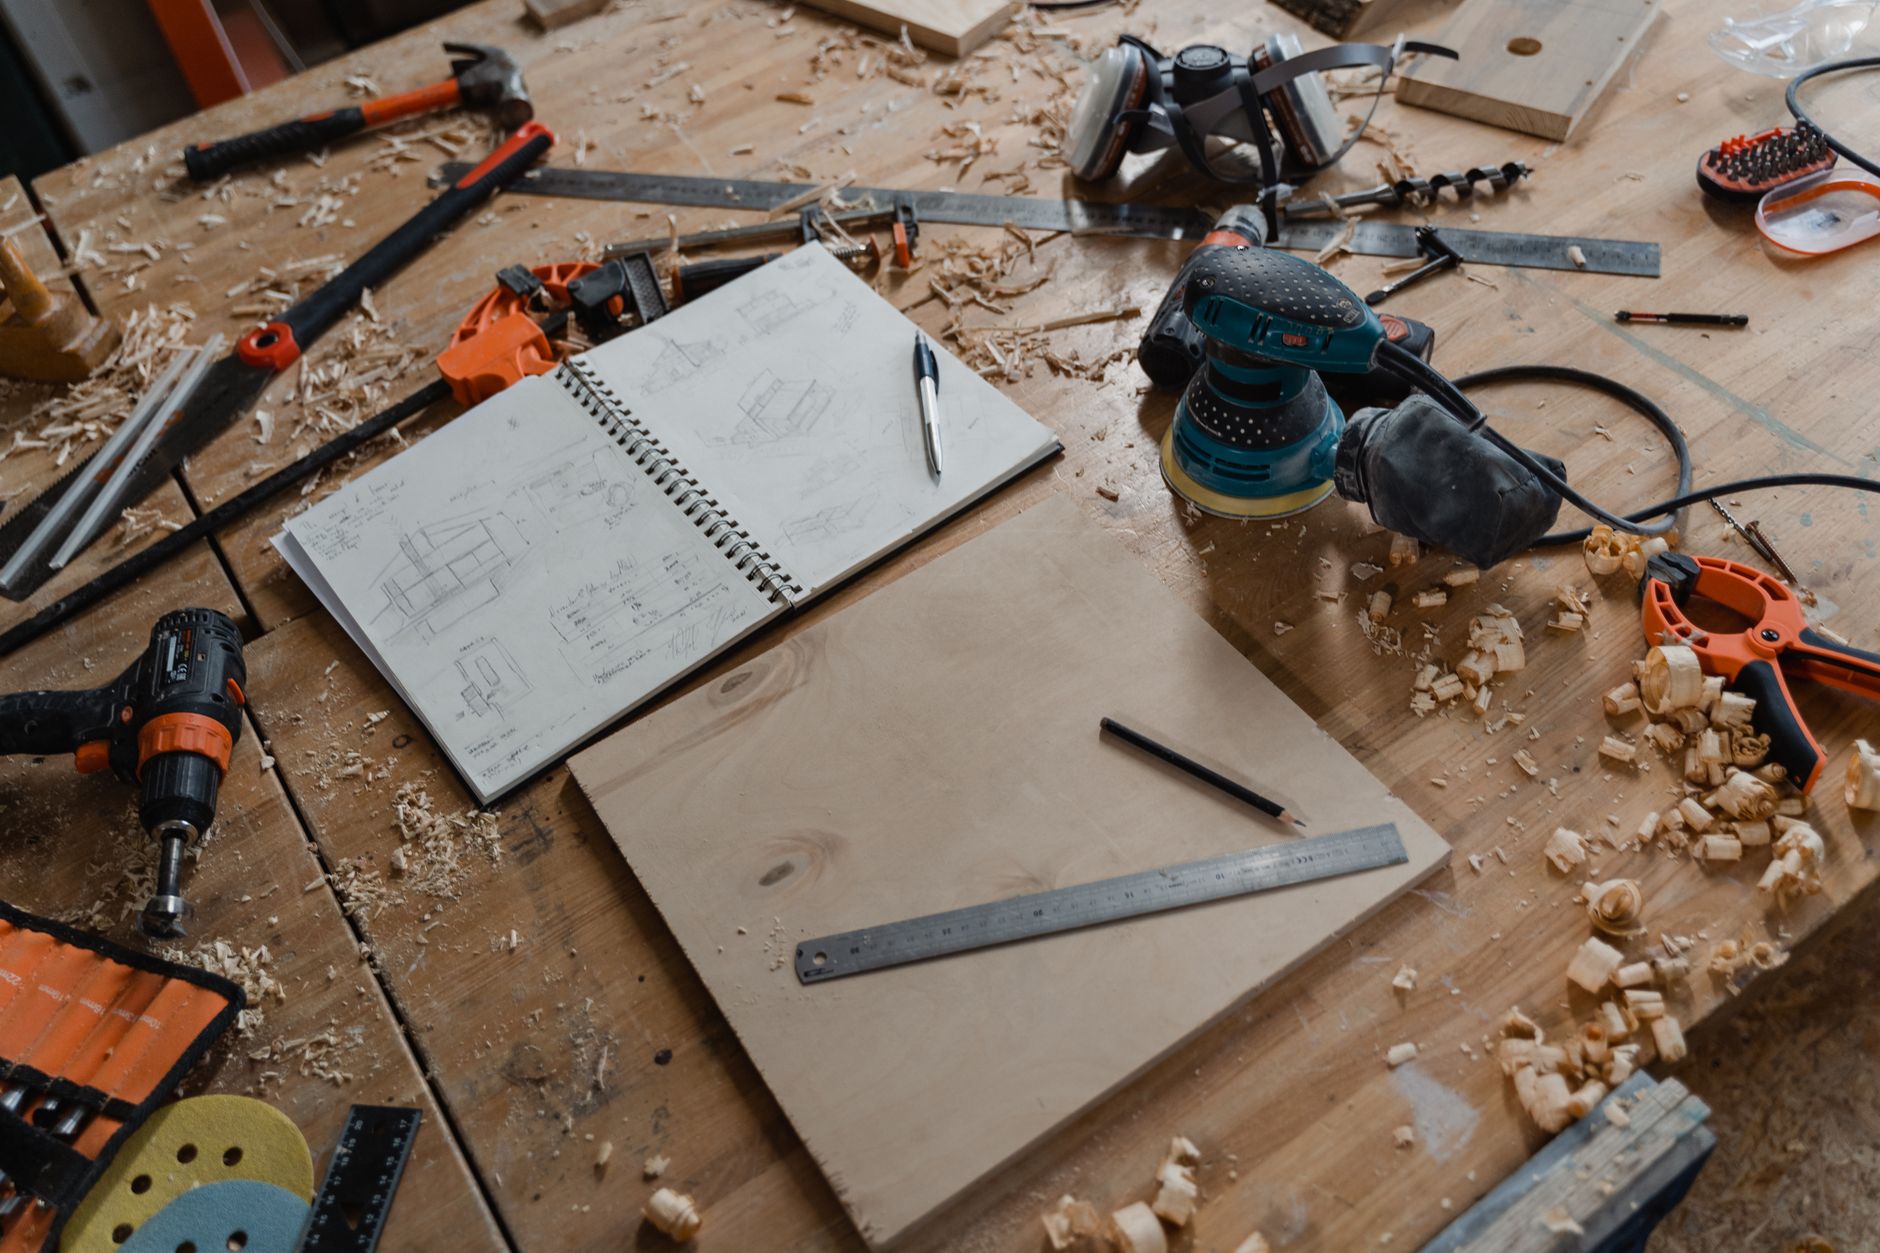

A tape measure, a handsaw, a hammer, and a few clamps cover the basic measuring, cutting, driving, and holding jobs needed to build simple projects cleanly and safely. A tape measure, square, drill, saw, clamps, and safety glasses do more for your first shelves, boxes, and repairs than a crowded bench full of extras.
This guide covers the nine purchases that help a new woodworker turn rough boards into clean starter builds, with practical notes on accuracy, setup, safety, and where each tool earns its place.
Start With Tools That Make Accuracy Possible
Clean layout saves you from expensive mistakes before a blade ever touches wood. A measuring tape, square, and marking tools set the cut line, keep boards aligned, and help your beginner woodworking tools work with the wood instead of against it.
A board cut just 1/8 inch long can ruin a box lid or leave a shelf bracket out of position. A sharp pencil line and a square edge keep your first projects on track without wasting stock.
Measure Once, Mark Clearly
A 25-foot measuring tape covers most shop jobs, from wall studs to 2×4 stock. A speed square gives you a fast right angle for crosscuts, and a combination square checks 90 and 45 degrees with less guesswork.
Marking tools finish the job. A sharp pencil, marking knife, and thin scribe line help you see the cut line without guessing at saw kerf, the width the blade removes as it passes through wood.
Why The Smallest Error Costs The Most
Wood movement adds another layer. Boards gain and lose moisture, then shift slightly across the grain, so sloppy layout can turn into a joint that binds after a dry spell or a humid week.
Buy accuracy before volume. A good tape measure and square do more for your first project than a bench full of specialty tools, and that order keeps your budget in check as you move toward the hand tools that carry early builds.
That discipline matters even more when the work shifts to the hand tools that shape your first cuts.
The Hand Tools That Carry Early Projects
A hand saw, claw hammer, chisel set, clamps, and sanding block can handle a surprising amount of work. They cut, shape, hold, and clean up the kind of projects that show up in a garage, spare room, or apartment corner.
That matters because you do not need every machine at once. A box, wall shelf, planter, or frame can finish with a lean hand-tool setup, and tool maintenance keeps that setup useful far longer than a drawer full of worn edges.
Cutting, Driving, And Fitting
A crosscut hand saw gives you control on short boards, and a claw hammer handles nails plus light demo work. A chisel set fills the gaps that saws leave behind, especially around hinge recesses, glue squeeze-out, and tight corners that need cleanup.
Clamps work like an extra pair of hands during glue-up. Bar clamps, spring clamps, or one-handed trigger clamps hold stock square while wood glue cures, which matters because a joint can drift out of alignment the moment pressure disappears.
Shaping And Finishing By Hand
A sanding block and a pack of sandpaper in 120, 180, and 220 grit handle edges, corners, and flat faces without burning through veneer. A block plane also earns its keep here, since it trims proud edges and shaves tiny high spots faster than sanding alone.
Tool maintenance is simple at this level. Wipe metal after use, store edges dry, and sharpen chisels and plane irons before they get dull enough to crush fibers instead of slicing them. Sharp edges leave a cleaner surface and cut with less force, which is a quiet safety advantage on its own.
A cleaner cut is only part of the story; the next step is choosing power tools that earn their keep.
The First Power Tools Worth The Money
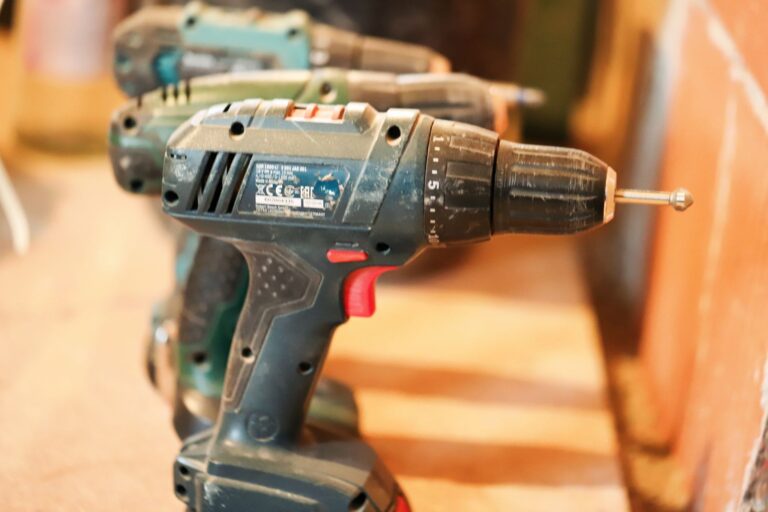
A cordless drill is the first handheld power tool most beginners should own. It drills pilot holes, drives screws, and pairs with dozens of bit types, so it solves more daily jobs than any single saw in the room.
From there, a drill bit set, driver bits, and a pocket hole jig turn loose parts into practical assemblies. That combination handles cabinet backs, face frames, shelf supports, and quick repairs with far less setup than larger machinery.
Why The Drill Comes First
A drill uses a motor to spin a chuck, and that rotating motion turns into two useful jobs: boring holes and turning screws. The torque control matters because soft pine needs a light touch while hardwood and long construction screws need more force.
Choose a model with a 1/2-inch chuck, variable speed, and two batteries. The exact brand matters less than balance, battery availability, and a clutch that stops before it strips screw heads or snaps small fasteners.
Saws And Sanding Machines Can Wait A Bit
A circular saw is the stronger choice for straight cuts in sheet goods, and a jigsaw is handy for curves, inside corners, and rough trimming. Still, those tools are easier to judge after you have already handled a drill and a square a few times.
A random orbital sander belongs on the list soon after, not at the very start. It levels broad surfaces faster than hand sanding, and its spinning pad leaves fewer swirl marks than a simple palm sander, which matters on shelves, tabletops, and painted parts.
Smooth results are useful, but they only matter when the workspace is ready for safe operation.
Check battery platforms before you buy a drill or sander. A matched battery system saves space, reduces charging clutter, and keeps you from collecting chargers that never line up with the rest of the kit.
Safety Gear And A Solid Setup Before The Sawdust Starts
Eye protection, hearing protection, and dust control belong beside the tools, not after them. A small chip from a drill or saw can travel fast, and repeated exposure to sound from a circular saw or sander adds up long before the project looks dangerous.
A workbench or sturdy flat surface also changes the whole experience. Parts stay put, cuts track straighter, and both hands can guide the tool instead of pinning a board against a wobbly table edge.
Protection That Should Already Be On The Shelf
Safety glasses with side shields stop most flying chips, while hearing protection lowers the constant strain from power tool noise. A dust mask or respirator rated for fine particles matters during sanding, since wood dust can hang in the air long after the motor stops.
Wood dust is not just dirt. The fine particles from sanding travel deep into the lungs because their size lets them stay airborne longer than heavier chips, and a vacuum hose or dust collector cuts the amount that stays in the room.
Bench Height And Stability Shape The Cut
A bench around waist height gives you leverage without hunching. Pair it with a sacrificial board for drilling and a pair of bench dogs or clamps, and the workpiece stays flatter while the tool stays easier to control.
Keep cords away from the blade path, and clear chips before they pile up under your stock. A clean floor reduces slips, while a locked-up saw or unplugged drill before bit changes keeps your hands from meeting moving parts.
With the floor clear and machines secured, the question becomes which tools actually fit beginner projects.
Put the glasses on before the tool comes out of the case. That habit takes seconds and saves the awkward scramble that happens after a chip has already flown.
Which Tools Make Sense For Shelves, Boxes, And Other Starter Builds
A small wall shelf asks for a different kit than a cedar box or a simple stool. Tool choice should follow the project, because woodworking tools by project type keep your budget focused on what you will actually touch.
For a box or shelf, a tape measure, square, drill, hand saw, clamps, and sanding block cover the whole path from rough stock to finished piece. For furniture parts, a circular saw or jigsaw helps break down boards faster, and a random orbital sander starts saving time on larger flat surfaces.
Lean Kits For Small Home Projects
Small repairs and simple décor pieces need the fewest tools. A measuring tape, speed square, cordless drill, set of bits, hand saw, clamps, and sanding block can handle picture frames, floating shelves, and basic bracketed storage.
That kit works because the joinery stays simple. Pocket screws, glue joints, and screw-fastened cleats let you assemble pieces without cutting complex joints, and that keeps the learning curve low while you get comfortable with grain direction and layout accuracy.
Broader Kits For Furniture Parts
Cabinet sides, legs, and wide panels reward a little more reach. A circular saw breaks down plywood cleanly, a jigsaw trims cutouts for plumbing or outlets, and a random orbital sander smooths faces without leaving visible scratches from hand work.
A table saw sits in the background of this decision, not at the center. It excels at repeatable rip cuts, but it asks for more room, more guarding awareness, and more setup discipline than most beginners need for the very first projects.
A shop that starts with shelves and boxes teaches the same fundamentals that larger furniture demands. You learn to measure, square, clamp, drill, and sand in a sequence that later carries into drawers, doors, and frame-and-panel work.
Those early builds teach a useful rhythm that points toward a smarter way to spend over time.
A Budget Ladder From Bare Minimum To Smarter Upgrades
Money goes farther when you buy in stages. A zero-tool start can lean on borrowed equipment or a single purchase, a modest starter kit can cover most beginner work, and a second-wave upgrade plan can wait until your project list feels clear.
The main trap is overbuying before you know your style. A person who likes shelves needs different tools than someone who wants cutting boards or small furniture, so the cheapest path is the one that matches your next three projects.
| Budget tier | What to buy | What can wait |
|---|---|---|
| Zero-tool start | Tape measure, pencil, square, hand saw, clamp, safety glasses | Drill, sander, power saws, specialty jigs |
| Modest starter kit | Cordless drill, drill bits, driver bits, chisels, sanding block, extra clamps | Table saw, router, stationary sanding tools |
| Second-wave upgrade | Circular saw, jigsaw, random orbital sander, pocket hole jig | Large cabinet saws and niche accessories |
| Workshop growth | Workbench, dust collection, better lighting, flat storage | Complex jigs for joints you do not cut yet |
New versus used depends on the tool. Hand tools, clamps, workbenches, and even older drills can be solid used purchases, while safety glasses, hearing protection, and saw blades should be bought in clean condition with no wear that affects use.
Used bargains can stretch a budget, but the first purchases still need a sequence that supports real work.
- Buy used hand tools for hammers, chisels, and planes that only need cleaning and sharpening.
- Buy new safety gear so scratched lenses or crushed ear cups do not interfere with protection.
- Inspect moving parts on drills and saws for wobble, heat, or damaged cords before use.
- Skip big stationary tools until your space, noise tolerance, and project mix justify them.
- Spend on bits and blades because dull cutters make more mess than the tool body itself.
A Practical Buying Order For The First Few Months
Your buying order should follow the work in front of you, not a wish list. Start with the tools that let you measure, hold, and assemble, then move into cutting and surfacing once your first project actually asks for them.
That sequence keeps teaching realistic. A beginner who matches the first tools to the first projects gets faster wins, fewer busted joints, and a clearer sense of what deserves the next purchase.
Must Have Items
Tape measure, square, pencil, safety glasses, hearing protection, clamps, wood glue, and a drill with bits form the core. Those items let you lay out a box, attach a shelf, and make repairs without borrowing half a garage.
Keep the first list short enough that you can use every item in the same month. A tool that sits untouched for six months is a weak starter buy, no matter how polished the packaging looks.
Should Have Items
A hand saw, chisel set, sanding block, and one good work surface follow close behind. They improve fit, cleanup, and control, which is where beginner projects start to separate from quick repairs.
A pocket hole jig fits here for many people, because it speeds assembly on simple furniture parts. It is not a replacement for solid layout, but it does make joins faster while you learn how boards move and how fasteners pull pieces into alignment.
Could Wait Items
A table saw, router, miter saw, and larger dust collection can wait until your projects repeat. These tools shine in a fuller shop, yet they demand more space, more setup time, and more confidence with stock control.
A circular saw or jigsaw can move into the middle of the plan before those larger purchases, especially for sheet goods and odd shapes. That middle step keeps your starter woodworking tool list practical without sending you straight into a full machine lineup.
- Week 1: Buy layout tools, safety glasses, and clamps, then practice square marks on scrap pine.
- Week 2: Add glue, a drill, and bits, then assemble a small box or wall shelf.
- Week 3: Pick up a hand saw and sanding supplies, then cut and smooth a second project.
- Month 2: Add a circular saw or jigsaw only after your project list demands longer or curved cuts.
- Month 3: Upgrade to a random orbital sander or pocket hole jig once surface prep and assembly start slowing you down.
The best beginner woodworking tools are the ones that let you finish a small project from start to cleanup. Once that happens, you can buy the next tool with a real use in mind, not a guess.
That habit turns shopping into progress, and it leaves one simple lesson worth keeping in mind.
What To Remember
Accuracy, holding power, and safety beat a crowded bench every time. A tape measure, square, drill, clamps, and protection gear get you farther than a long shopping list, and the next upgrade should answer a project you are already planning.
A few dependable tools solve more problems than a crowded bench, which is why the final upgrade should be intentional.
Wrap Up
A beginner kit works best when it covers layout, cutting, assembly, and safety in that order. A measuring tape, speed square, claw hammer, hand saw, cordless drill, drill bits, chisel set, sanding block, clamps, safety glasses, workbench, and wood glue form a practical core for your first workshop.
From there, choose upgrades by the next project on your bench. A circular saw, jigsaw, or random orbital sander can wait until your work calls for them, and that patience keeps your beginner woodworking tools useful instead of expensive.
FAQ
What tools do I need to start woodworking as a beginner?
A tape measure, square, pencil, clamps, safety glasses, hearing protection, a cordless drill, drill bits, wood glue, and a hand saw cover most starter work. Add sanding tools and chisels soon after, because they help you fit and clean parts without expensive machinery.
What are the first woodworking tools I should buy if I have nothing?
Start with measuring and marking tools, then buy protection gear, clamps, and a drill with bits. That order lets you lay out, cut, and assemble a simple project without buying tools that stay idle while you learn the basics.
Should I buy a table saw or a circular saw first?
A circular saw makes more sense for a beginner in most homes because it breaks down sheet goods, cuts boards to length, and stores easily. A table saw earns its place later, especially once you need repeatable rip cuts and have room for a dedicated setup.
What safety gear do I need for beginner woodworking?
Safety glasses with side shields, hearing protection, and a dust mask or respirator rated for fine particles belong in the starter kit. Add a tidy work area and stable bench space, because safe tool use depends on both gear and setup.
How do I choose tools based on the projects I want to build?
Match the kit to the kind of work you will do in the next few months. Shelves and boxes need layout tools, a drill, clamps, and sanding supplies, while larger furniture parts also benefit from a circular saw, jigsaw, and random orbital sander.