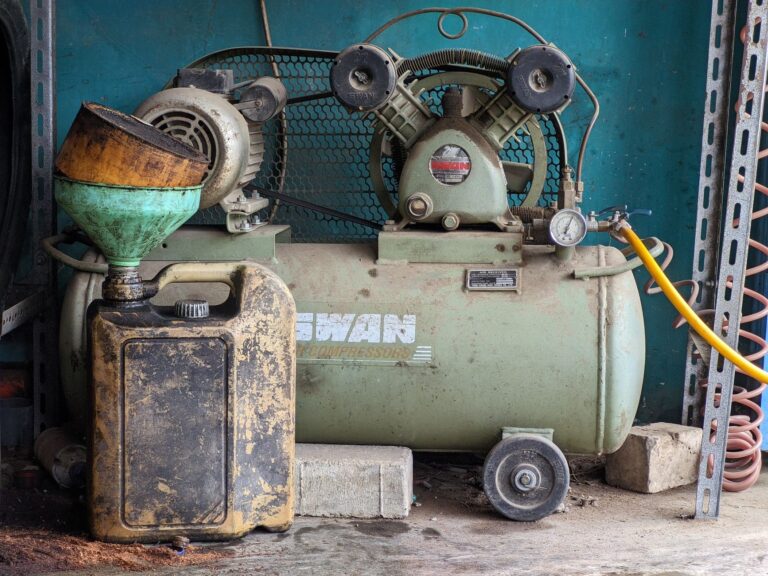
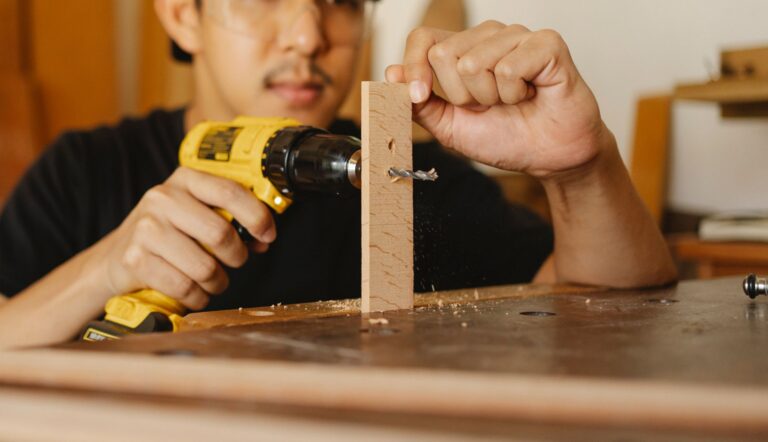
A layout-first method puts tools, parts, and work zones where your hands need them. When you group items by task and use, you cut walking, clear floor space, and stop clutter from spreading after one busy weekend.
This reset is built for a garage or workshop that needs order fast, with practical moves for storage, charging, safety gear, and a budget-friendly phased setup.
Start With Zones And Everyday Workflow
A shop feels calmer when cutting, assembly, finishing, and cleanup each have a fixed place. That arrangement cuts extra steps, which matters the moment you carry lumber, hardware, or a project from one end of the room to the other.
Map The Work Path Before Moving Storage
Start with the work you do most, such as cutting lumber, drilling, sanding, clamping, or packing parts for a project. The task that happens every week deserves the cleanest route, while rare jobs can sit farther away without slowing you down.
Tools should sit near the place they leave your hand. A miter saw used on the south wall should not force a walk past the drill press, the compressor, and three bins of spare hardware just to reach a tape measure.
Remove Dead Weight And Duplicate Gear
Extra storage only helps after you thin the pile. Broken clamps, duplicate screwdrivers, empty containers, and materials tied to old projects take up the same square footage as useful gear, so pull them out before assigning homes.
That decluttering sharpens your layout because every kept item now has a job. A set of chisels that stays in the bench drawer beats three half-used sets spread across shelves and toolboxes.
Place Daily Tools Along The Primary Route
Frequently used items belong on the fastest line between entry, bench, and power. That usually means the spot beside the workbench, a shoulder-height wall strip, or a rolling tool cart parked where your hand naturally reaches.
A tape measure, square, utility knife, and pencil can live together in a small tray near the main bench. Once those items stay in one lane, the rest of your workshop organization ideas become easier to judge because you can see what still feels awkward.
That first pass sets the room’s rhythm, and the next move is matching storage height and distance to how often you actually grab each tool.
Frequency determines whether a tool earns a hook, a shelf, or a drawer within easy reach.
Choose Storage By Frequency Of Use
Tools that touch your hands every day should sit where your arm lands without a search. Items used once a month can move lower or farther away, and rarely used supplies can go to the top shelf or a rear cabinet.
Keep Daily Gear In Arm’s Reach
Wall-mounted tool storage, pegboard, and a French cleat system work well for fast-grab hand tools because they expose the outline of each item. That visual cue helps you notice a missing wrench or misplaced chisel in seconds.
Small workshop organization ideas get much easier once you divide gear by frequency, not by size. A drill driver and impact driver may live near the bench, while specialty planes and spare batteries move to a shelf above eye level.
Shift Medium-Use Items To Shelves And Carts
Rolling tool cart storage is the sweet spot for equipment you use in bursts. Sandpaper, router bits, glue, and clamps can ride on a cart that moves between the bench and the cut area without clogging the floor.
Modular shelving works well for boxes, finishes, and larger hand tools that stay in circulation but do not need constant access. The point is to reduce steps, not to cram every item into the nearest open gap.
Reserve Drawers And High Storage For Low-Frequency Items
Drawer organizers shine for small items that would vanish on a shelf, such as brad nails, drill bits, countersink bits, and spare fasteners. Higher shelves suit seasonal stock, specialty jigs, and backup parts that can wait their turn.
The mechanism is simple: every extra movement adds friction, and friction slows cleanup. Put the least urgent materials where they cause the least interruption, then move on to the walls and bench space that carry the daily load.
Once the grab-and-go tools stop fighting for space, the wall, drawer, and bench setup can do real work instead of just holding stuff.
As the most-used pieces settle in, the remaining surfaces can finally support order instead of clutter.
Set Up Walls, Drawers, And Bench Space
Vertical storage matters because floor space disappears fastest in a garage workshop. The wall can hold more than decoration, and your drawers can do more than hide clutter.
| Storage zone | Best items | Why it works |
|---|---|---|
| Wall-mounted tool storage | Hand tools, clamps, measuring tools, cords | Fast visual access and little wasted space |
| Drawers | Bits, fasteners, small consumables, marking tools | Keeps small parts grouped and dust protected |
| Under-bench cabinets | Bulk stock, cases, lower-use accessories | Uses space that would otherwise sit empty |
| Corner bins | Glue, rags, overflow items, project leftovers | Turns awkward corners into useful storage |
Use Wall Space For Fast Access
Pegboard still earns its place because it changes with your needs, and a French cleat system goes farther by handling heavier holders and custom racks. Both keep screwdrivers, pliers, and clamps visible, which is why they work so well in small workshop organization ideas.
StoreYourBoard builds on the same logic with wall-mounted racks, and the brand name matters because the category is really about reach, not hype. A wall strip near the bench can hold the tools you grab ten times a day, while a wider span near the saw can hold layout gear.
Use Drawers For Small Parts And Measuring Tools
Drawers keep metal parts from drifting across bench surfaces, which matters more than it sounds. A caliper, combination square, marking gauge, and spare blades stay flat, clean, and grouped where you can find them fast.
A drawer organizer with fixed compartments also cuts down on rattling and mixed hardware. That matters because screws, nails, and washers behave like spilled marbles the moment they share a loose box.
Use Bench Clearance For Active Work
Workbench organization depends on what stays off the top, not what sits on it. A good bench holds the project, a vise, and the tool you reach for every few minutes, then clears quickly for glue-up or sanding.
Keep the under-bench zone for cabinets, bins, or a dust collector hose path. Once the bench stays open, the space starts acting like a work surface instead of a landing pad for whatever you carried in last.
That floor-to-wall balance matters even more once batteries, cords, and charger clutter enter the picture, because cordless tools need their own system.
Once the walls and drawers are working, power accessories need the same discipline to avoid tangles.
Build A Charging And Parts System That Stays Tidy
Battery packs, chargers, and cords turn into a snarl unless you assign them a fixed station. Modern power tool storage needs its own lane because cordless tools bring a second ecosystem of plugs, chargers, and spare packs.
Create A Dedicated Charging Station
A battery charging station belongs near an outlet, but not in the middle of the active bench. A shallow shelf, ventilated cabinet, or wall cubby can hold chargers, spare packs, and the drill that lives with them.
DeWalt, Milwaukee, Makita, and Bosch all use battery systems with their own shapes and dock styles, so grouping by brand keeps the station from turning into a jumble. That detail matters because your batteries will settle into a predictable cycle instead of disappearing into tool cases.
Control Cords With Labels And Simple Bundles
Cord management works best with Velcro straps, not tight knots. A loose loop protects the cable jacket better than a hard bend, and a label on each cord tells you which station it belongs to.
Keep saw cords, charger cords, and extension cords separated by tool or zone. That way you stop unplugging the wrong lead, and the garage workshop organization stays readable even after a rushed cleanup.
Sort Screws And Hardware In Clear Bins
Clear, labeled bins solve the worst part of fastener sorting: mixed sizes that look identical until the job stalls. Use broad categories such as wood screws, machine screws, anchors, and washers, then split only where the volume justifies it.
Fastener bins work even better with date-free labels and a single home for duplicates. CNC Cookbook covers a similar shop logic for maker spaces, and the same rule applies here; small parts need a system that answers in one glance.
When cords and batteries have a home, the smaller supplies can be organized with the same quick-grab logic.
Keep parts categories simple enough that you can return an item in ten seconds. A complex label tree looks tidy on day one and slows you down by week three.
Make Safety Gear And Supplies Easy To Reach
PPE storage belongs near the entrance or beside the bench because you need goggles, hearing protection, gloves, and masks before the work starts. A fixed home for safety gear removes the excuse to skip it while you are carrying lumber or firing up a saw.
Give Protective Gear A Visible Home
A small wall hook set, shallow bin, or cubby keeps eye protection and hearing muffs in plain sight. Visibility matters here because gear that hides in a drawer gets forgotten, then your workflow breaks the moment a task calls for it.
DIY Huntress and Sawdust Girl each point toward the same practical idea in different styles: use what the hand reaches for, not what takes a search. The storage choice matters less than the habit of putting the same item in the same place every time.
Keep Dust Collection Supplies Together
Dust collection hoses, spare filters, and bag stock should live near the machine that makes the most dust. Long hose loops across the floor create a trip path, so shorter routes and nearby brackets make the shop feel calmer and safer to move through.
That physical behavior is easy to miss. Airflow in a dust collector depends on resistance, and extra bends or crushed hose sections cut performance because the motor has to push air through more drag.
Reserve One Small Zone For Support Items
Cleaning wipes, a shop towel roll, bottled water, and basic first aid belong in one designated support spot. That zone keeps project cleanup from scattering supplies across the room, and it reduces the chance that a stain rag ends up buried under scrap.
Think of it as the pit crew area for your workshop. It should be small, obvious, and never mixed with tool storage, because support items work best when they do not compete with the work itself.
With the daily zones set, you can finish the room on a budget and keep the system from sliding back after the first clean sweep.
With the essentials visible, the last step is keeping the setup lean, affordable, and easy to reset.
Finish With A Budget-Friendly Setup And Reset Routine
Cheap wins matter here, because a shop overhaul can stall fast once you start shopping for matching cabinets. The smarter move is to sort what you own, spend on the high-impact fixes, then upgrade in phases as the layout proves itself.
- Start with labels: Clear labels cost little and cut search time across drawers, bins, and charging shelves.
- Reuse sturdy containers: Old jars, plastic tubs, and parts boxes work until a better system earns its place.
- Buy wall support first: Pegboard hooks, cleats, and simple racks open floor space faster than large cabinets.
- Add carts before cabinets: A rolling cart gives flexibility while you learn where gear actually lives.
- Sort before storage: Storage bought too early tends to hide clutter instead of solving it.
Do not fill every open corner with a cabinet before sorting tools. A crowded floor makes sweeping harder, blocks project movement, and turns the next cleanup into a longer job.
The reset habit keeps the setup from sliding back. Put each item back in its home at the end of a session, then do a ten-minute sweep every week to catch stray fasteners, charging cables, and tools left on the bench.
That habit also keeps workshop organization ideas honest, because the layout has to serve real use, not just a tidy photo. A good system survives a busy Saturday, a half-finished project, and a rushed Monday night cleanup without forcing another overhaul.
That durability is the real test, and it’s what separates a neat room from a lasting system.
What To Remember
A workshop stays useful when storage follows movement, not the other way around. Put the fastest-grab tools near the bench, push low-use items higher or farther away, and give parts, cords, and safety gear a fixed home so the space works without a daily search.
FAQ
How do you organize a small workshop efficiently?
Start by sorting tools by task and by frequency of use, then clear the floor and bench before adding storage. Wall-mounted tool storage, a rolling cart, and shallow drawer organizers usually solve more space problems than bulky cabinets.
What is the best way to store power tools in a workshop?
Keep power tools near the workbench or the charger area, with batteries and cords grouped beside them. A wall rack or dedicated cabinet works well for daily tools, while lesser-used tools can sit in labeled cases or shelves.
How should you set up workshop storage by workflow zones?
Place cutting, assembly, finishing, and cleanup zones so the path between them stays short and open. The tools you need for each stage should live at the edge of that zone, not across the room.
How do you organize screws, parts, and fasteners in a workshop?
Use clear, labeled bins with broad groups such as wood screws, machine screws, washers, and anchors. Smaller trays or drawer organizers work better than loose boxes because mixed hardware turns into a time sink fast.
What should go on wall-mounted storage vs drawers and shelves?
Wall-mounted storage suits hand tools, clamps, cords, and measuring tools that you grab often. Drawers fit bits, fasteners, and small consumables, while shelves handle bulk stock, cases, and medium-use items.