
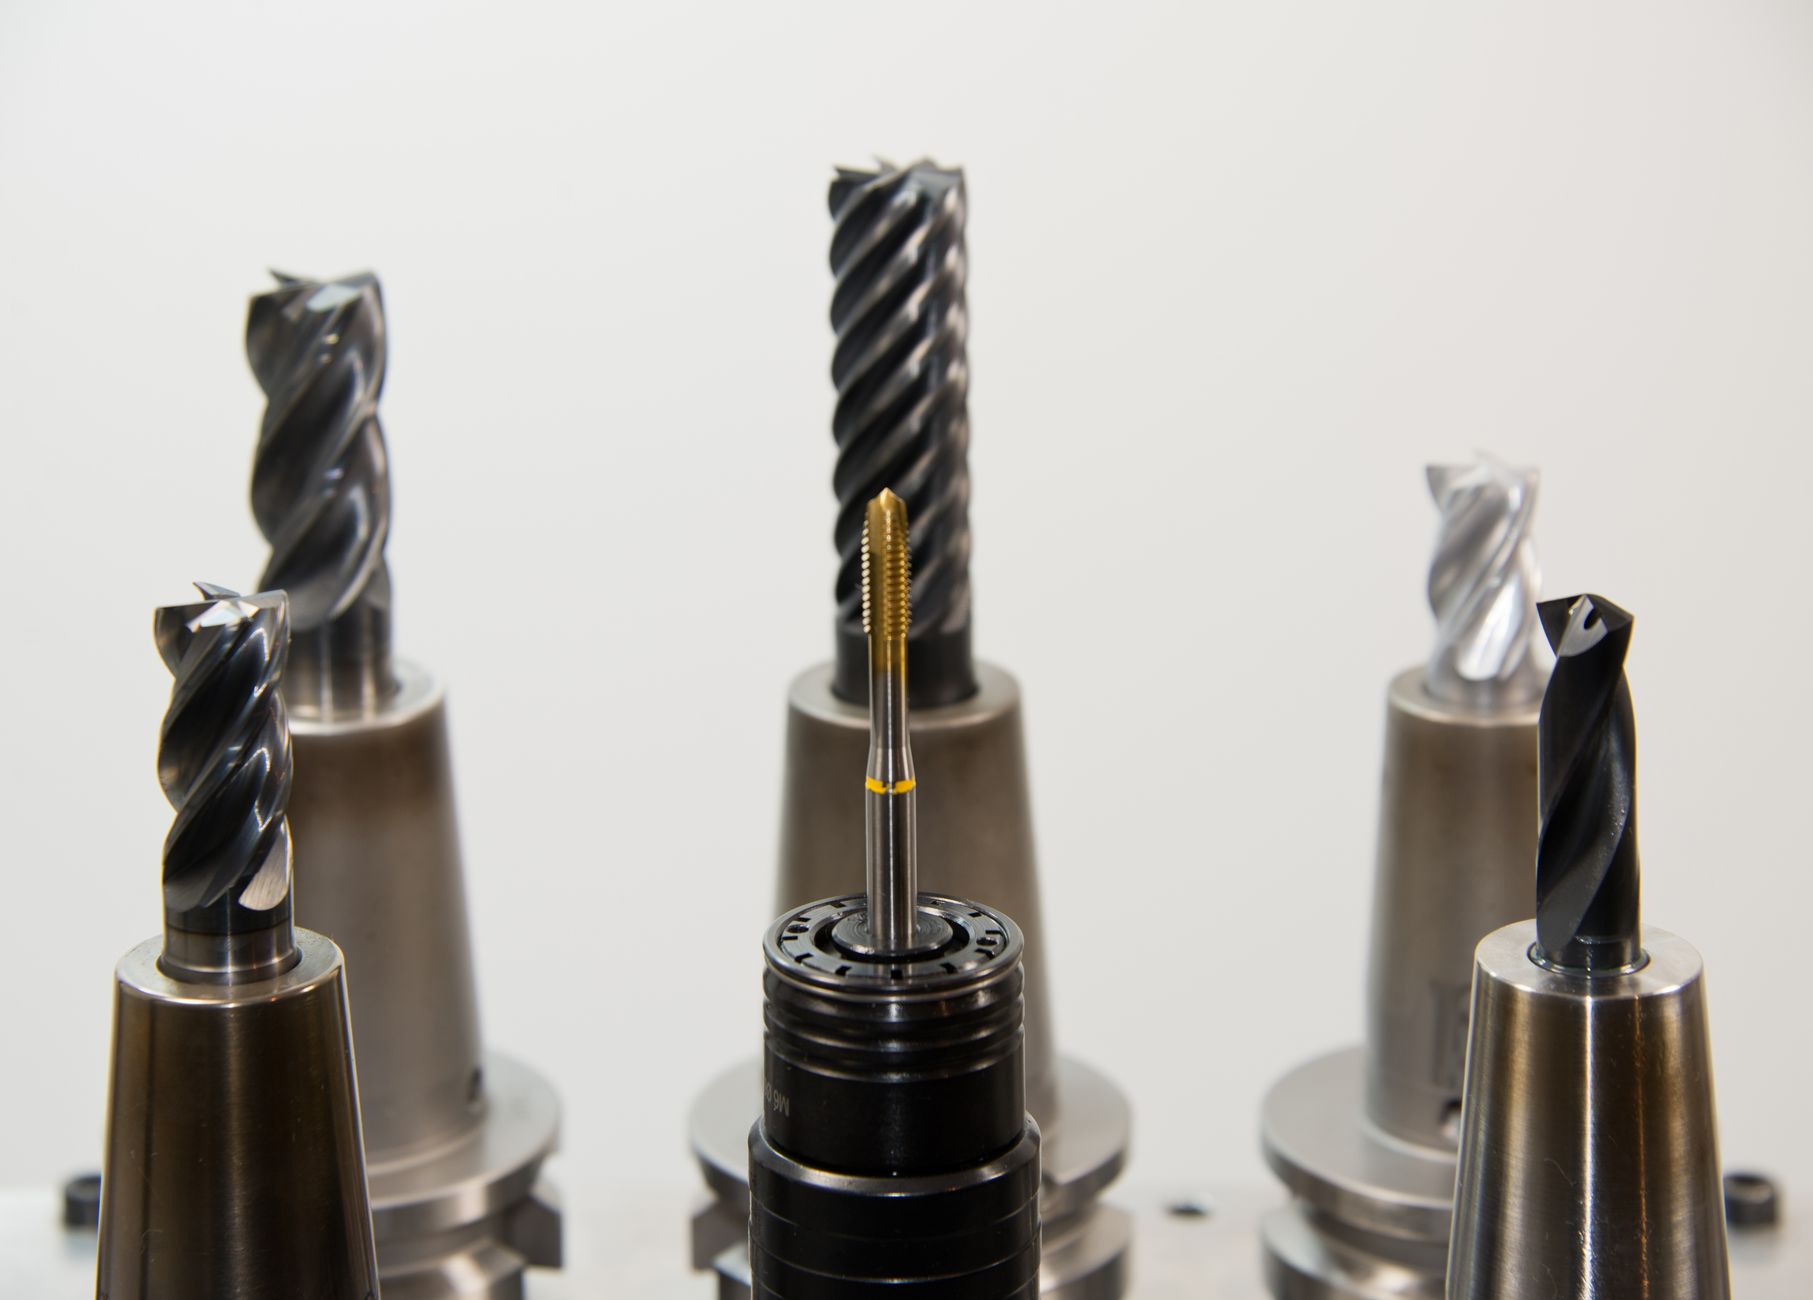

Before touching the chuck, disconnect power, open it fully, remove the old bit, seat the replacement straight, and tighten until it cannot wobble. A loose bit can slip, scar the workpiece, or chatter like a bent spoke, so that setup step matters more than it looks.
This walkthrough covers keyless chucks, keyed chucks, SDS holders, and stuck bits for cordless and corded drills, so you can match the method to your tool before you start.
Start With The Chuck Type And Safety Check
A quick inspection prevents a bent shank and a lot of frustration. The drill chuck clamps the bit, and the release method depends on whether you have a keyless chuck, a keyed chuck, or an SDS-style holder.
Pull the plug on a corded drill or remove the battery from a cordless drill before your hand goes near the chuck. A tool can start with a trigger bump, and that is how fingers meet spinning metal.
- Cut power before touching the holder, so the trigger cannot start the motor.
- Identify the chuck by sight, since the grip method changes from model to model.
- Match the bit to the material, because wood, metal, and masonry need different points and coatings.
- Check the shank for round, hex, or SDS shape, since the holder must fit the shaft.
- Clear the area around the nose of the drill, so your hand has room to work.
A keyless chuck has a sleeve you twist by hand, while a keyed chuck has side holes for a chuck key. SDS bits lock with a push-and-twist or pull-back collar mechanism, and forcing them like a standard three-jaw chuck can bruise the latch. DeWalt, Black+Decker, Ryobi, and Makita all sell drills in each style, so the brand name alone does not tell you the release method.
The bit itself matters too. A twist drill bit with a round or hex shank suits many drills, while an SDS bit belongs in an SDS drill or rotary hammer. Once you know the holder type, the removal step gets far simpler for you.
That basic check sets up the next move, because the release method changes as soon as the chuck style changes.
Keyless chucks usually open with a simple twist, which makes the next method feel a little different.
Releasing A Bit From A Keyless Chuck
That hand-twist sleeve is the fastest part of the job once you know how the jaws move. A keyless chuck opens by hand, and the jaws spread as you turn the sleeve counterclockwise.
Use The Chuck, Not The Trigger
Grip the fixed rear part of the chuck and twist the front section counterclockwise. The keyless design depends on the jaws moving in and out on a threaded sleeve, so the motion feels like loosening a jar lid rather than flipping a switch.
Some drills have a spindle lock, and that lock only keeps the shaft from spinning while you loosen the chuck. It does not open the jaws for you. Once the jaws spread, pull the bit straight out instead of rocking it side to side, which keeps the nose threads and jaws cleaner for your next change.
A Small Bit Of Resistance Is Normal
A little drag from dust or clamp pressure is common after drilling pine, steel, or masonry. The jaws can hold grit like sandpaper dust, and that fine debris increases friction at the metal contact points, so a quick wipe can make the next release smoother.
For a change a drill bit on a cordless drill, the hand twist still works the same way. The difference is power removal: the battery comes out before your fingers reach the chuck, so the trigger cannot surprise you while you work.
That same hand motion gets replaced by a key or a collar on other tool designs, and that difference matters before you pull the next bit free.
A different holder changes the routine, because a key or collar has to do the loosening work.
Working With A Keyed Chuck Or Impact-Style Collet
That release method shifts once the chuck uses gears or a spring collet instead of a hand sleeve. A keyed chuck uses a small gear drive and a toothed chuck key, so you loosen and tighten the jaws through the side holes instead of by hand.
| Tool type | How the bit stays in place | How you release it |
|---|---|---|
| Keyed chuck | Three jaws clamp the shank with a gear ring | Insert the chuck key in a side hole and turn to open |
| Keyless chuck | Three jaws tighten by a hand-turn sleeve | Twist the chuck counterclockwise by hand |
| SDS holder | Grooves and spring balls hold the bit | Pull back the collar or use the push-and-twist action |
| Impact driver collet | Spring-loaded hex collet grips the hex shank | Pull the sleeve forward or use the release ring, depending on model |
Use the chuck key in the side holes until the jaws back off enough for the bit to slide free. Remove the key before you resume work, because a left-behind key can become a whipping hazard the moment the drill spins.
An impact driver does not accept a standard three-jaw chuck motion. Its hex collet grips a 1/4-inch hex shank, and the release action is usually a spring sleeve or collar. An SDS bit follows the same rule: push, twist, then pull, not crank the chuck like a vise.
That mechanical difference matters because the holding force comes from separate systems. A keyed chuck uses jaw pressure, while an SDS holder uses groove engagement and a retaining ball. That is why the wrong twist can jam the nose of the tool instead of opening it, especially when you are working fast.
Once the hardware matches the holder, the real trouble usually comes from debris, damage, or a shank that will not let go.
Debris and damage are common culprits, and stubborn bits call for a steadier removal approach.
Freeing A Stuck, Broken, Or Stripped Bit
A bit that will not move is usually telling you something about debris, clamp pressure, or damage. Start with gentle motion, because rough force can oval the jaws or snap the bit flush with the chuck face.
Start With Mild Motion
Reverse rotation can help on some drills, but only use it when the tool design allows it and the bit is not in a position that could be damaged by turning. Work the chuck open and closed in small moves, since the threads and jaws often free up after two or three short cycles.
Do not reef on the sleeve with pliers. The steel jaws are softer than the wrenching force you can add by hand, and hard squeezing can scar the grip surface.
Clear Debris Before You Replace The Bit
A broken or stripped bit leaves chips in the jaws, and those chips stop the next bit from seating square. Tap the chuck face lightly, brush out dust, and wipe the jaw surfaces before you install a new one.
One common problem is a rounded hex shank on an impact bit. The corners wear down, the collet loses bite, and the bit starts slipping under load. At that point, replacing the damaged bit makes more sense than trying to reuse it.
I have seen masonry dust packed into a small chuck after anchor work. The jaws looked fine from the outside, yet the inside grit kept the bit from sliding out cleanly until the debris was cleared with a brush and a burst of compressed air.
That cleanup pays off twice, because a clean chuck makes the next bit seat straighter and hold tighter.
Once the old bit is out, careful alignment becomes the difference between a clean start and a wobble.
Installing The New Bit Straight And Centered
A crooked bit starts shaking almost immediately, so the new one should enter the chuck straight and centered before the first hole is drilled. A centered shank gives the jaws equal bite on all sides and keeps the point tracking true.
- Check the shank so the diameter matches the chuck and the bit style fits the task.
- Seat the bit straight into the opening until the shank reaches the jaw line.
- Hold the body and turn the chuck clockwise until the jaws clamp firmly.
- Snug, not crush the chuck so the bit stays put without stressing the threads.
- Pick the right bit for wood, metal, or masonry before you tighten for use.
A hex-shank driver bit belongs in a hex collet or in a chuck that grips hex stock well, while a round twist drill bit belongs in a three-jaw chuck. That small shape match matters because the wrong fit can spin under load even when the sleeve feels tight.
Finger-tight plus a firm final twist is enough for most keyless chucks. Over-tightening can make the jaws harder to open later, especially after metal drilling where heat expands the nose slightly and leaves residue on the clamp faces. The goal is secure contact, not a locked nut, so your next bit change stays easy.
That final tightening step only works if the setup stays true, so a quick check before drilling keeps the tool honest.
A bit that sits true deserves one more look, since small errors show up as soon as the drill spins.
A Final Check Before The Drill Goes Back To Work
Three quick checks tell you whether the setup is ready. A bit that is seated well will hold under light tug, spin without visible wobble, and leave the jaws clean enough for the next change.
- Pull test the bit lightly to confirm the grip holds.
- Spin by hand and watch the tip for side-to-side movement.
- Wipe the jaws so dust and chips do not build up.
- Store the chuck key with the tool, not in a pocket or on a bench.
- Listen on startup for clicking or chatter that suggests a loose fit.
Wobble is not cosmetic. It changes hole size, walks the point across slick surfaces, and can chatter a screw head or split soft wood. A drill press shows the same rule even more clearly, because the quill amplifies any misalignment that starts at the chuck.
For DeWalt, Black+Decker, Ryobi, and Makita drills, the final check is the same even though the nose shape and sleeve texture vary. Clean jaws, a centered shank, and the right holder style keep the tool ready for the next cut, which is the real payoff when you change a drill bit.
That last pass takes less than a minute, and it saves you from fixing a bad hole later.
That quick confirmation leaves the main takeaways clear and easy to remember.
What To Remember
The cleanest result comes from matching the bit, the chuck, and the release method before you twist anything. A corded drill gets unplugged, a cordless drill gets its battery removed, and the bit goes in straight so the jaws can clamp evenly. That small sequence keeps the tool steady and the hole where you want it.
That order also makes the next swap easier, because a clean, centered setup is much simpler to open the second time around.
FAQ
How do I get my drill to release the bit?
Cut power, then open the chuck in the direction that matches the design. Keyless chucks loosen by turning counterclockwise, keyed chucks use the chuck key, and SDS holders use a collar or push-and-twist release.
How do I know if my drill has a keyless or keyed chuck?
A keyless chuck has a grip sleeve that you twist by hand, while a keyed chuck has side holes for a small metal key. Look for the key in the case or clipped to the cord, since that is the clearest sign of the keyed style.
How do I remove a stuck drill bit from the chuck?
Work the jaws open and closed in short moves, brush out dust, and try reverse only on a tool that allows it. A bent or broken bit should come out with cleaning and replacement, not brute force.
Can I change a bit on an impact driver the same way as a drill?
No. An impact driver uses a hex collet, so the bit slides in and locks with a spring sleeve or collar instead of three jaws. A standard twist-drill motion can damage the holder.
How do I change a drill bit on a cordless drill?
Remove the battery before touching the chuck, then release the old bit with the chuck style your drill uses. Seat the new bit straight, tighten clockwise, and give it a light pull before you drill.



