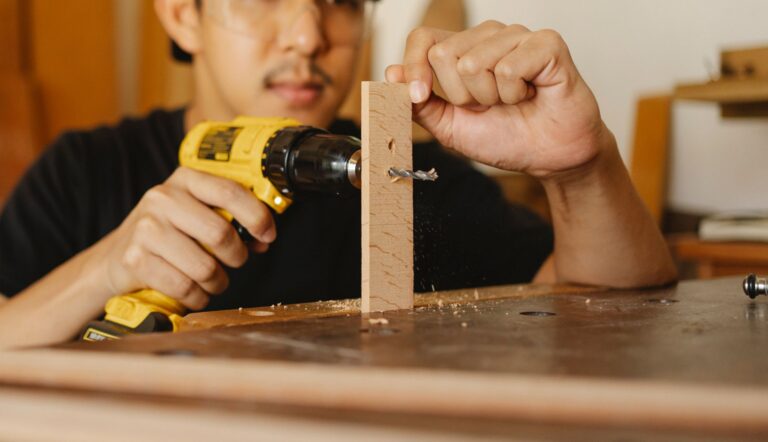
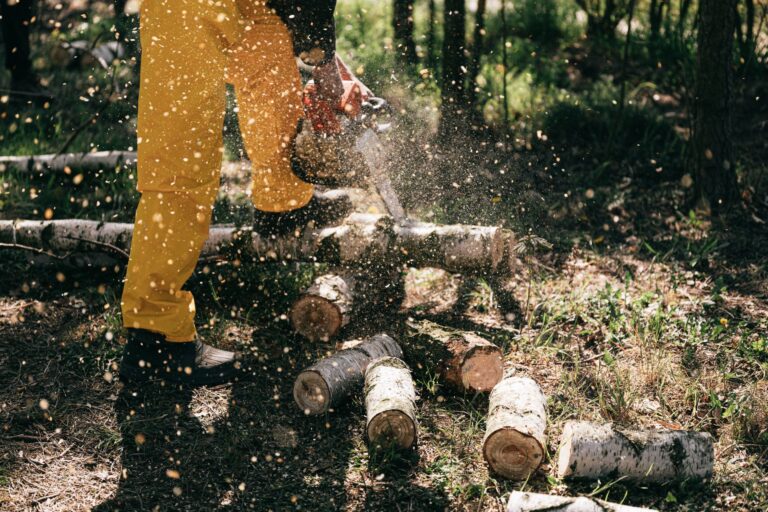
How to cut tree branches is about matching the branch, the tool, and the cut line so the tree keeps its bark intact and closes the wound cleanly. A proper cut starts just outside the branch collar, while a bad one leaves torn fibers, slow drying, and a longer recovery after a storm or seasonal trim.
This guide explains how to trim branches without harming the tree, from choosing the right saw or pruners to positioning each cut safely on storm-damaged limbs and overgrown yard trees.
Read the Branch Before You Cut
Dead wood breaks differently from live wood, and that difference tells you a lot before the blade touches bark. A branch that crosses another limb, hangs after a storm, blocks a roofline, or crowds the canopy is a fair pruning target, while a thick green limb on a mature tree calls for restraint.
Removing too much leafy growth at once changes the tree’s food supply. Leaves feed the tree through photosynthesis, so stripping a large share of the crown can weaken a mature maple, sycamore, or oak for a season or longer.
Choose removal with a reason
Dead branches, rubbing limbs, broken storm pieces, and clearance problems are the clearest reasons to act. A limb that has split partway down the grain is also risky, because the crack can run farther than it looks from the ground.
Clearance work near a driveway, fence, or roof needs the same care. You are not just shortening wood; you are changing where weight sits and where the branch will swing once the cut releases it.
Pause at height, weight, or power risk
High limbs, heavy limbs, and branches near utility wires deserve a stop sign, not a reach. A long section over your head stores more force than it appears to, and a small slip can send it down in a hard arc.
Stay out of the line of fall and stay off the stretch. A branch that needs climbing, rope work, or close contact with wires belongs with trained help.
That decision point leads straight into tool choice, because size and reach decide whether bypass pruners work or whether you need a pruning saw or pole pruner.
Branch size and reach narrow the options quickly, and the right tool keeps the cut controlled.
Match the Tool to the Branch Size and Reach
A blade that fits the branch gives you a cleaner surface and less strain on your shoulders. Bypass pruners suit slender green stems, loppers handle thicker twigs and branchlets, and a pruning saw belongs on limbs that exceed what hand cutters can close around.
| Branch size and reach | Tool that fits | Why it matters |
|---|---|---|
| Small green stems up to about 1/2 inch | Bypass pruners | They make a crisp cut without crushing tender tissue. |
| Thicker branchlets around 1/2 to 1 1/2 inches | Loppers | Long handles add force and keep your hands farther from the cut. |
| Larger limbs | Pruning saw | The teeth remove wood without pinching the blade. |
| Out-of-reach branches | Pole pruner or pole saw | Reach matters more than strength when the limb is overhead. |
Sharp edges matter more than brand names. A dull bypass pruner crushes fibers, which leaves a ragged edge that dries unevenly, and that same problem shows up with a saw that gums up instead of slicing.
Use reach with restraint
A pole pruner helps with light cuts overhead, but it should not tempt you into handling a branch that is too thick or too loaded. Long tools magnify wobble, and wobble is how clean work turns sloppy fast.
For a branch that is beyond a safe reach, the better move is not a longer stretch, it is a better plan. That is the point where your setup matters as much as your blade, because tree safety starts before the cut line.
Even the best blade fails without a stable position, which is why preparation comes before any snip.
Set Up Safely Before the First Cut
Eye protection, gloves, and sturdy shoes belong on before you lift a tool. Wood chips, twig tips, and bark splinters fly farther than most people expect, and a hidden thorn or broken stub can jab a hand in an instant.
The ground below the branch should be clear of children, pets, patio furniture, and anything that can crack when hit. A falling limb does not bend around obstacles, and a dropped section can rebound sideways like a springy ruler.
Clear the drop zone
- Move people out Keep anyone else outside the landing area.
- Shift breakables Pots, glass, and lawn items belong away from the fall path.
- Check footing Dry ground and steady shoes help you keep balance.
- Mark the stop point Stop before the branch height turns into a ladder problem.
Ladder use changes the whole job. A stable ladder still leaves you with one hand on the tool and one hand on the ladder at some point, which is poor control for anything larger than a light twig.
Stretching is not a plan. Once the cut requires leaning past your belt buckle or working above shoulder height, a pole tool, harness system, or arborist is the smarter choice.
Once the setup is calm, the next question is exact cut placement. That answer lives in the branch collar and the bark ridge, which are the tree’s built-in clues.
Those natural landmarks do more than guide one cut; they also set up cleaner handling of larger limbs.
Find the Collar and Make the Cut in the Right Place
The branch collar is the swollen ring where the branch joins the trunk, and the branch bark ridge is the rough raised line on top of that junction. These two landmarks tell you where the tree can seal off the wound most cleanly.
The final cut belongs just outside the collar. A flush cut slices into trunk tissue, while a long stub leaves dead wood behind that dries, cracks, and slows closure.
Read the branch junction
On a live branch, the collar often looks slightly wrinkled or wider than the wood beyond it. The bark ridge forms a narrow fold at the top of the union, like a seam, and cutting through that seam harms the trunk more than it helps the branch removal.
The reason is biological, not cosmetic. Trees do not heal the way skin does; they wall off damage with a process called compartmentalization, where healthy tissue limits decay around the wound. A cut that respects the collar gives that defense system a better starting point.
Start on the underside for heavy limbs
The cut begins underneath on larger limbs because bark peels when the outer weight swings down. A shallow undercut stops the tear from racing back toward the trunk.
That detail sounds small, yet it is the difference between a neat opening and a ragged strip of bark hanging below the wound. Once you understand the cut line, the 3 cut method becomes much easier to use on heavy wood.
Heavy wood changes the stakes, and the three-cut approach prevents bark from tearing under its own weight.
Use the Three-Cut Method on Large Limbs
A branch that weighs enough to bend before it separates needs three cuts, not one. The sequence breaks the load in stages, so bark stays intact and the final cut lands where the collar can stay whole.
- Make the undercut Saw upward a short distance from the trunk, about one-third through the limb.
- Make the relief cut Cut from the top a little farther out until the limb breaks cleanly away.
- Finish at the collar Remove the remaining stub just outside the collar without slicing into the trunk.
- Watch the swing Stand clear as the branch drops, since even a small rebound can catch your leg or foot.
That pattern works because wood fibers fail under tension before they fail under compression. The undercut relieves the tension on the lower bark, then the second cut lets gravity do the rest without dragging the skin of the tree with it.
Use a chainsaw only for the right scale
A chainsaw belongs with larger limbs that a pruning saw cannot handle in a sane amount of time, and it demands a stable stance, a clear escape path, and two hands on the saw. A kickback near shoulder height is not a minor miss, which is why many homeowners should stop at the pruning saw stage.
One practical example helps here. A 4-inch limb over a driveway can come down cleanly with a 3 cut method and a pruning saw, while a 10-inch limb over a garage edge is the kind of load that raises the risk enough to change plans.
That shift in judgment is the final skill in the process, because some branches are not a trim job at all.
Some jobs outgrow hand tools, especially when height, weight, or decay make the risks climb fast.
Know When the Job Stops Being a DIY Project
Power lines, rooflines, and large limbs over structures are the clearest signs to step back. Work near energized wires belongs with a line-clearance crew or utility help, because a branch can conduct current even before it makes contact in a visible way.
High, split, and unstable limbs deserve the same caution. A partially broken branch can spring, twist, or drop in two pieces, and that movement is hard to control from the ground with any hand tool.
Call for professional help with these conditions
- Wires nearby Electricity changes the risk level immediately.
- Large limbs overhead Heavy wood over a structure can damage shingles, siding, or glass.
- Climbing required Tree climbing adds fall risk and rope skill you may not have.
- Split wood A crack can run farther than the outside bark shows.
- Unclear fall path Crowded yards leave too little room for a safe drop.
A certified arborist is trained to judge load, anchor points, and rigging. The International Society of Arboriculture sets standards that many professionals follow, and utility crews use separate line-clearance rules because electricity changes the work completely.
Inspect the tree after the cut
Look for ragged edges, bark tears, or a stub left too long. Light aftercare means leaving the wound open to air, skipping paint, and watching the tree through the next few weeks for stress or dieback.
Recovery time shifts with species and season. Fast growers like willow and maple close different wounds at different speeds than slower species such as oak, and cuts made during active growth tend to respond differently from cuts made late in dormancy.
That is why how to cut tree branches is not just a tool question. It is a judgment call about load, timing, and the tree’s own ability to close off what you remove.
That perspective shapes the last check, where a clean finish matters as much as the cut itself.
Final Look
The safest cut protects both your footing and the trunk tissue at the branch junction. Choose the smallest tool that fits the wood, keep your body out of the drop zone, and stop the moment the limb turns high, heavy, split, or close to wires. A clean cut at the collar does more for tree health than a fast cut in the wrong place.
FAQ
What is the easiest way to cut tree branches?
The easiest path is to match the tool to the wood, then cut just outside the collar with a stable stance. Small green stems go to bypass pruners, thicker pieces go to loppers or a pruning saw, and a clear drop zone keeps the job calm.
What is the best tool to cut branches off a tree?
The best tool depends on thickness and reach. Bypass pruners suit small stems, loppers work for thicker branchlets, a pruning saw handles larger limbs, and a pole pruner helps only when the branch is out of arm’s reach.
Can you cut tree branches yourself?
You can handle light, reachable limbs with the right tool and basic safety gear. Once the branch is high, split, heavy, or near power lines, the safer choice is to stop and bring in professional help.
Should you cut a tree branch from the top or bottom?
The final shape of the cut ends outside the collar, but heavy limbs start with an undercut from below. That lower cut keeps bark from tearing as the branch drops, then the top cut removes the load cleanly.
How do you use the 3-cut method correctly?
Use three cuts in order: a shallow undercut, a second cut farther out to release the limb, and a final cut just outside the collar. That sequence protects bark on heavy limbs and keeps the trunk tissue intact.
Where should you cut relative to the branch collar?
Just outside the branch collar is the right place to make the cut without slicing into the trunk. A flush cut injures trunk tissue, while a long stub leaves dead wood that dries and slows closure.