
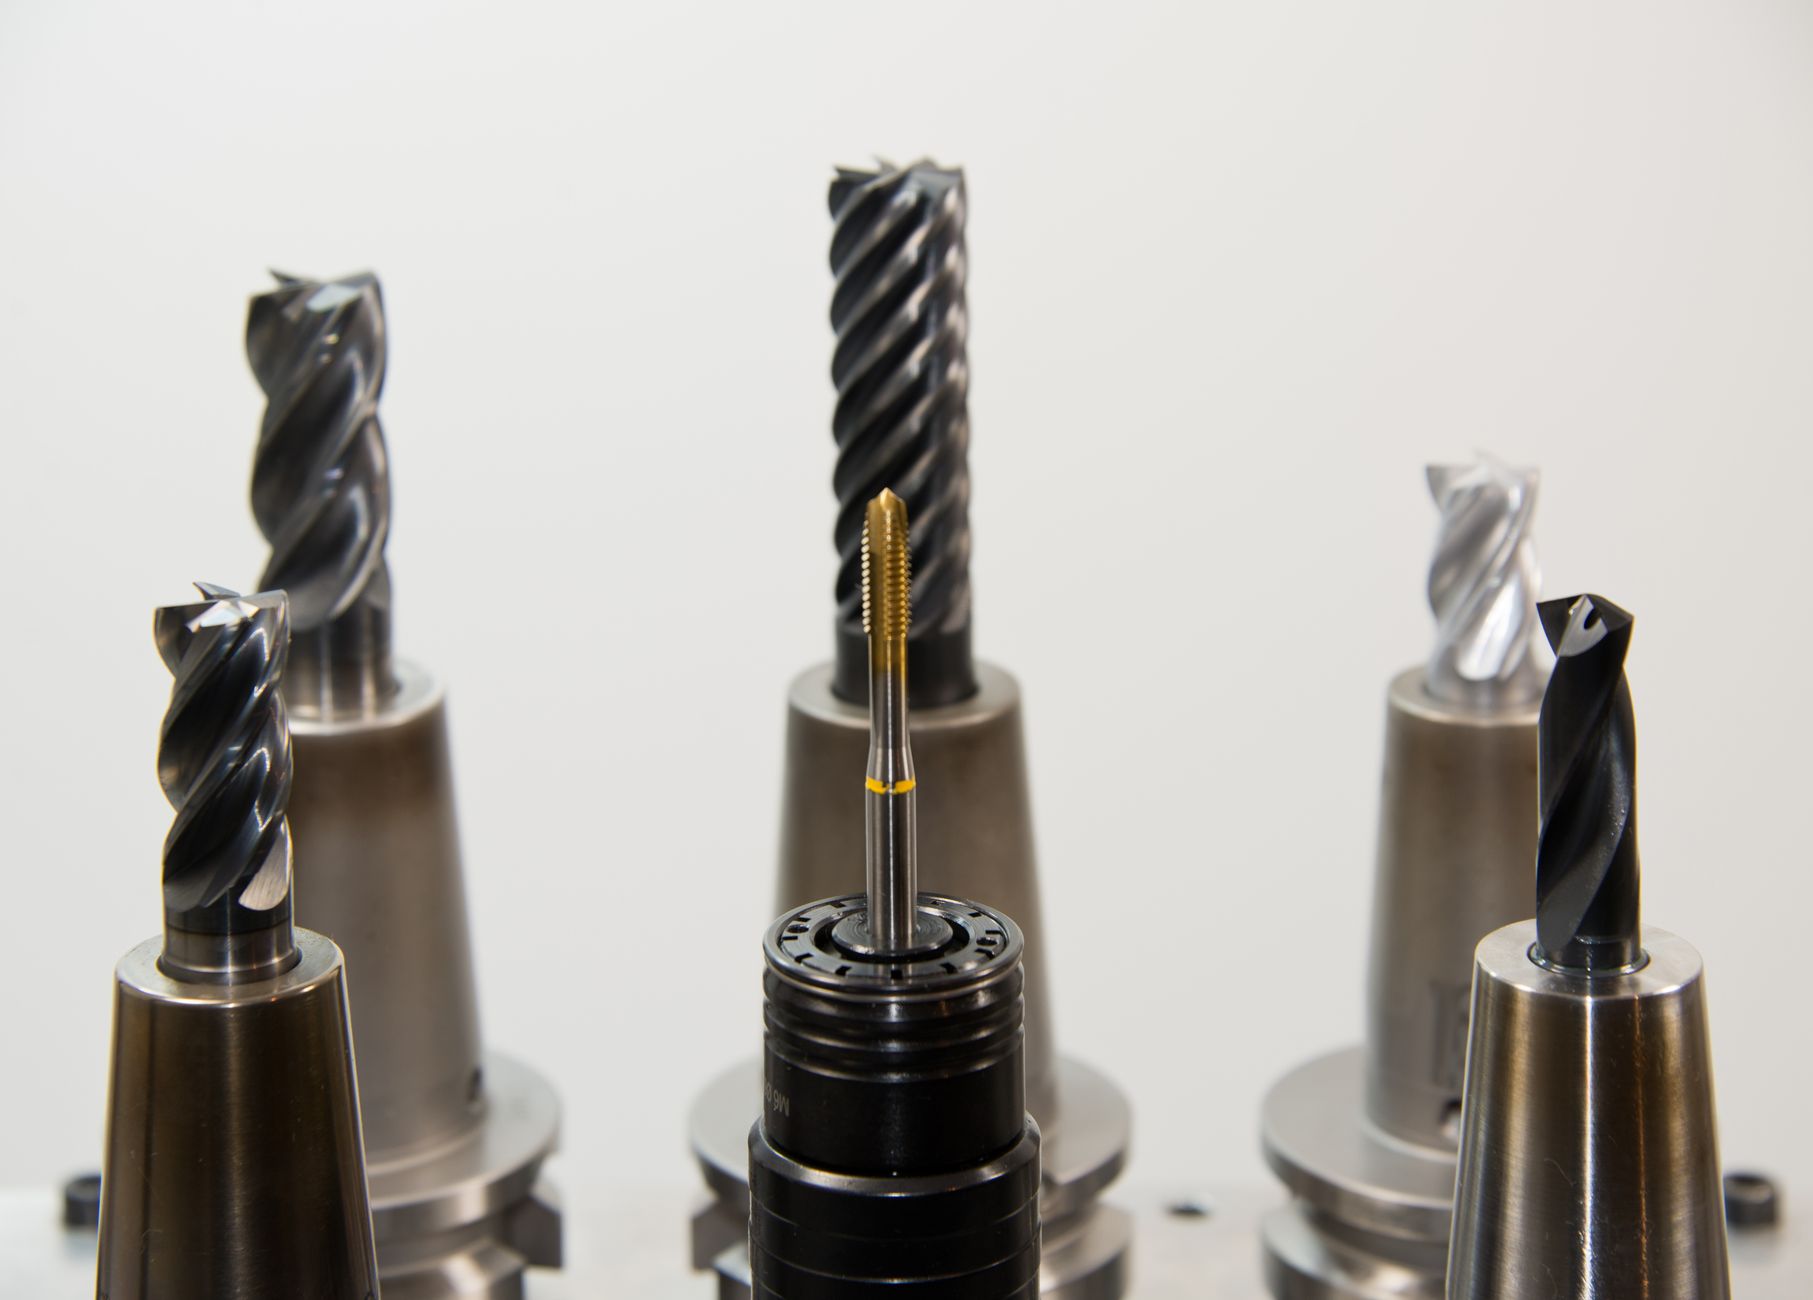

Pilot holes are starter holes that guide a screw straight, reduce splitting, and let the threads bite without forcing the wood apart. To drill them well, you match the hole to the screw’s root diameter, wood type, and required depth.
This walkthrough shows you how to drill pilot holes for wood, metal, masonry, and wall anchors, with clear bit-size and depth guidance for everyday fastening.
What A Pilot Hole Does Before The Screw Goes In
Wood fibers resist a screw like packed bristles, so the shaft needs a path before the threads start cutting. A starter hole centers the screw tip, cuts driving torque, and keeps the board calmer near an edge.
That matters most in end grain, thin stock, hardwood, and long wood screw runs. Softwood can sometimes handle short screws without pre-drilling, but dense oak or maple can split quickly when the fastener lands close to an end.
The practical rule is simple: drill slightly smaller than the screw’s root diameter, not the outside thread diameter. That keeps enough material for grip while giving the shank room to pass without wedging the fibers apart.
That sizing choice only works when the drill matches the material, and each substrate calls for a different cutting edge.
Choosing The Bit For Wood, Metal, And Masonry
Bit size depends on screw size and material hardness, not just the label on the package. A coarse wood screw usually needs more relief than a fine-thread screw, and a soft board needs less than a dense one.
You can use a standard twist bit for many jobs, but the best drill bit changes with the workpiece. That is why a hardwood shelf, a thin steel bracket, and a brick wall do not take the same pre-drilling approach.
Match The Bit To The Fastener And Material
| Material | Rule Of Thumb | Bit Type |
|---|---|---|
| Softwood | Start near the screw root diameter, then size up only for long screws | Standard twist bit |
| Hardwood | Use a slightly tighter hole so threads still grip | Standard twist bit |
| Thin metal | Match the shaft size, then keep speed low and pressure steady | Sharp HSS bit |
| Masonry | Use the anchor maker’s bit size, not the screw size alone | Masonry bit |
| Wall anchors | Size to the anchor body, then drive the screw after the anchor seats | Masonry or specialty anchor bit |
Know When A Standard Bit Is Enough
A standard twist bit works for most wood screws and many light-duty jobs in pine, fir, poplar, and plywood. A brad-point bit starts cleaner in wood because its center point helps the bit stay planted while the side spurs score the surface before cutting.
Metal needs a sharper drill bit and slower speed because heat and friction dull the edge fast. Masonry is different again, since pilot holes for wall anchors have to match the anchor body, not just the screw, so the label on the anchor matters more than the screw size alone.
That split gives you a simple setup: twist bit for ordinary wood work, brad-point bit for cleaner starts, HSS bit for metal, and masonry bit for brick, block, or concrete. Once that choice is made, depth and alignment become the next variables.
Once the bit is right, a careful mark and consistent depth keep the hole where the screw needs it.
Marking The Spot And Setting A Clean Depth
A screw lands straighter when the mark is clear before the bit touches the surface. Pencil marks work well in wood, and an awl or center punch makes a small dimple that keeps the bit from skating.
Hold the drill perpendicular unless the hardware needs an angle for a bracket or jig. A tilted entry changes the exit point and can leave the screw head crooked, which becomes obvious on trim and cabinet work.
Control Depth Before The Bit Touches Wood
Tape on the bit gives a quick visual stop, and a depth stop on the drill is cleaner for repeat work. That matters on shelves, hinge plates, and other hardware where each hole needs the same depth.
Tip: Mark the depth on the bit with painter’s tape rather than masking tape. Painter’s tape holds better against dust and comes off more cleanly after a row of holes.
| Task | Depth Target | Reason |
|---|---|---|
| Short screw into softwood | Near the screw length minus the head | Leaves enough material for thread grip |
| Long screw into hardwood | Almost full shank depth | Reduces torque and split risk |
| Wall anchor hole | Anchor length plus a little dust room | Lets the anchor seat fully |
| Hinge or bracket row | Same depth for every hole | Keeps hardware flush and even |
Most screw jobs do not need a hole all the way through the board. Stop at the length needed for the screw’s shank and bite area, because through-holes are for bolts, clearance holes, or some anchor setups rather than ordinary wood fastening.
A correct depth still matters little without a steady sequence, because the way you drill determines the material’s safety.
The Simple Drilling Sequence That Prevents Damage
Start slow so the tip can seat cleanly, then let the bit pick up speed after the hole begins. A hard launch makes the drill bit wander, and wandering is how a screw ends up off line before you drive it.
- Set the mark: Put the point in the dimple or center punch mark and brace the work so it cannot shift.
- Begin at low speed: Let the bit cut a shallow starter path before adding speed and pressure.
- Clear chips: Pull the bit out once or twice so shavings do not pack into the hole.
- Check the fit: Drive the screw partway by hand or with the drill on clutch to judge resistance.
- Adjust the size: Open the hole slightly only when the screw binds hard or the material starts to swell.
Chip removal matters more than many DIY jobs admit. Packed shavings act like a cork, raising friction and heat while the bit chews on dust instead of cutting clean fibers. In metal, the same buildup can score the bit and round the hole.
A quick fit check saves time. A screw that starts cleanly and feels firm is about right; one that grinds hard needs a touch more room, while one that spins without grip needs a smaller bit or a new pilot hole in a fresh spot. That test matters even more in edge grain and hardwood.
Those touchy conditions reward patience, and the same caution extends to finishing the head without tearing the surface.
Edge Grain, Hardwoods, And Other Easy-To-Ruin Cases
The ends of boards split with far less force than the middle because the fibers run out of the wood instead of holding together across the load. A screw near end grain behaves like a wedge in a stack of dry sticks.
That is why pilot holes for wood screws need extra care at the board edge. A slightly smaller hole, steady drive pressure, and a backed-off clutch often keep the surface intact where a forceful start would crack it.
Give end grain a slightly smaller hole than you might use in the board face, then drive the screw with steady pressure. A slow start and a backed-off clutch often keep the surface intact.
- Stay farther in: Keep screws away from the edge whenever the layout allows a wider margin.
- Use a tighter pilot: Dense maple and oak need less extra room than pine.
- Back off torque: Stop the drill before the head sinks too hard and crushes the surface.
- Support the exit side: A scrap board under thin stock helps stop breakout.
- Pre-set the fiber: A center punch or awl mark reduces skate on brittle surfaces.
Hardwood asks for patience because its cell walls contain more lignin, the natural binder that stiffens wood fibers. That extra stiffness raises driving torque, so the screw heats faster and the board resists more. You feel that rise in drag, and it is the signal to slow down instead of forcing the head home.
Warning: Overdriving is the fast route to a cracked face and a stripped head. Stop as soon as the screw seats flush, or switch to a countersink cut if the head needs to sit below the surface.
A clean seat helps the screw perform well, but practical work often demands a few simple fixes and shortcuts.
Countersinking And Flush Screw Heads Without Guesswork
A flush finish needs a wider top seat than a plain starter hole can provide. The pilot hole lets the screw travel; the countersink gives the head a place to rest without crushing fibers around the rim.
You should use countersink only when the head shape needs it. Flat-head screws need the cone, while pan-head and washer-head hardware usually work best with a straight hole sized for the shaft and material.
Separate The Two Bits In Your Mind
A pilot bit makes the narrow channel for the shaft or root area. A countersink bit cuts a cone, so a flat-head screw can sit even with the wood or just below it. The two jobs work together, but they are not the same cut.
Finish carpentry, hinge installation, and trim work often need both. Cabinet screws and brass wood screws are good examples, because the head shape has to stay clean while the thread still grabs below it.
Use The Simplest Setup For Common Hardware
For a basic flat-head screw, drill the pilot hole, then touch the top with a countersink bit or a combination bit. For pan-head or washer-head hardware, skip the cone and keep the starter hole sized only for the shaft and material.
That choice keeps the head where it belongs and avoids wobble around the opening. It also helps the screw seat with less torque, which matters on trim, cabinet face frames, and hardwood shelves.
When the opening is already too loose or the tool selection is limited, small adjustments can still save the job.
Fixing Common Mistakes And Workarounds For Limited Tools
A crooked hole, a split board, or an oversized starter hole does not mean the project is over. Small fixes can rescue the piece, and the right fallback tool can still get a clean start.
You can also make a pilot hole without a drill when the job is light. An awl, nail, or pointed screwdriver gives softwood trim and small hardware a starting recess, although dense hardwood still needs real cutting power.
- Crooked hole: Fill the start with a toothpick or dowel, trim it, and start again a short distance away.
- Split wood: Stop driving, back out the screw, and clamp the split while glue cures if the crack is minor.
- Stripped screw: Swap to a fresh driver bit and add a better-sized starter hole in the next location.
- Oversized hole: Plug it with a glued sliver, then redrill after the patch sets.
- No drill handy: Use an awl, nail, or pointed screwdriver to make a starter recess for light screws.
A regular drill bit can work for pilot holes, and for many household repairs that is enough. The key is bit fit: a sharp twist bit of the right diameter is fine, but a brad-point bit starts cleaner in wood, and a masonry bit is the right choice for block or concrete.
That same logic helps with screw length and screw size. A short screw in softwood usually needs less pre-drilling than a long screw in hardwood, and self-tapping screw hardware may skip a pilot entirely when the maker says so.
That flexibility leaves one final rule: match the pilot hole to the screw, the material, and the manufacturer’s advice.
What To Remember
The cleanest screw job comes from three choices made before driving: the right bit, the right depth, and the right grip on the material. Get those set, and the screw goes in straighter, with less splitting, less wandering, and less force on the head.
You will also avoid a lot of rework by checking the screw length, the wood type, and whether countersink is needed before the first hole. That small check keeps the hole tight enough for bite while still leaving room for a clean, flush finish.
FAQ
Can you use a regular drill bit for pilot holes?
Yes. A sharp regular twist bit works for many wood and light metal jobs, as long as the diameter is close to the screw’s root size and the drill speed matches the material.
What is the rule of thumb for drilling pilot holes?
Use a bit slightly smaller than the screw’s root diameter, not the thread width. That leaves enough wood or wall material for the threads to bite while the shaft passes cleanly.
Do you drill pilot holes all the way through?
No, not for most screw work. Stop near the screw length or anchor depth, because a through-hole is only needed for clearance, bolts, some anchors, or a pass-through fastener.
Can I make pilot holes without a drill?
Yes. An awl, nail, or pointed screwdriver can start a small guide in soft material, and that is enough for light hardware or small screws. Dense hardwood still benefits from a real drill.
How do I know what size pilot hole I need?
Start with the screw’s root diameter, then adjust for wood type, screw length, and thread pitch. Test the screw in scrap from the same material, because a snug start with firm bite is the goal.



